
Card Making Class!! October 20th
I can’t believe we’ve already had a Card Making Class!! But I am THRILLED that we made it happen!! We were lucky enough to be hosted by Pretty Penny at 2330 Elm Street in Bellingham, WA. Her shop is SUPER CUTE and had * just enough * space for us to have a class!! (you can check out her adorable shop here: www.prettypennyclothing.com )
Thank you everyone who joined us for class!! The cards this week were a LOT of fun to create and, as always, there were new things to learn!!
Check out the cards!!

The first card I created was inspired from this Taylored Expressions stamp set, Laurels, as well as this green handmade paper from Japan


To make the card:
Start out with a standard card base that is an ivory colored card stock (a half a sheet of paper, folded in half is called an A2 card)
Cut a piece of Handmade Paper to fit on the front of the card base
Next, cut a piece of card stock (the same color as the card base) for the sentiment. Using Versafine Clair ink, Fallen Leaves, stamp the sentiment. I used the Tim Holtz travel platform to stamp my images.
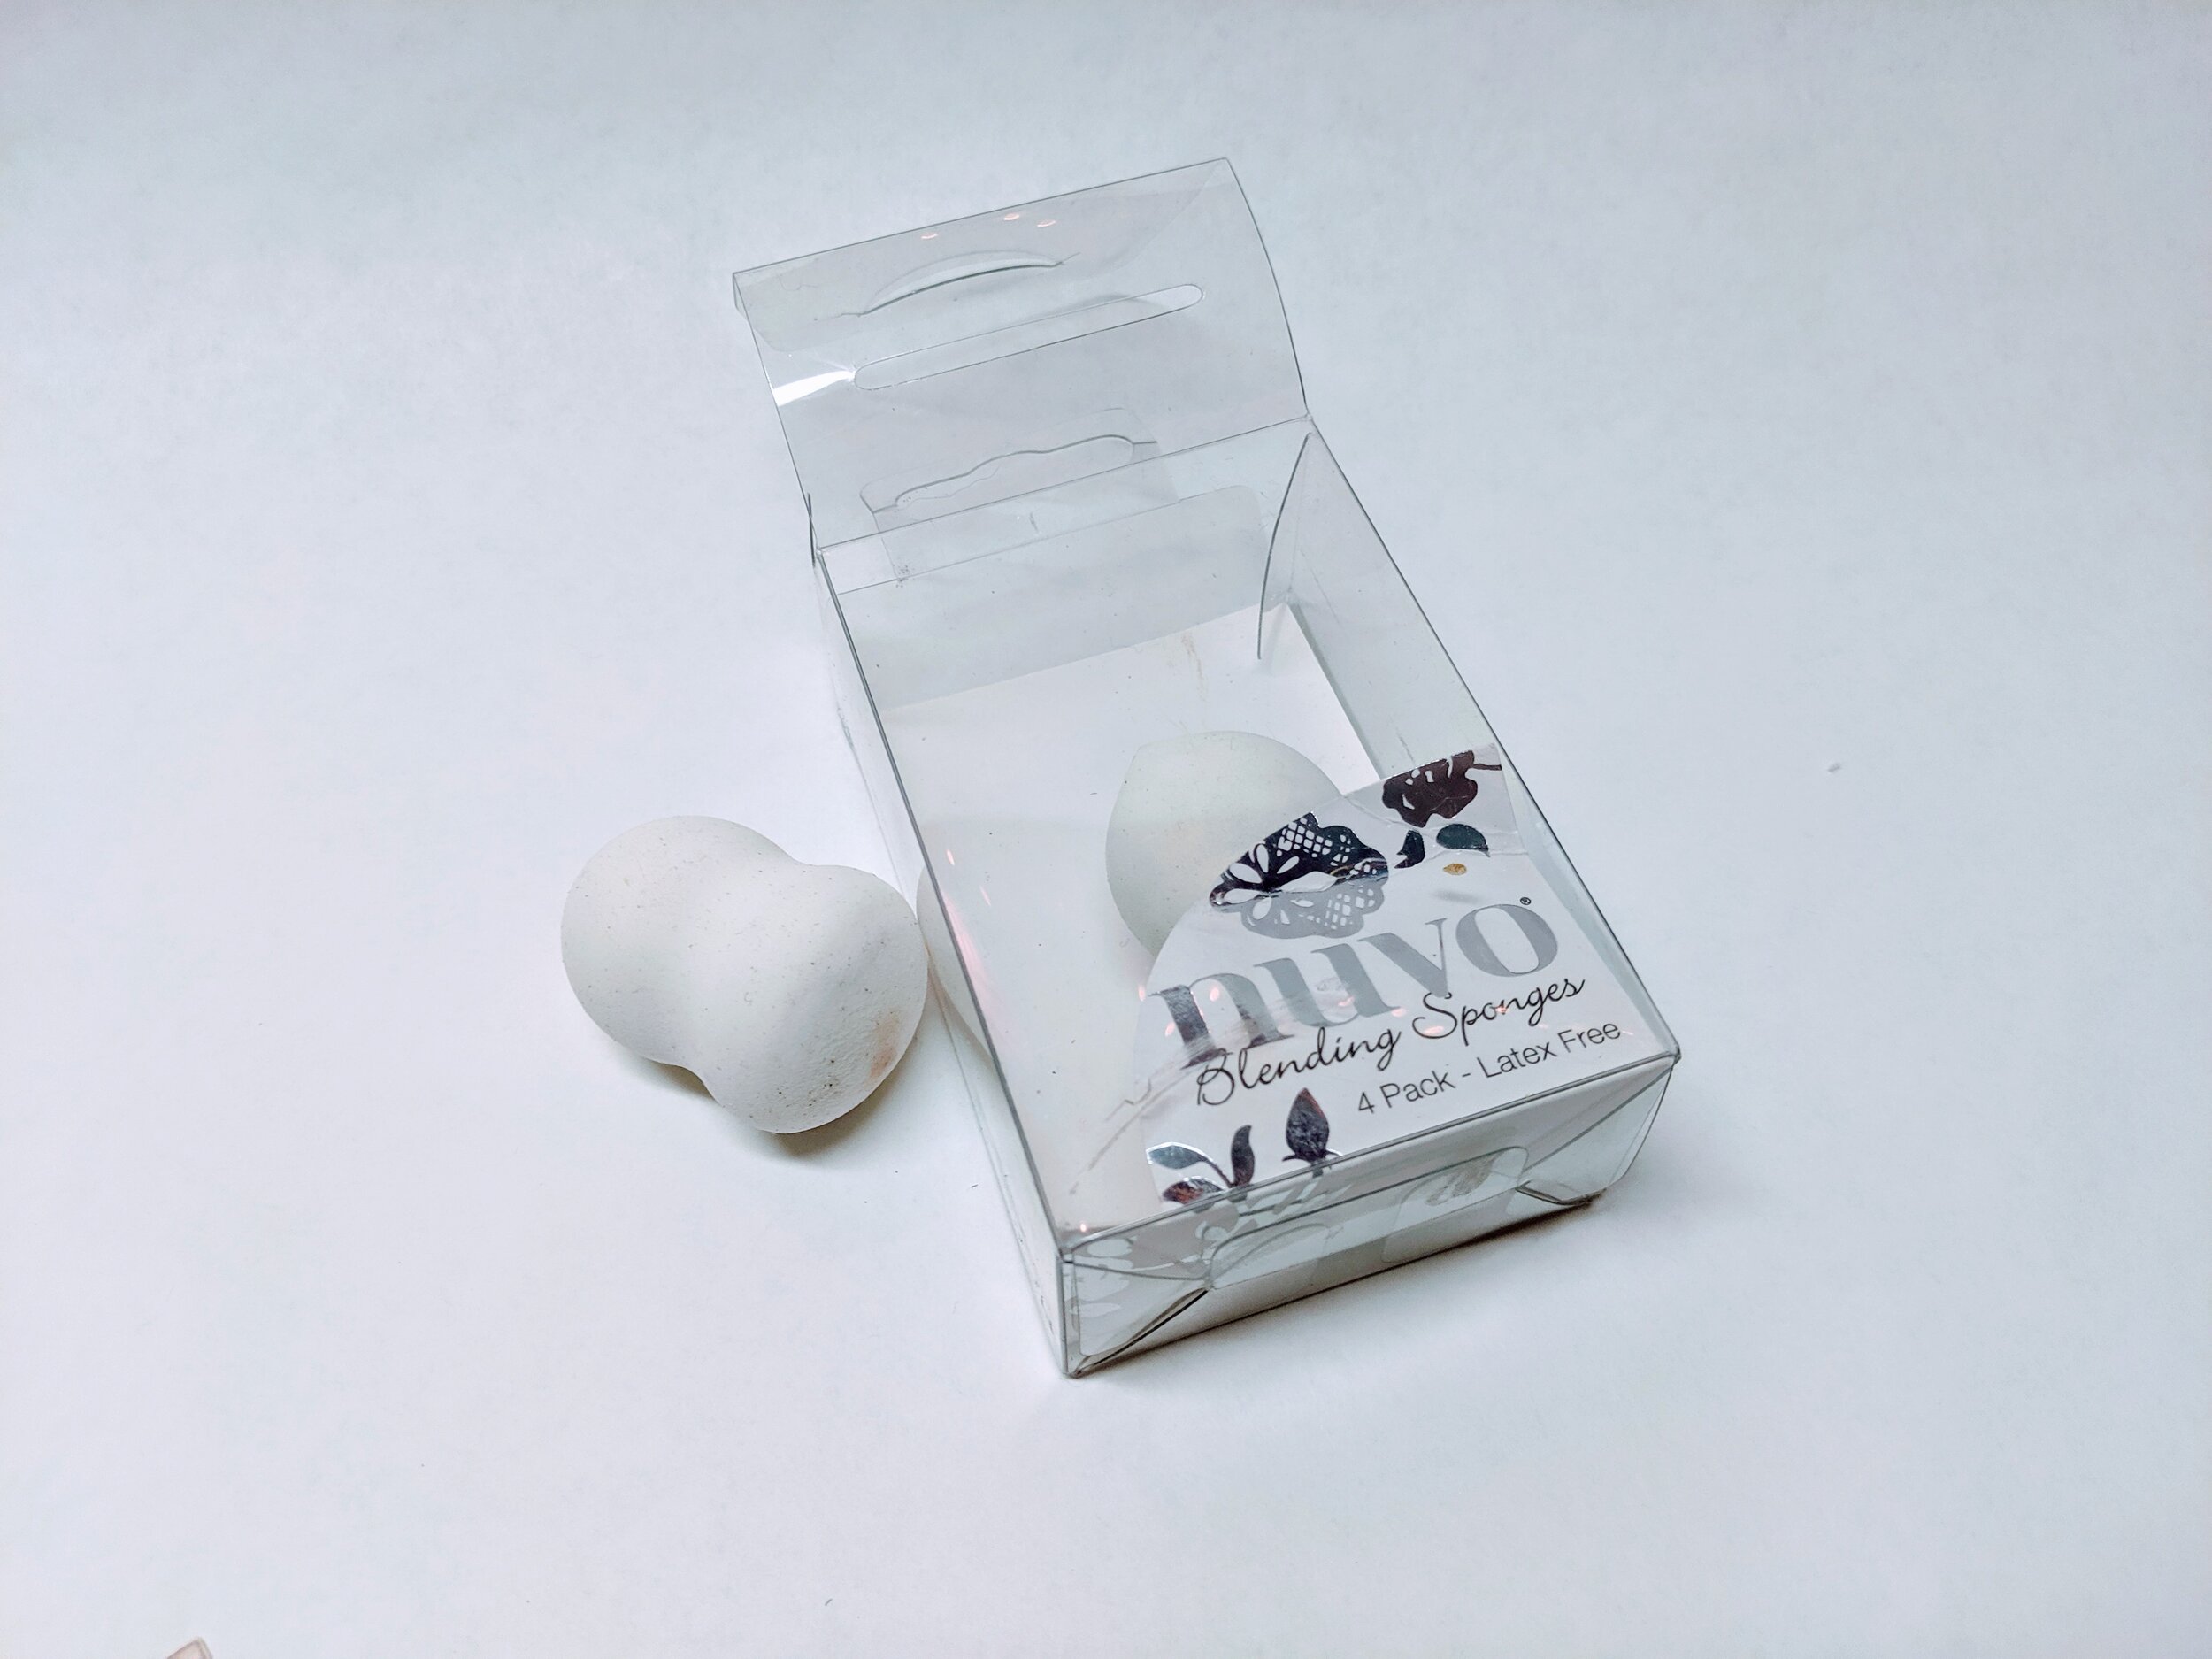
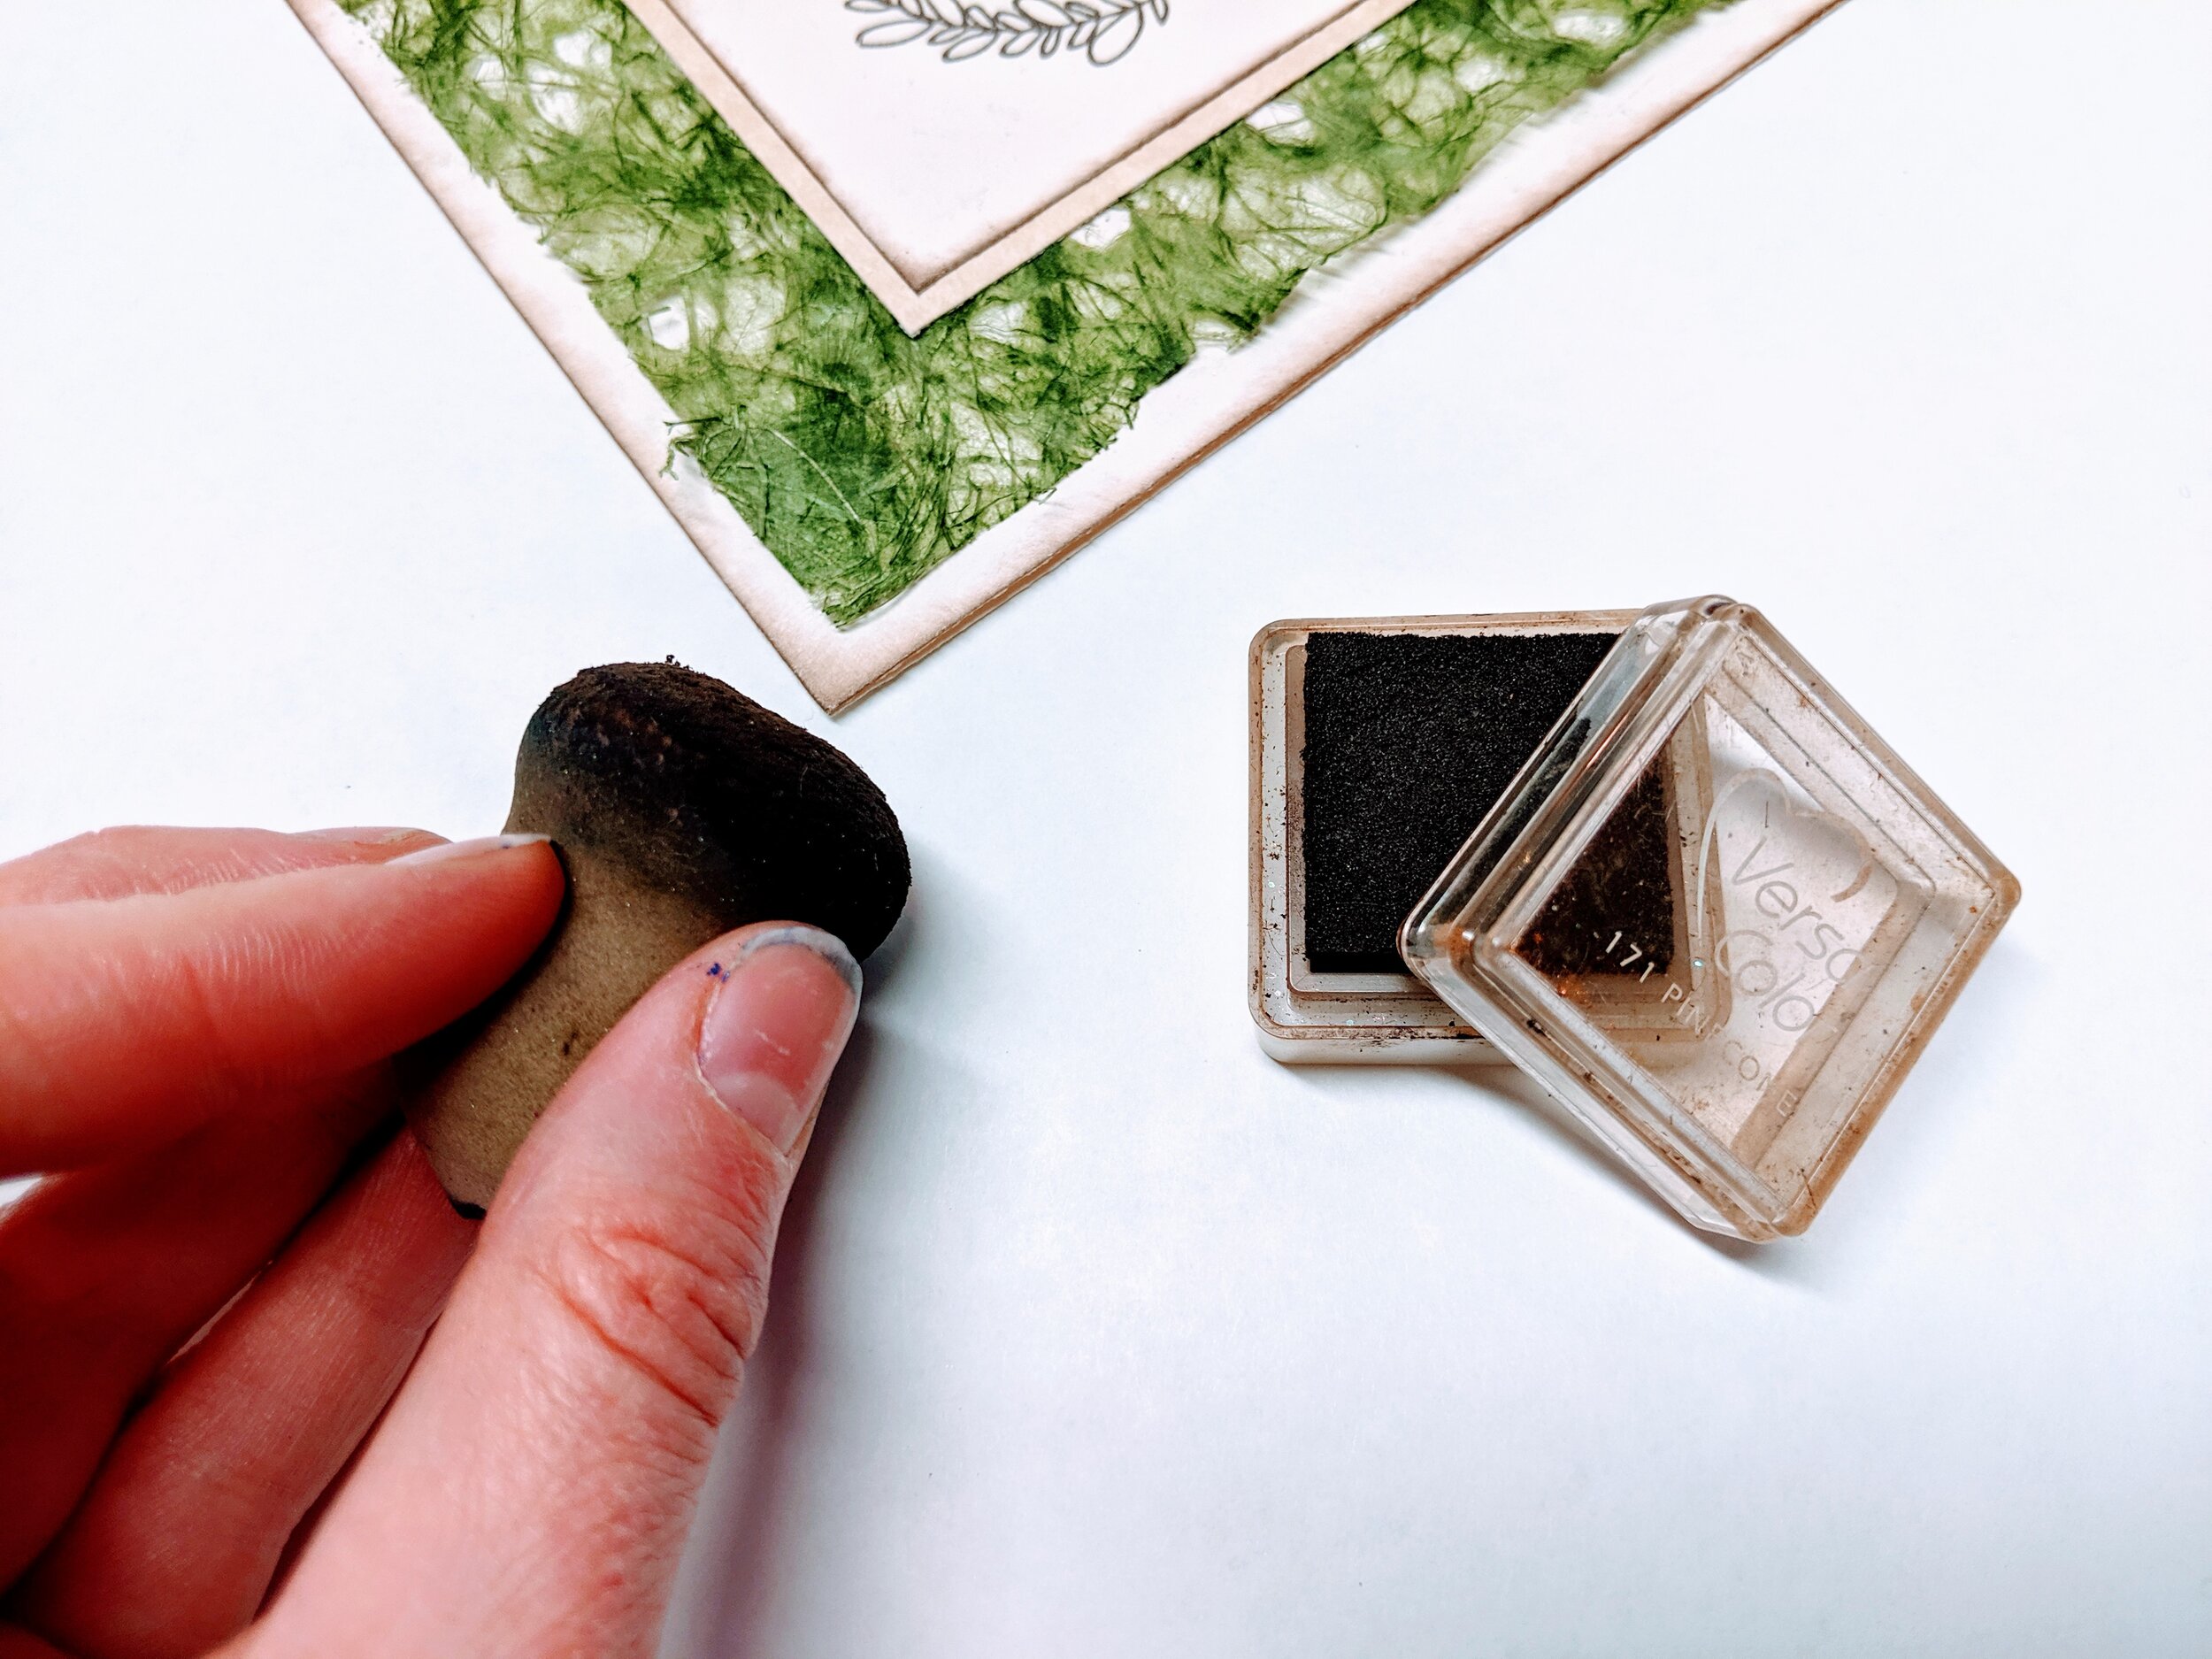
Use a brown ink pad and the Nuvo Blending Sponges to apply a little bit of ink around the edges of the card base and around the edges of the piece of paper with the sentiment stamped on it.
The piece to back the sentiment is darker shade of an Astroparche Paper that creates a tone-on-tone appearance when you layer them together.
Adhere the pieces together by using Nuvo Deluxe Adhesive or double-sided tape
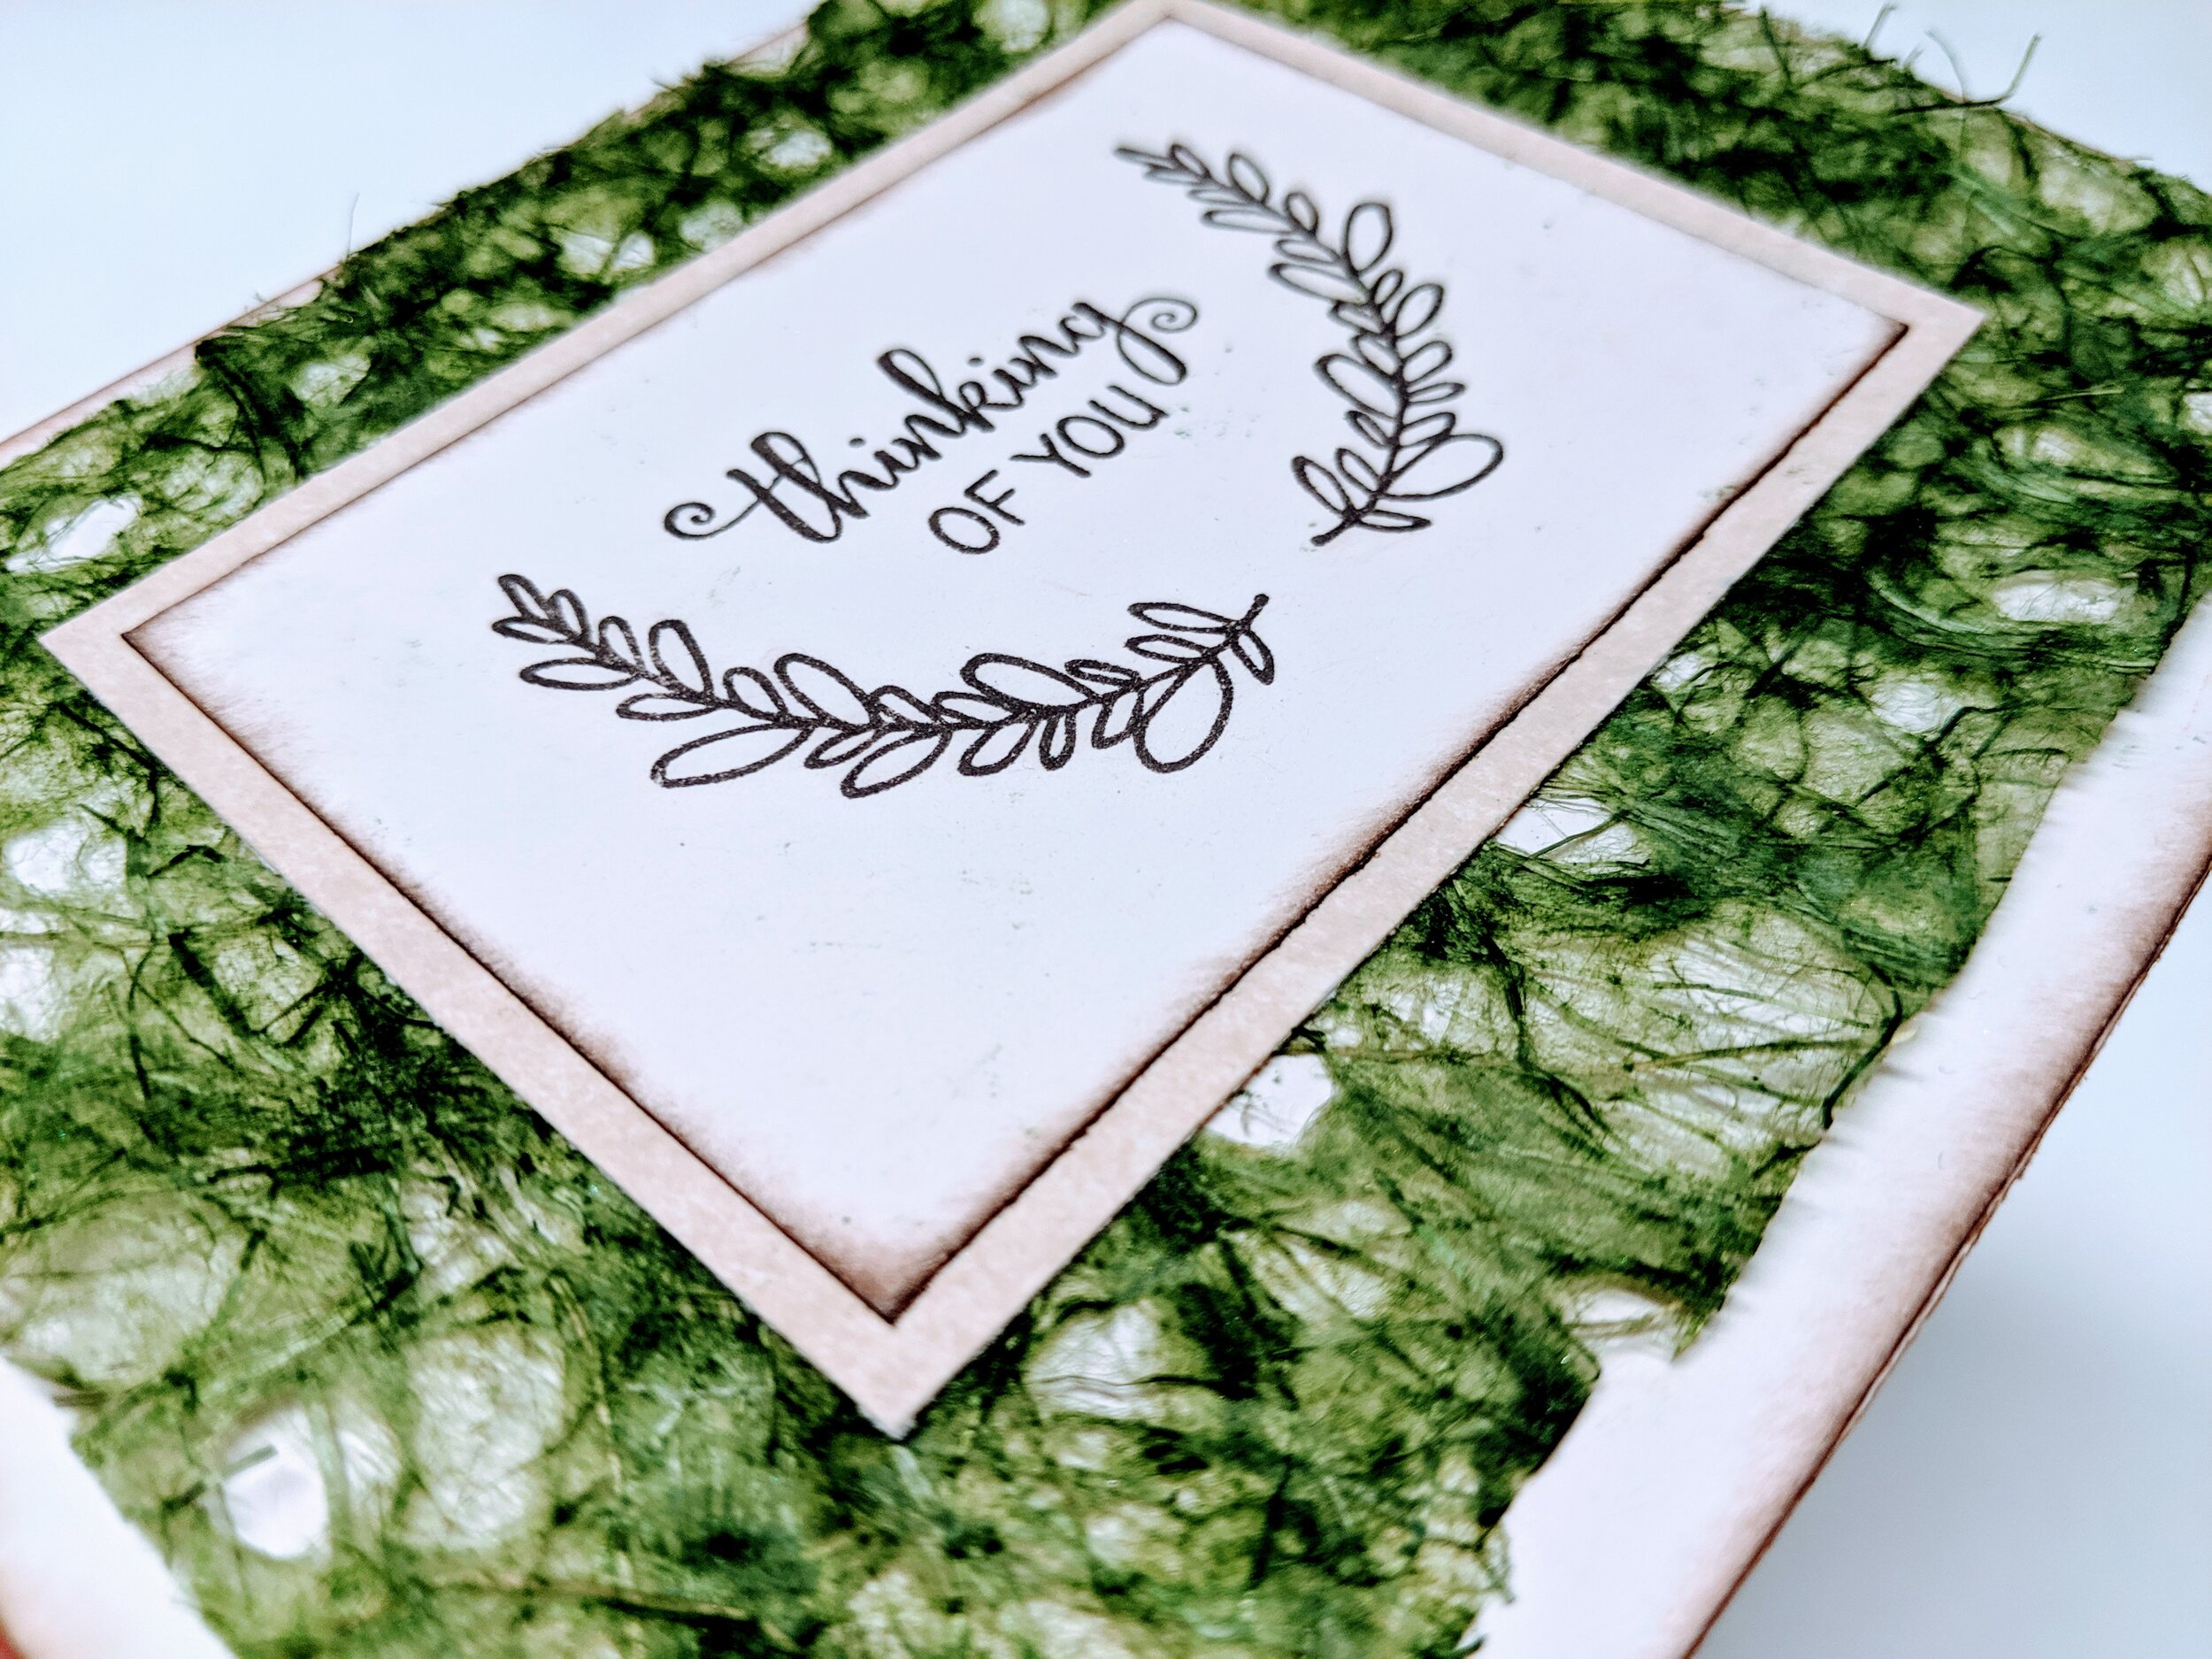
Look how fun this is!! I love the handmade paper element since it’s so interesting and the texture is WONDERFUL

The next card that I designed for class was inspired by this Whittle Fox die-cut from Poppy/Memory Box and this stamp set from Hero Arts, Cheeky Birthday


To make the card:
Start out with a black card stock card base.
Cut down a piece of Neenah Solar White Card stock to fit on the front of your card base. I like to use 80# or 110#, either way, the paper just needs to be able to accept watercolors/spray inks. A lower quality card stock will not accept inks well where as a watercolor-specific paper will give you the best results.
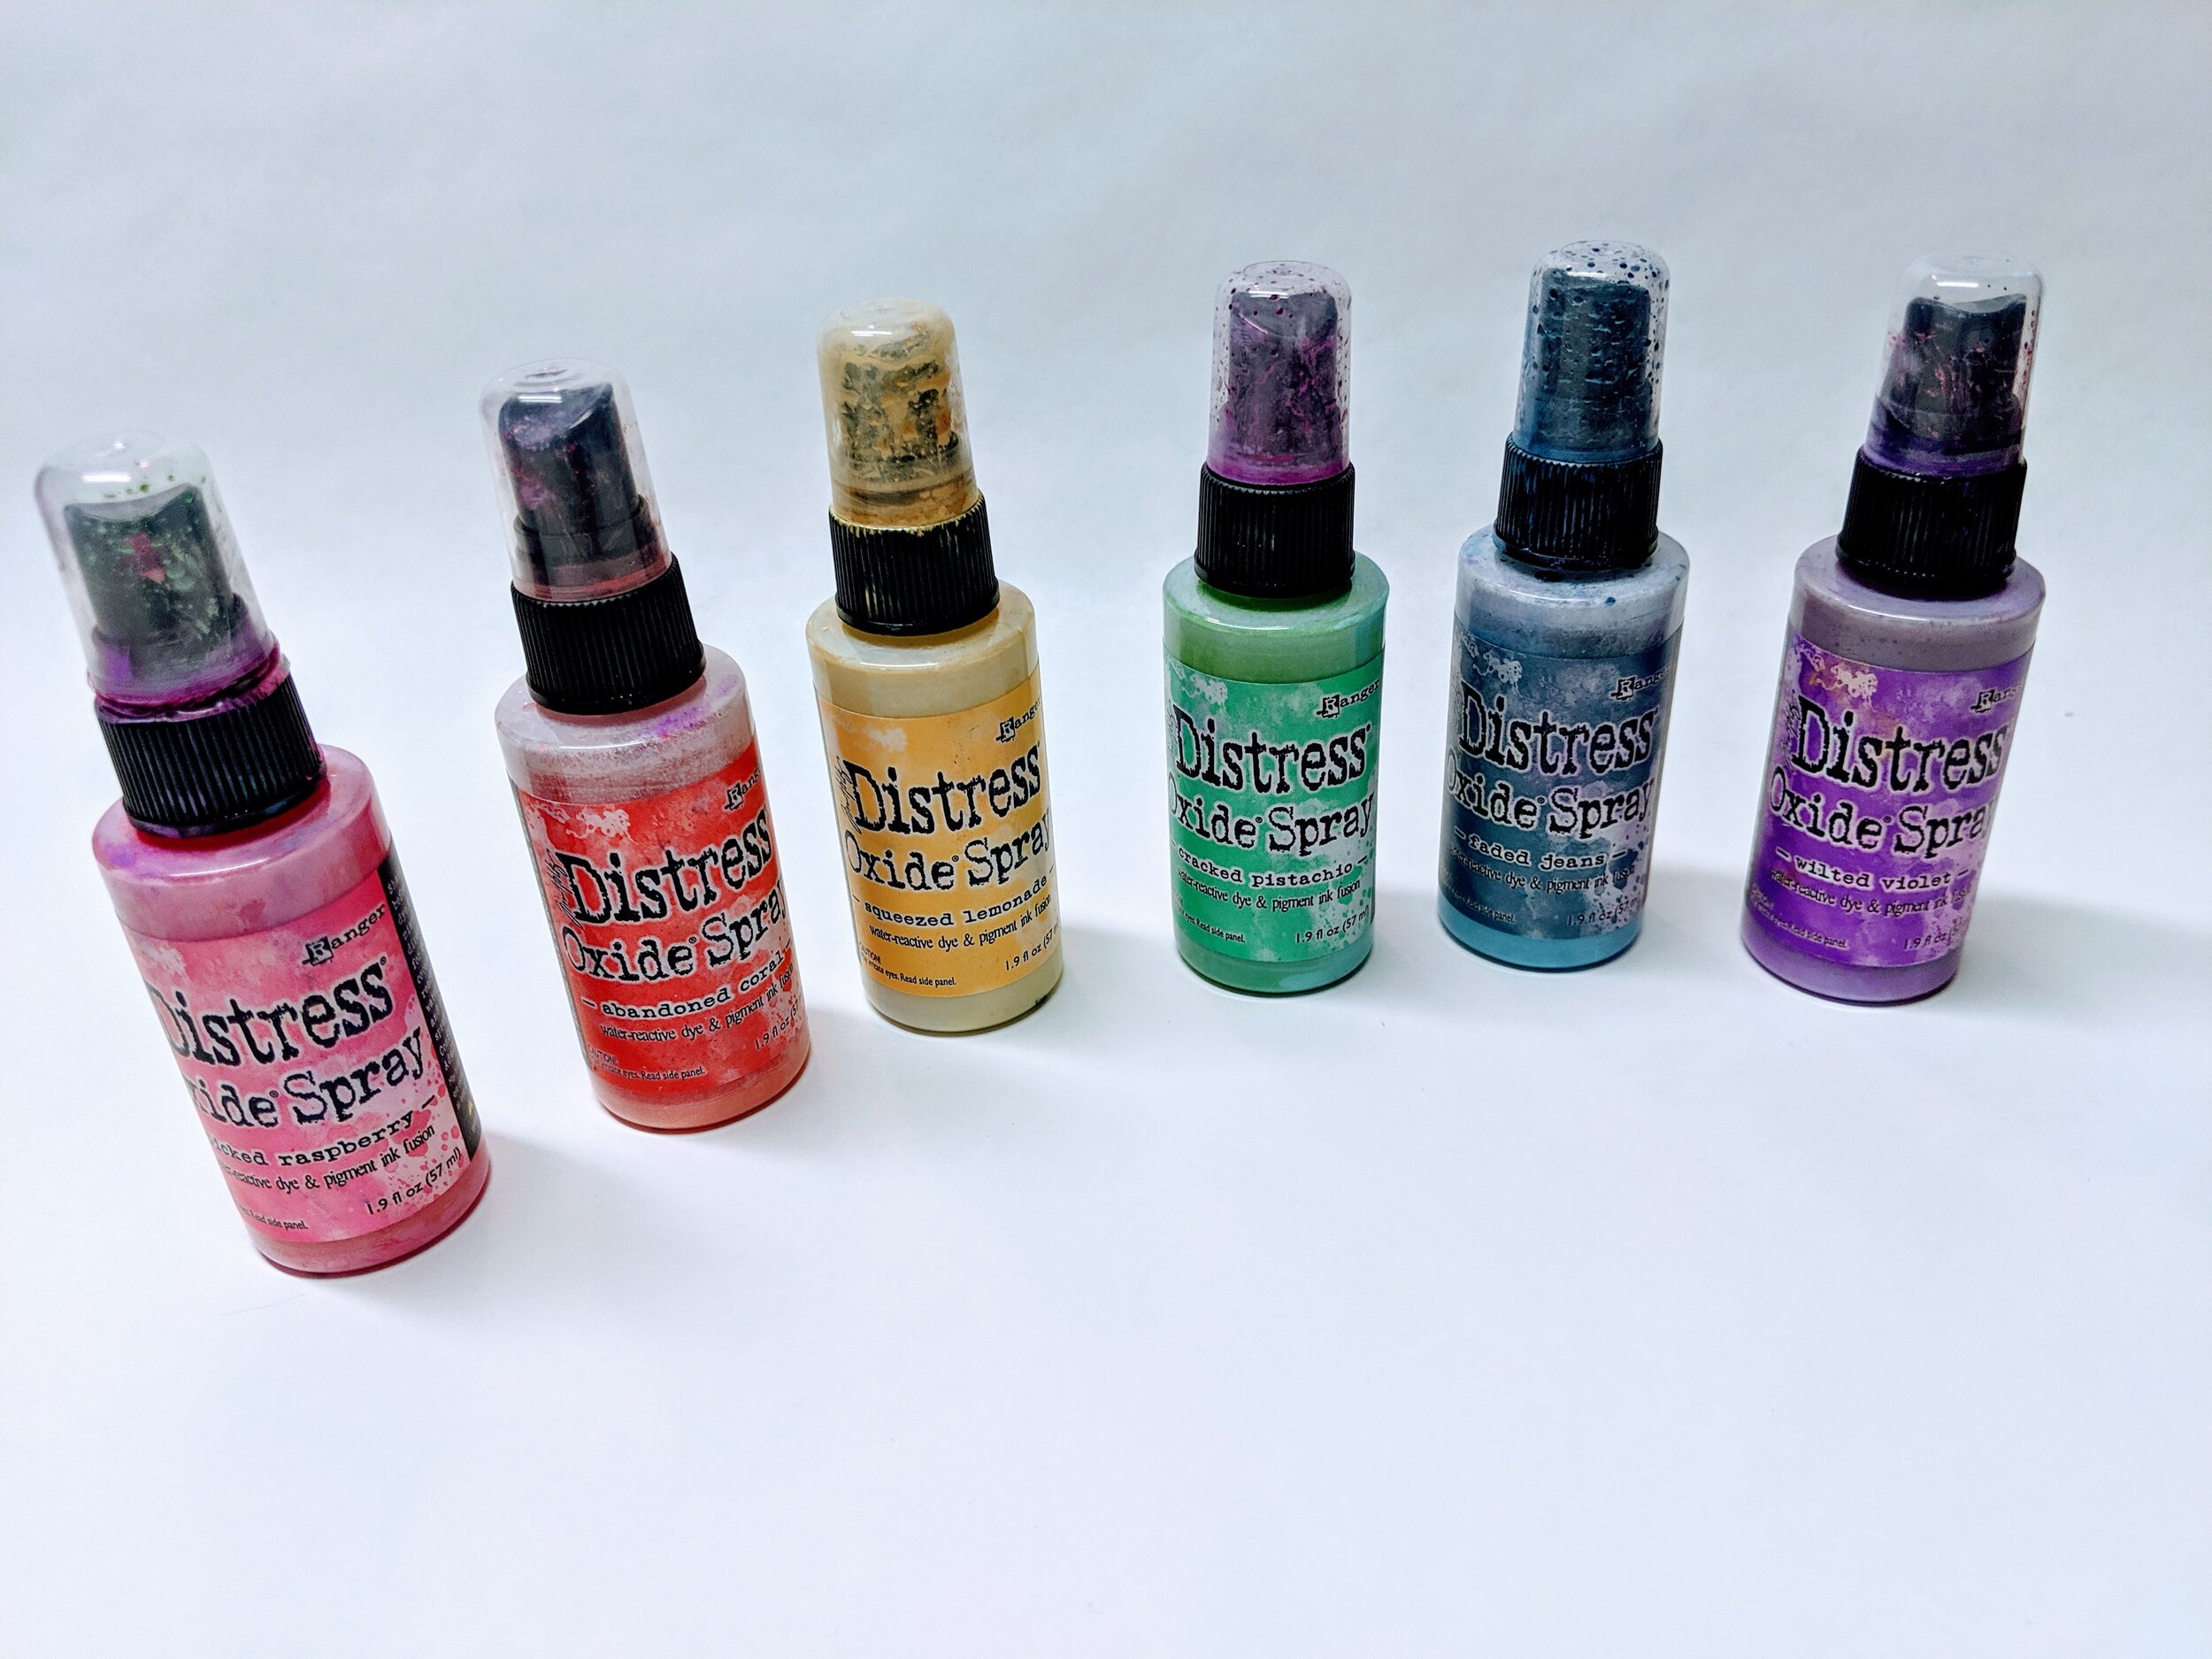
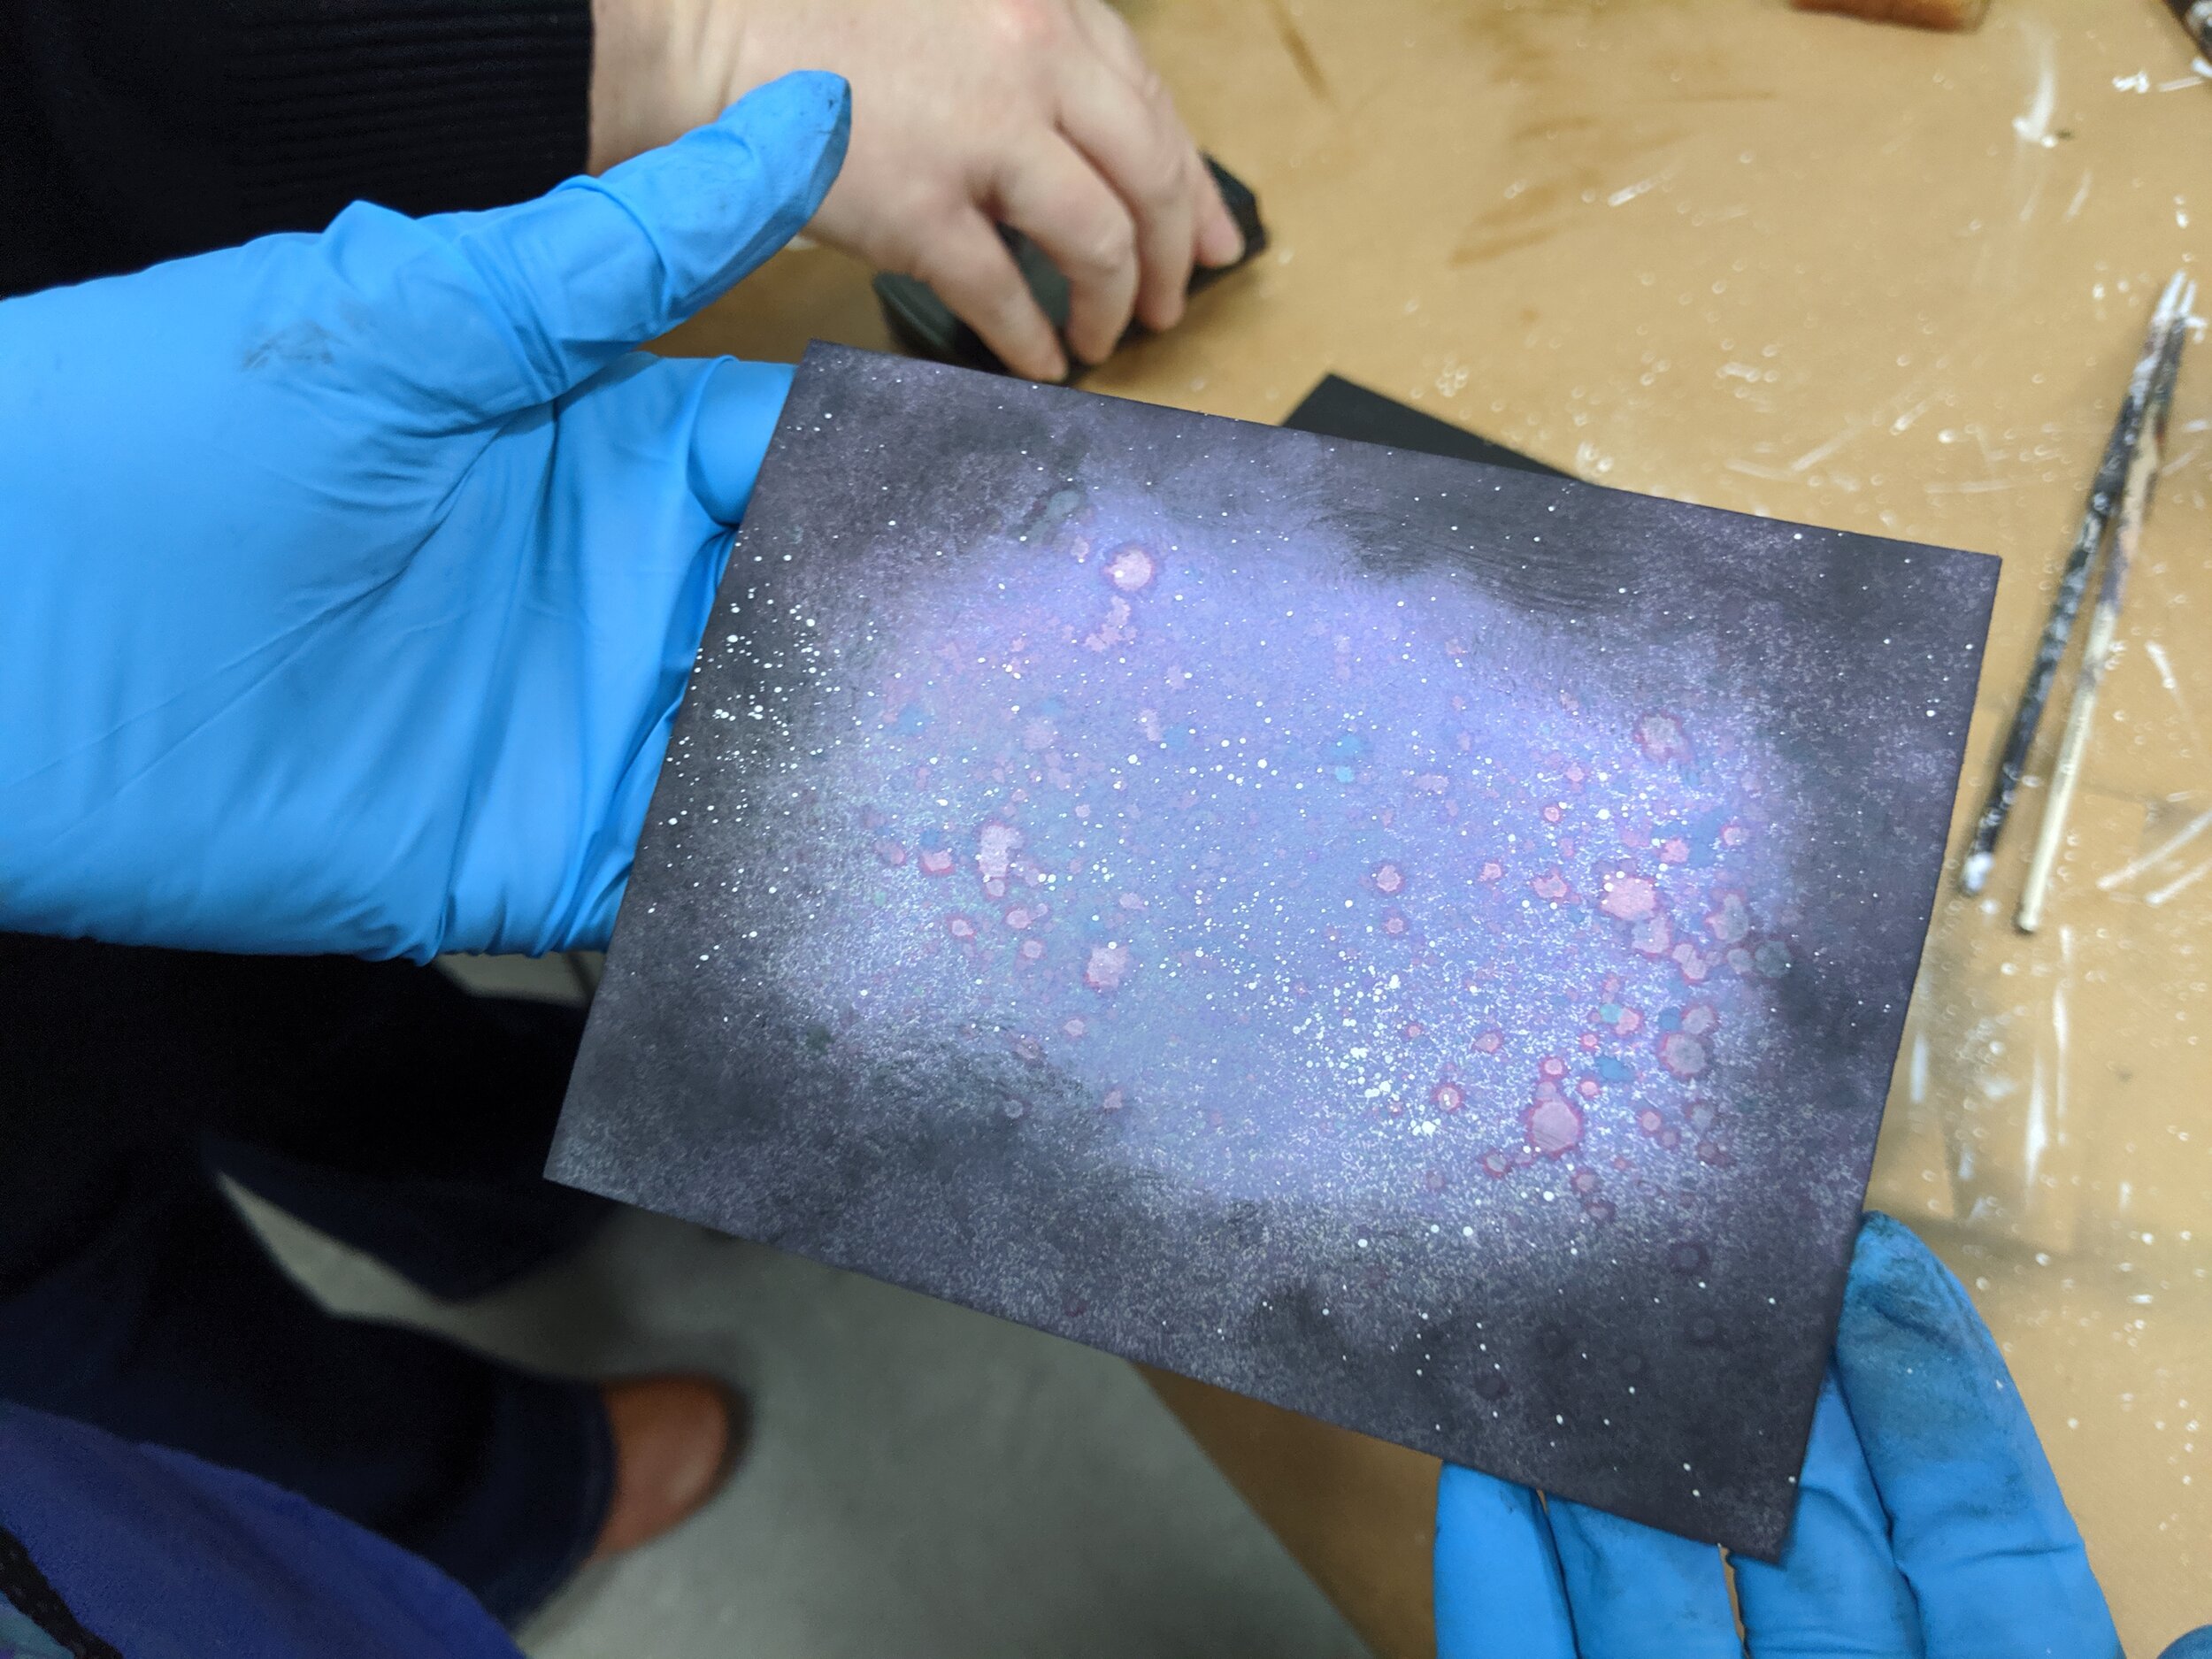
Now use a box as your “spray box” for applying spray inks. On your piece of Solar White card stock, apply several colors of Oxide Spray Inks. I like to use the Oxide inks because no matter how many colors you use, they never blend together to make gross colors! The colors always stay distinct and vibrant, which I LOVE
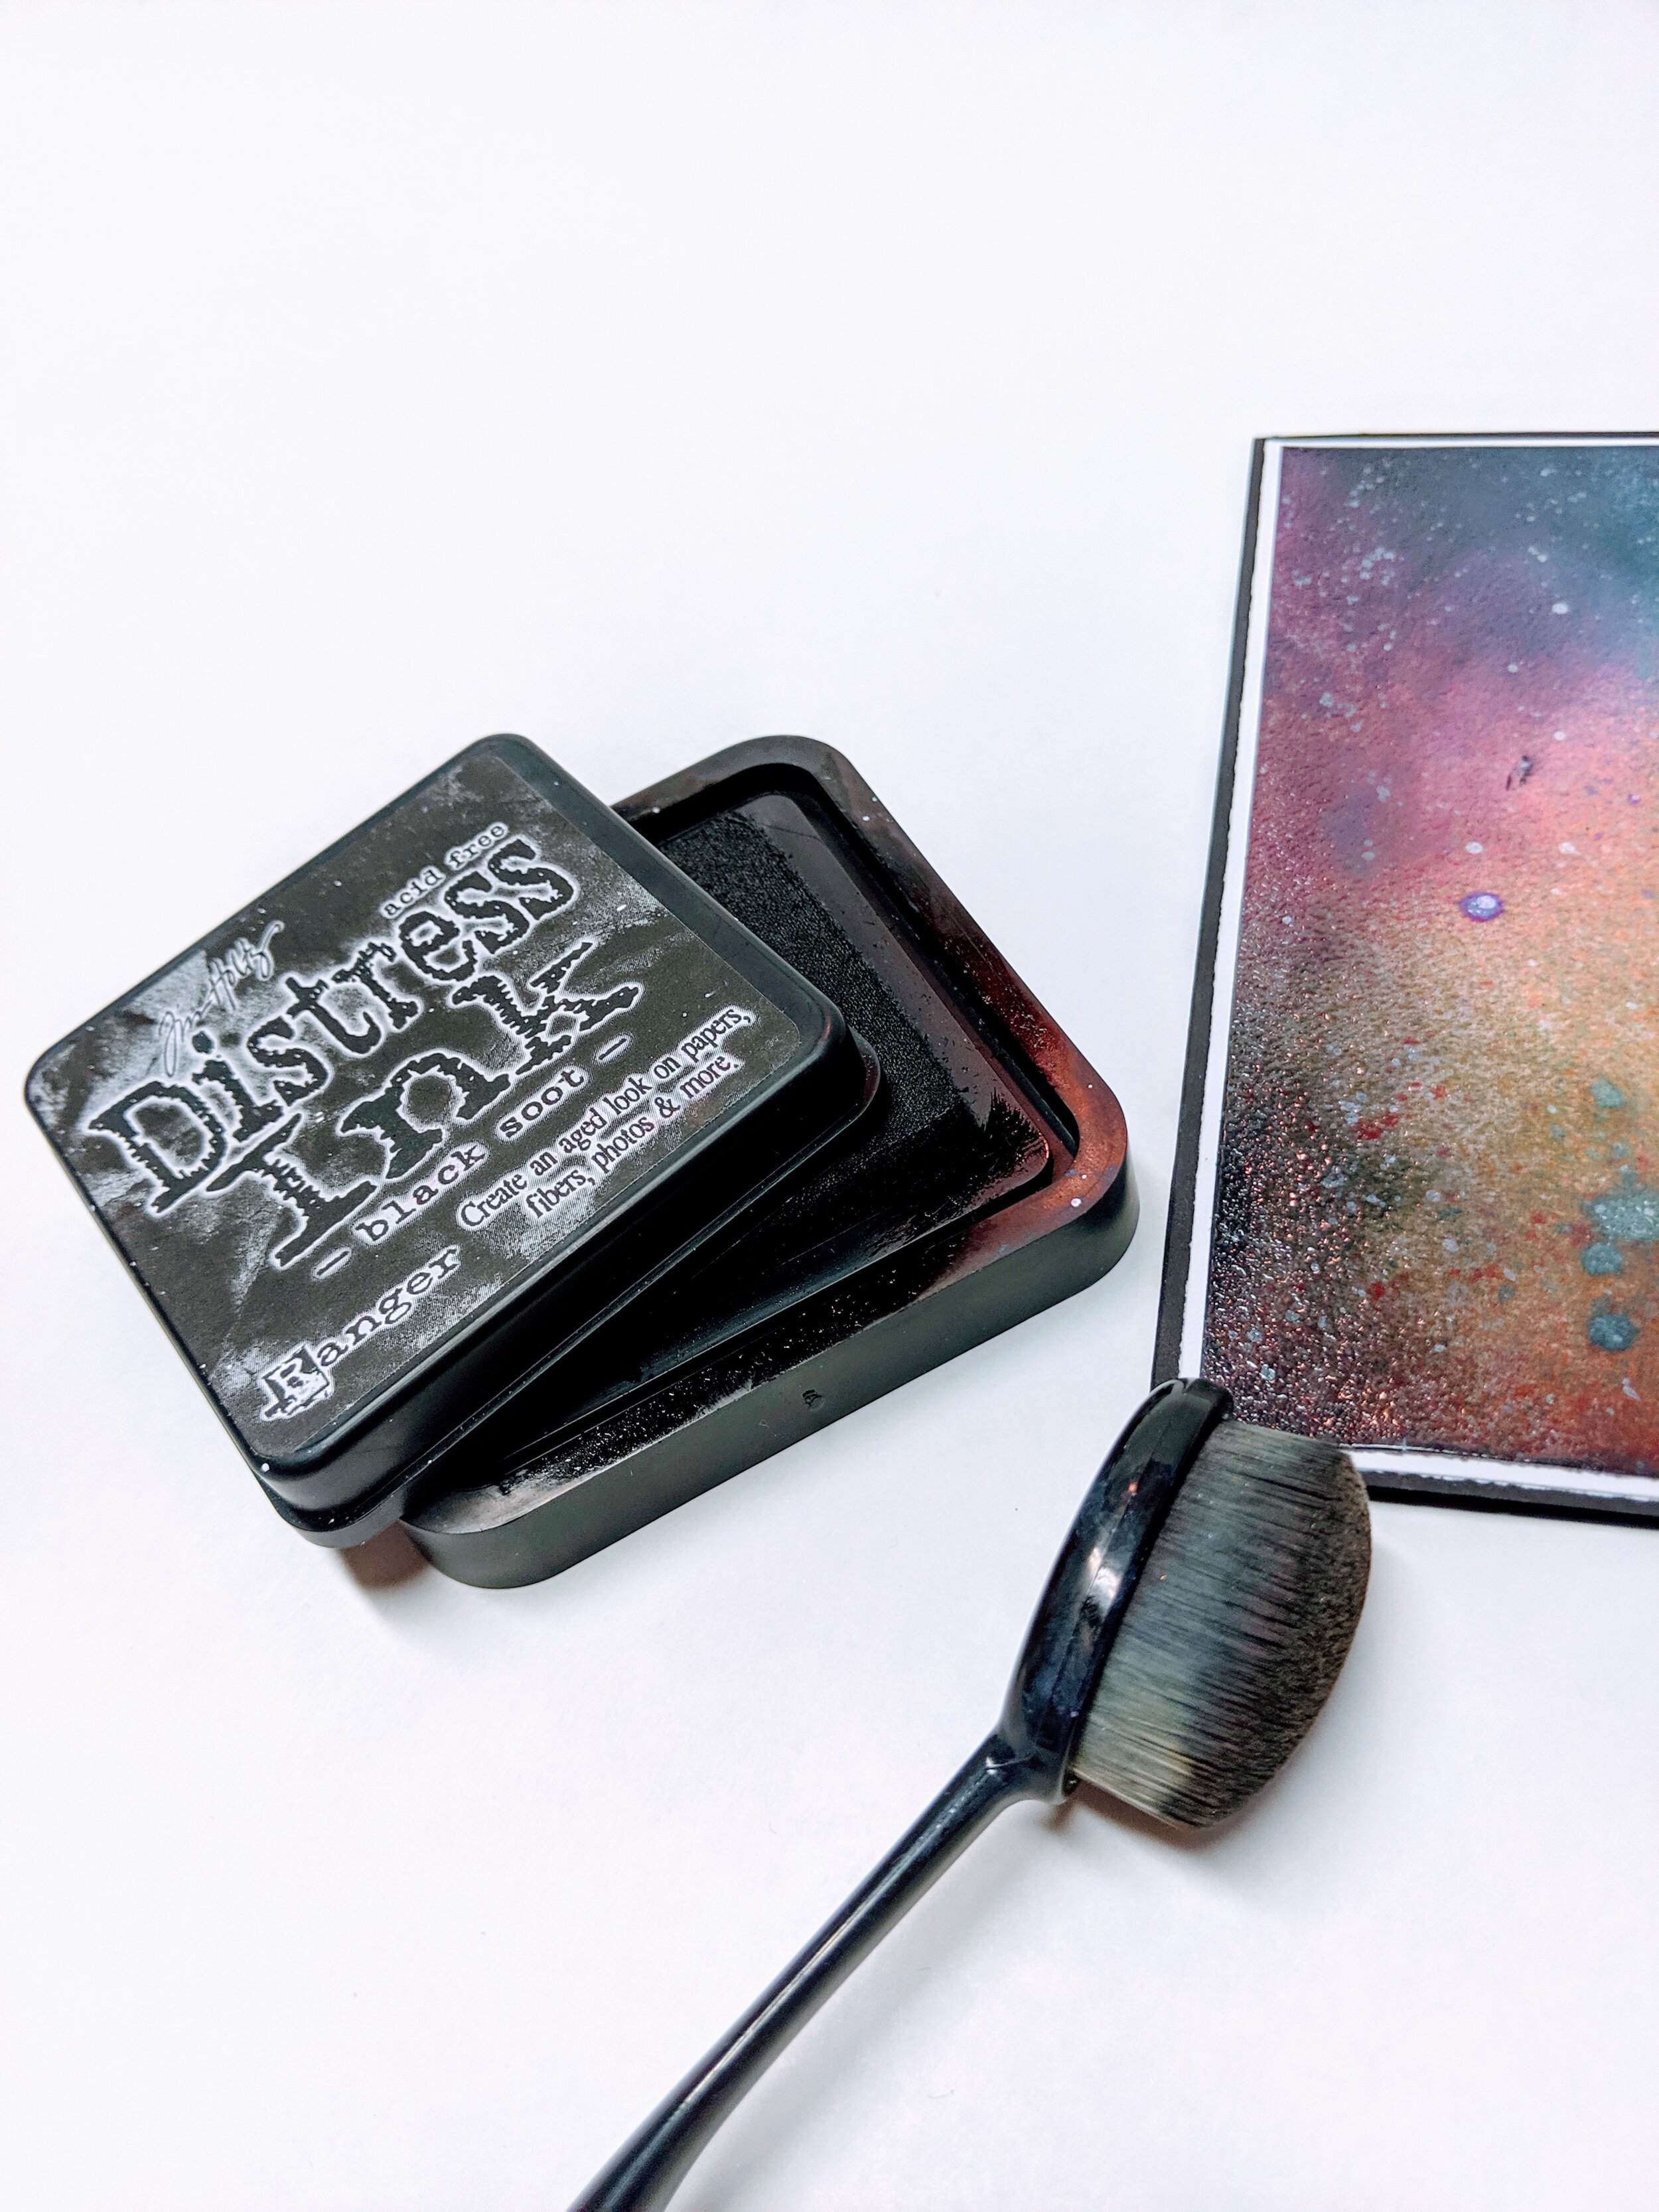
After the ink has dried, use a Picket Fence blending sponge and black dye-based ink to apply black ink around the edge of the card stock.
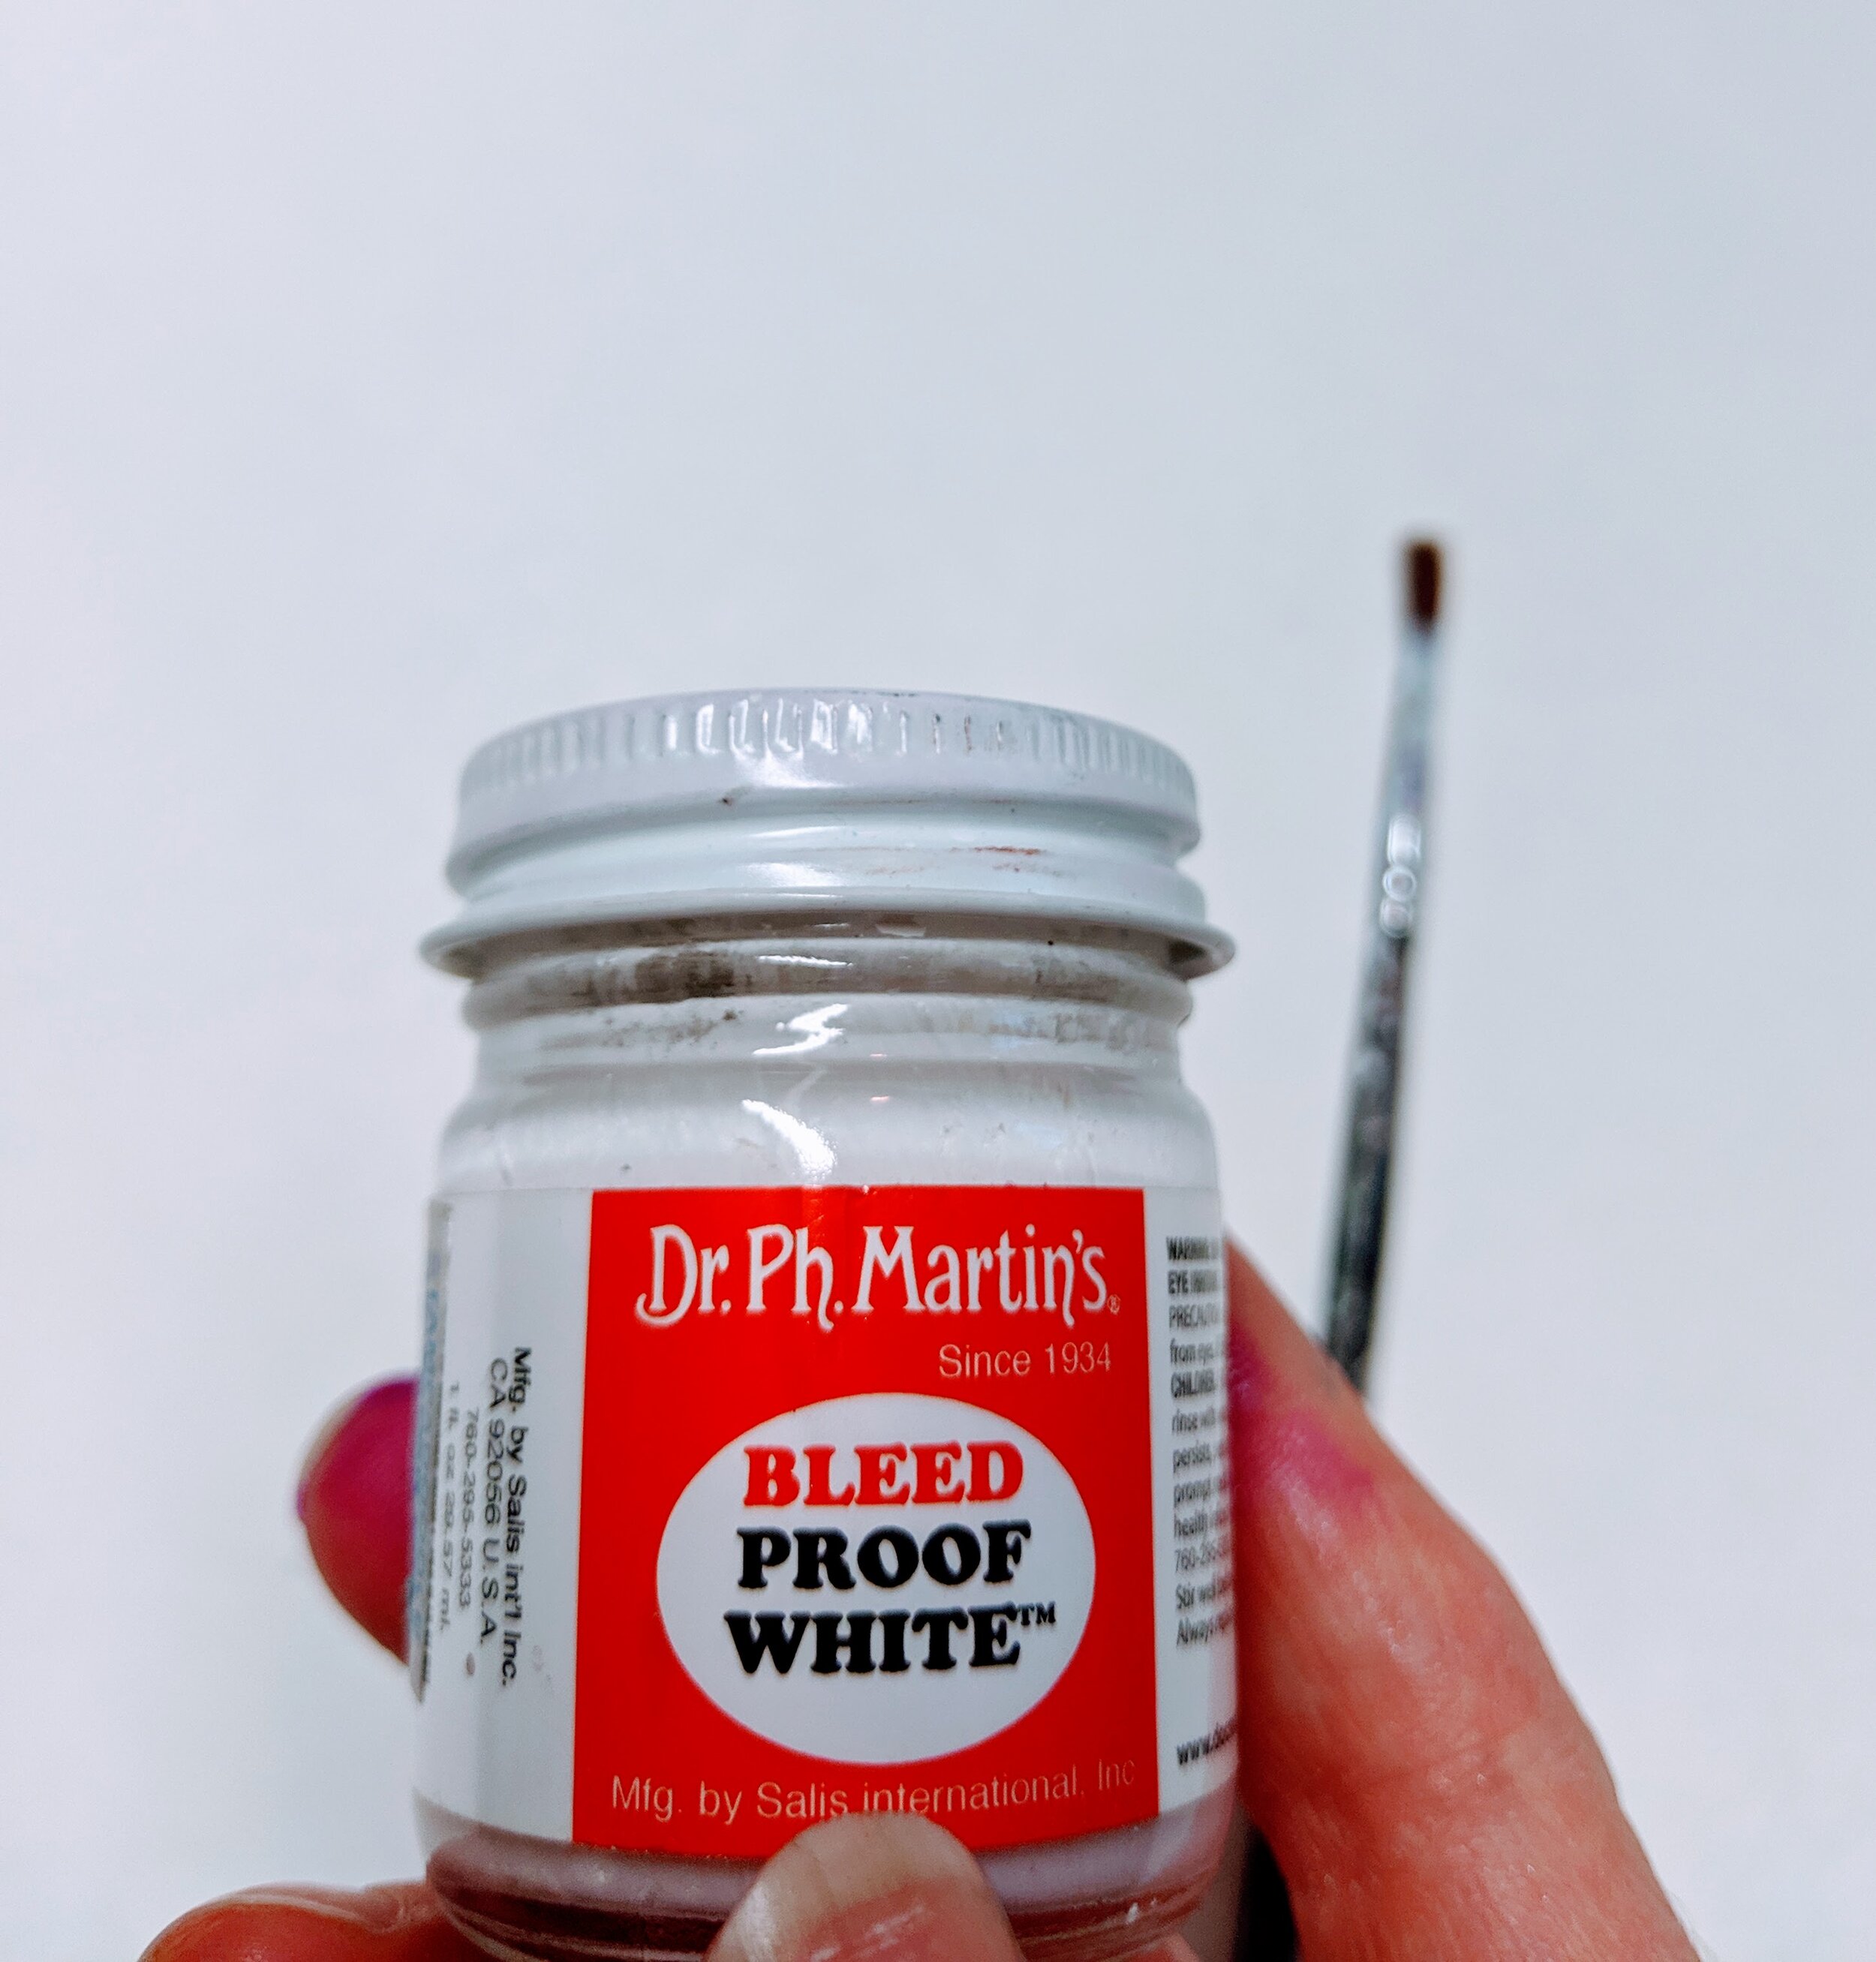
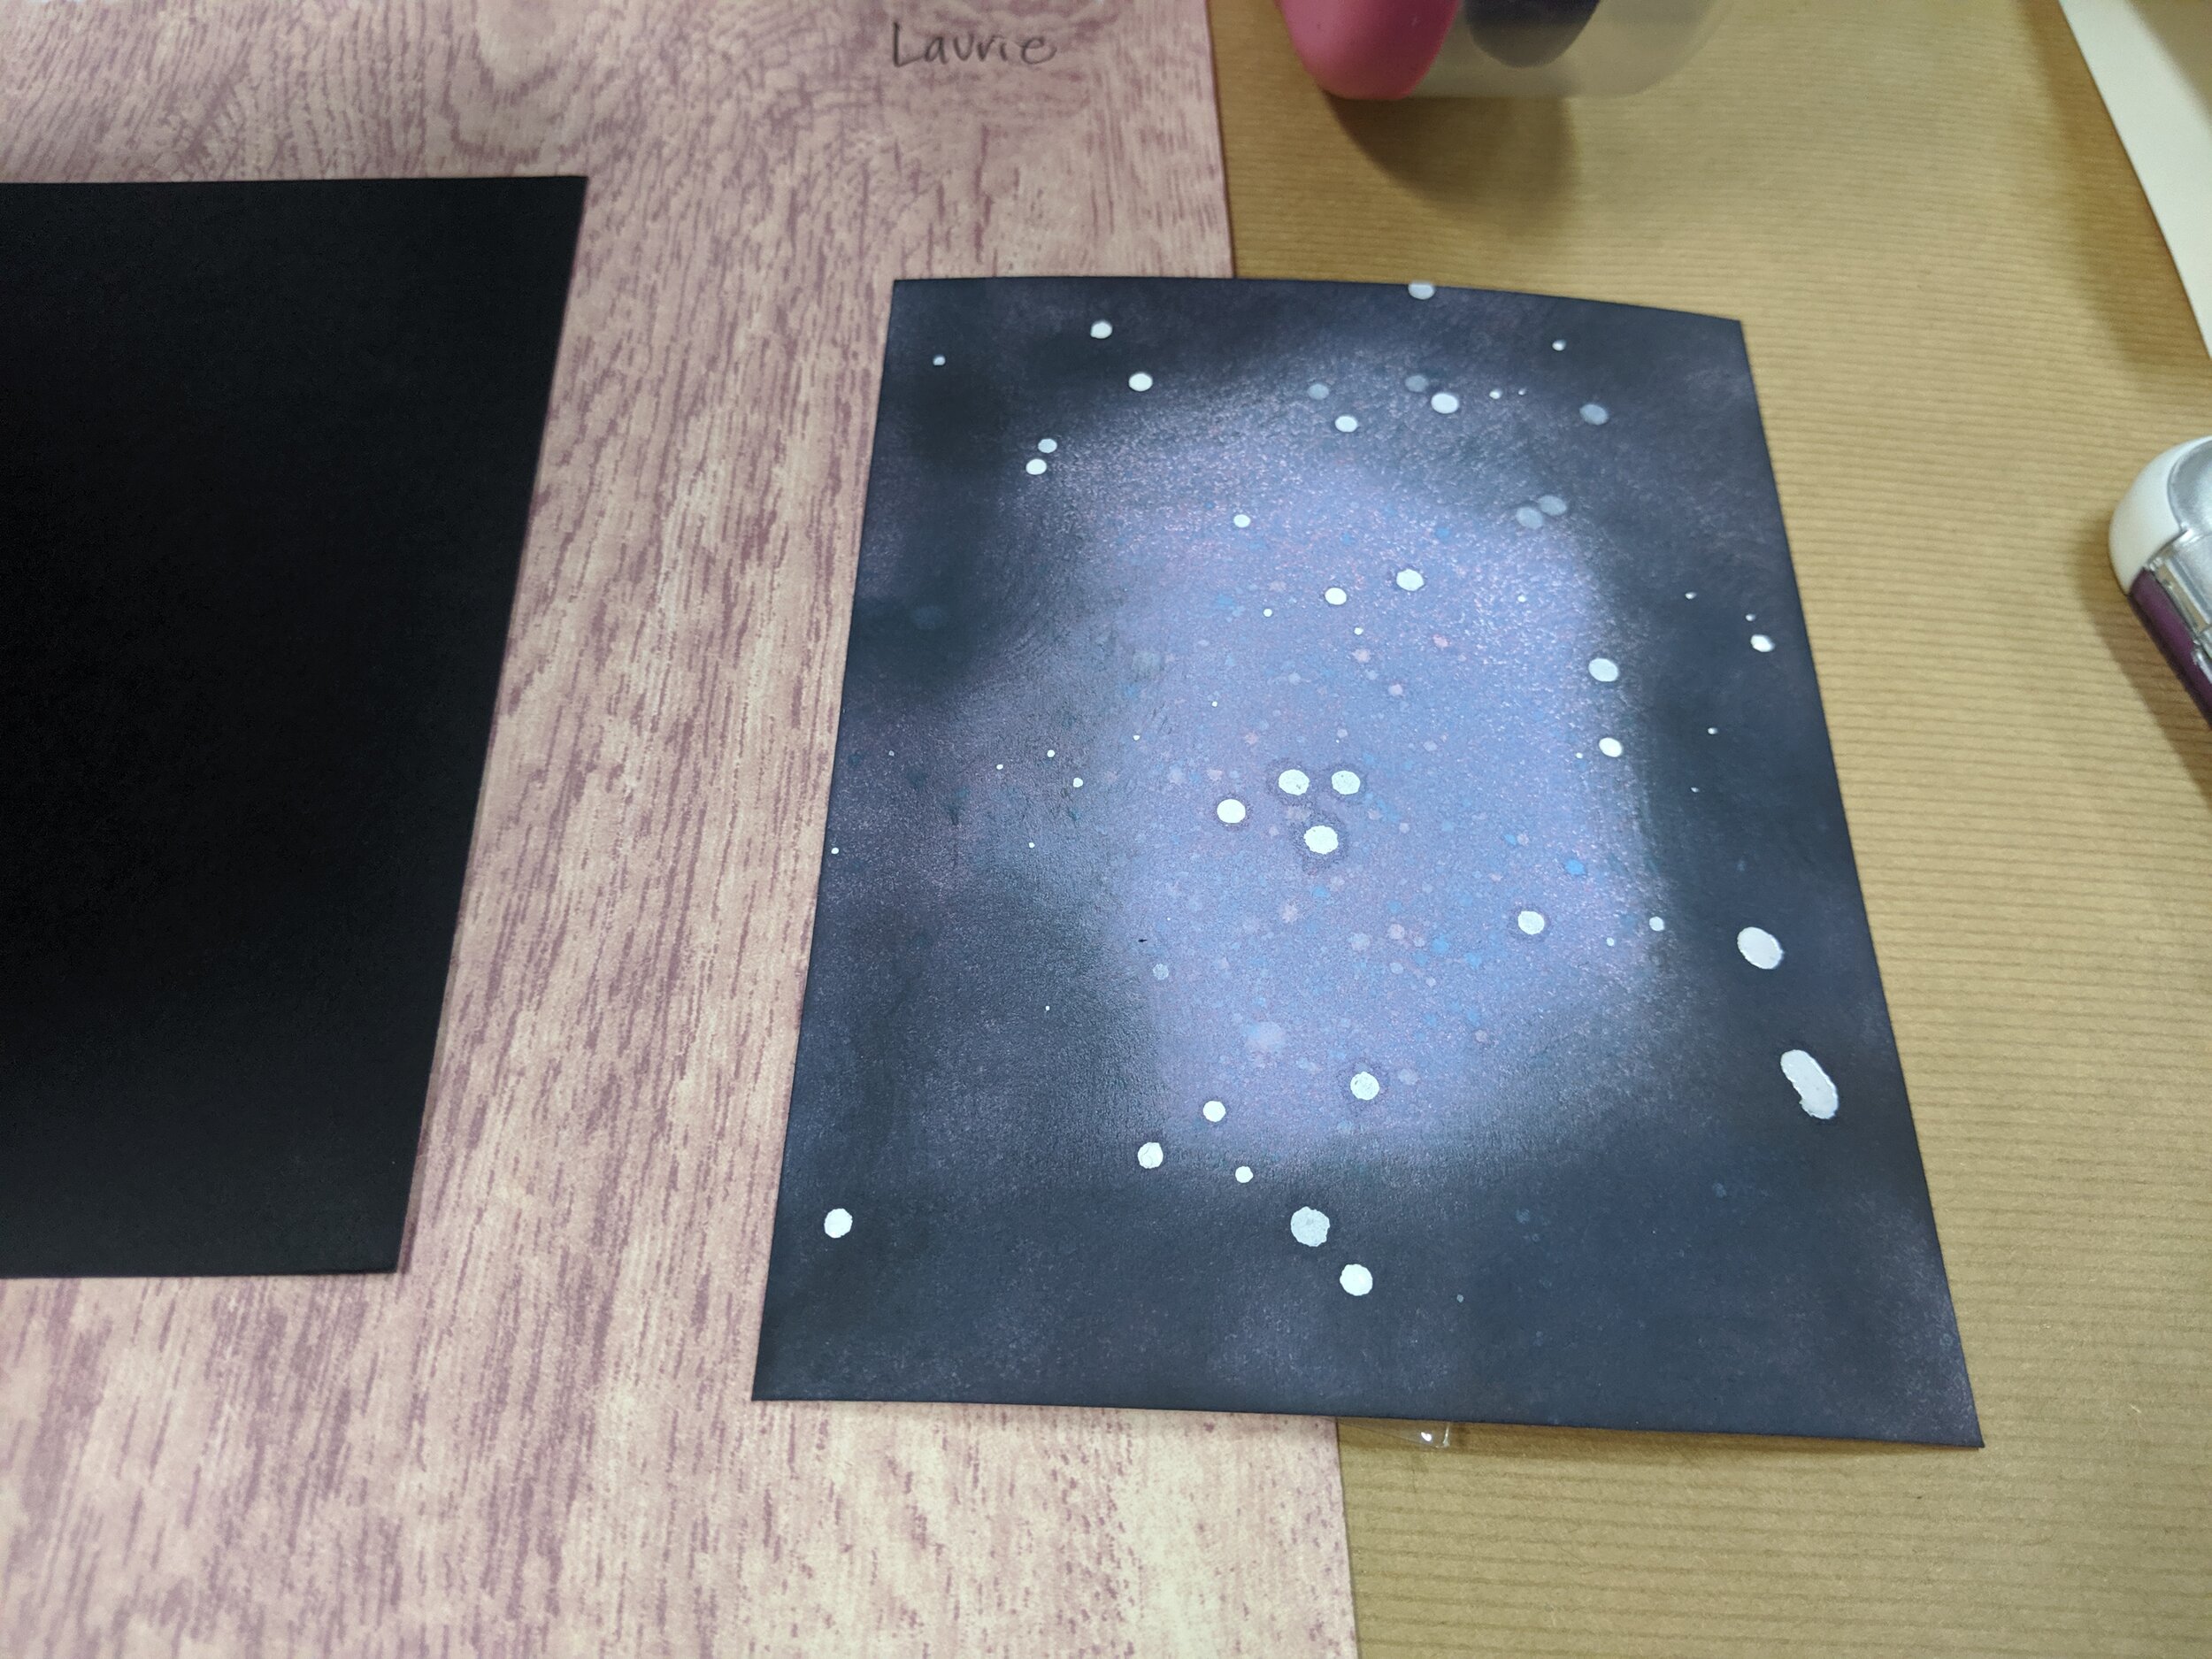
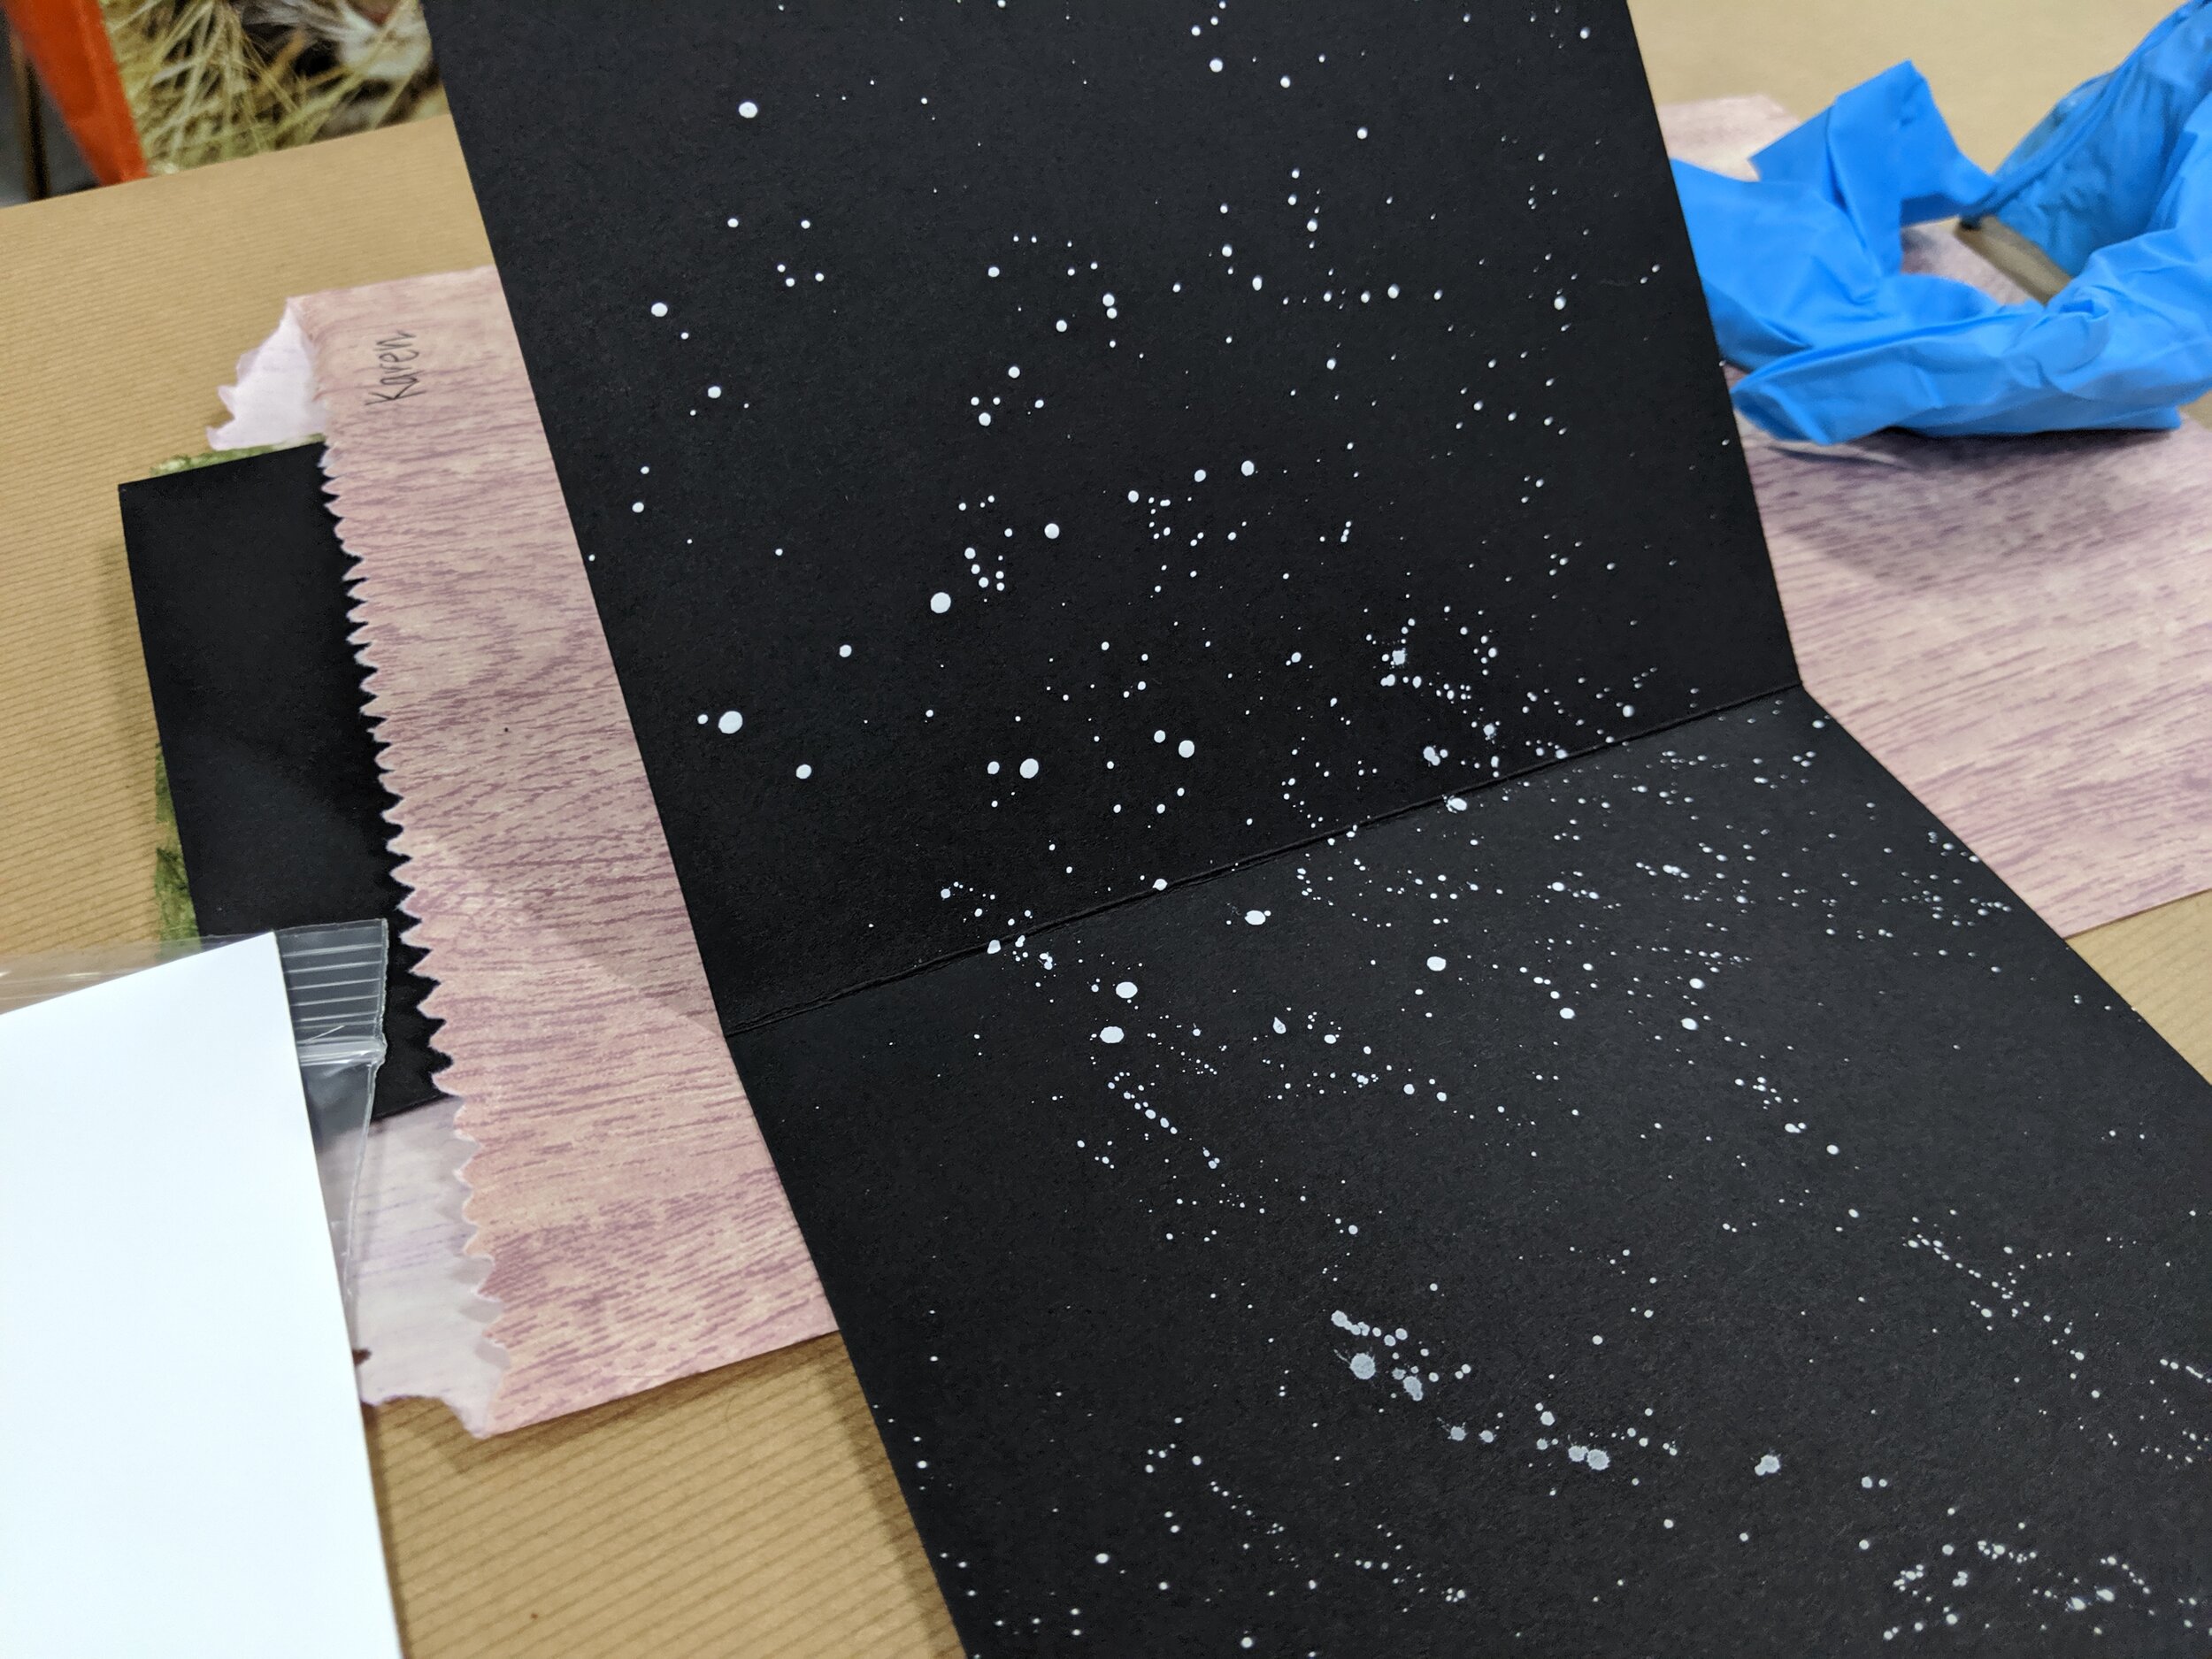
Now take a tiny bit of Bleed Proof White ink and put it in a little dish with a small spritz of water. This will activate the ink to make it thin enough to put on your paintbrush. If you put the paint brush above your paper and tap the top of it with your finger, you will create the splatter effect below!
Once your Galaxy Background has dried, you can take your clear ink pad (Versamark Ink Pad) and press it across the entire image. Then finish it off by applying a coat of Detail Clear Embossing Powder. Heat set the image and look in WONDER as the colors become more vibrant and beautiful!! I LOVE how the colors look and even better is the amazing texture of the clear embossing powder glazed finish!!
Next, use your Home Die-Cut Machine to cut out the Whittle Fox from white card stock.
Use the Ultimate Glue to adhere the fox to the front of the galaxy background scene. Adhere the entire image to a piece of white card stock (as a layer) and adhere that to the front of your card base.
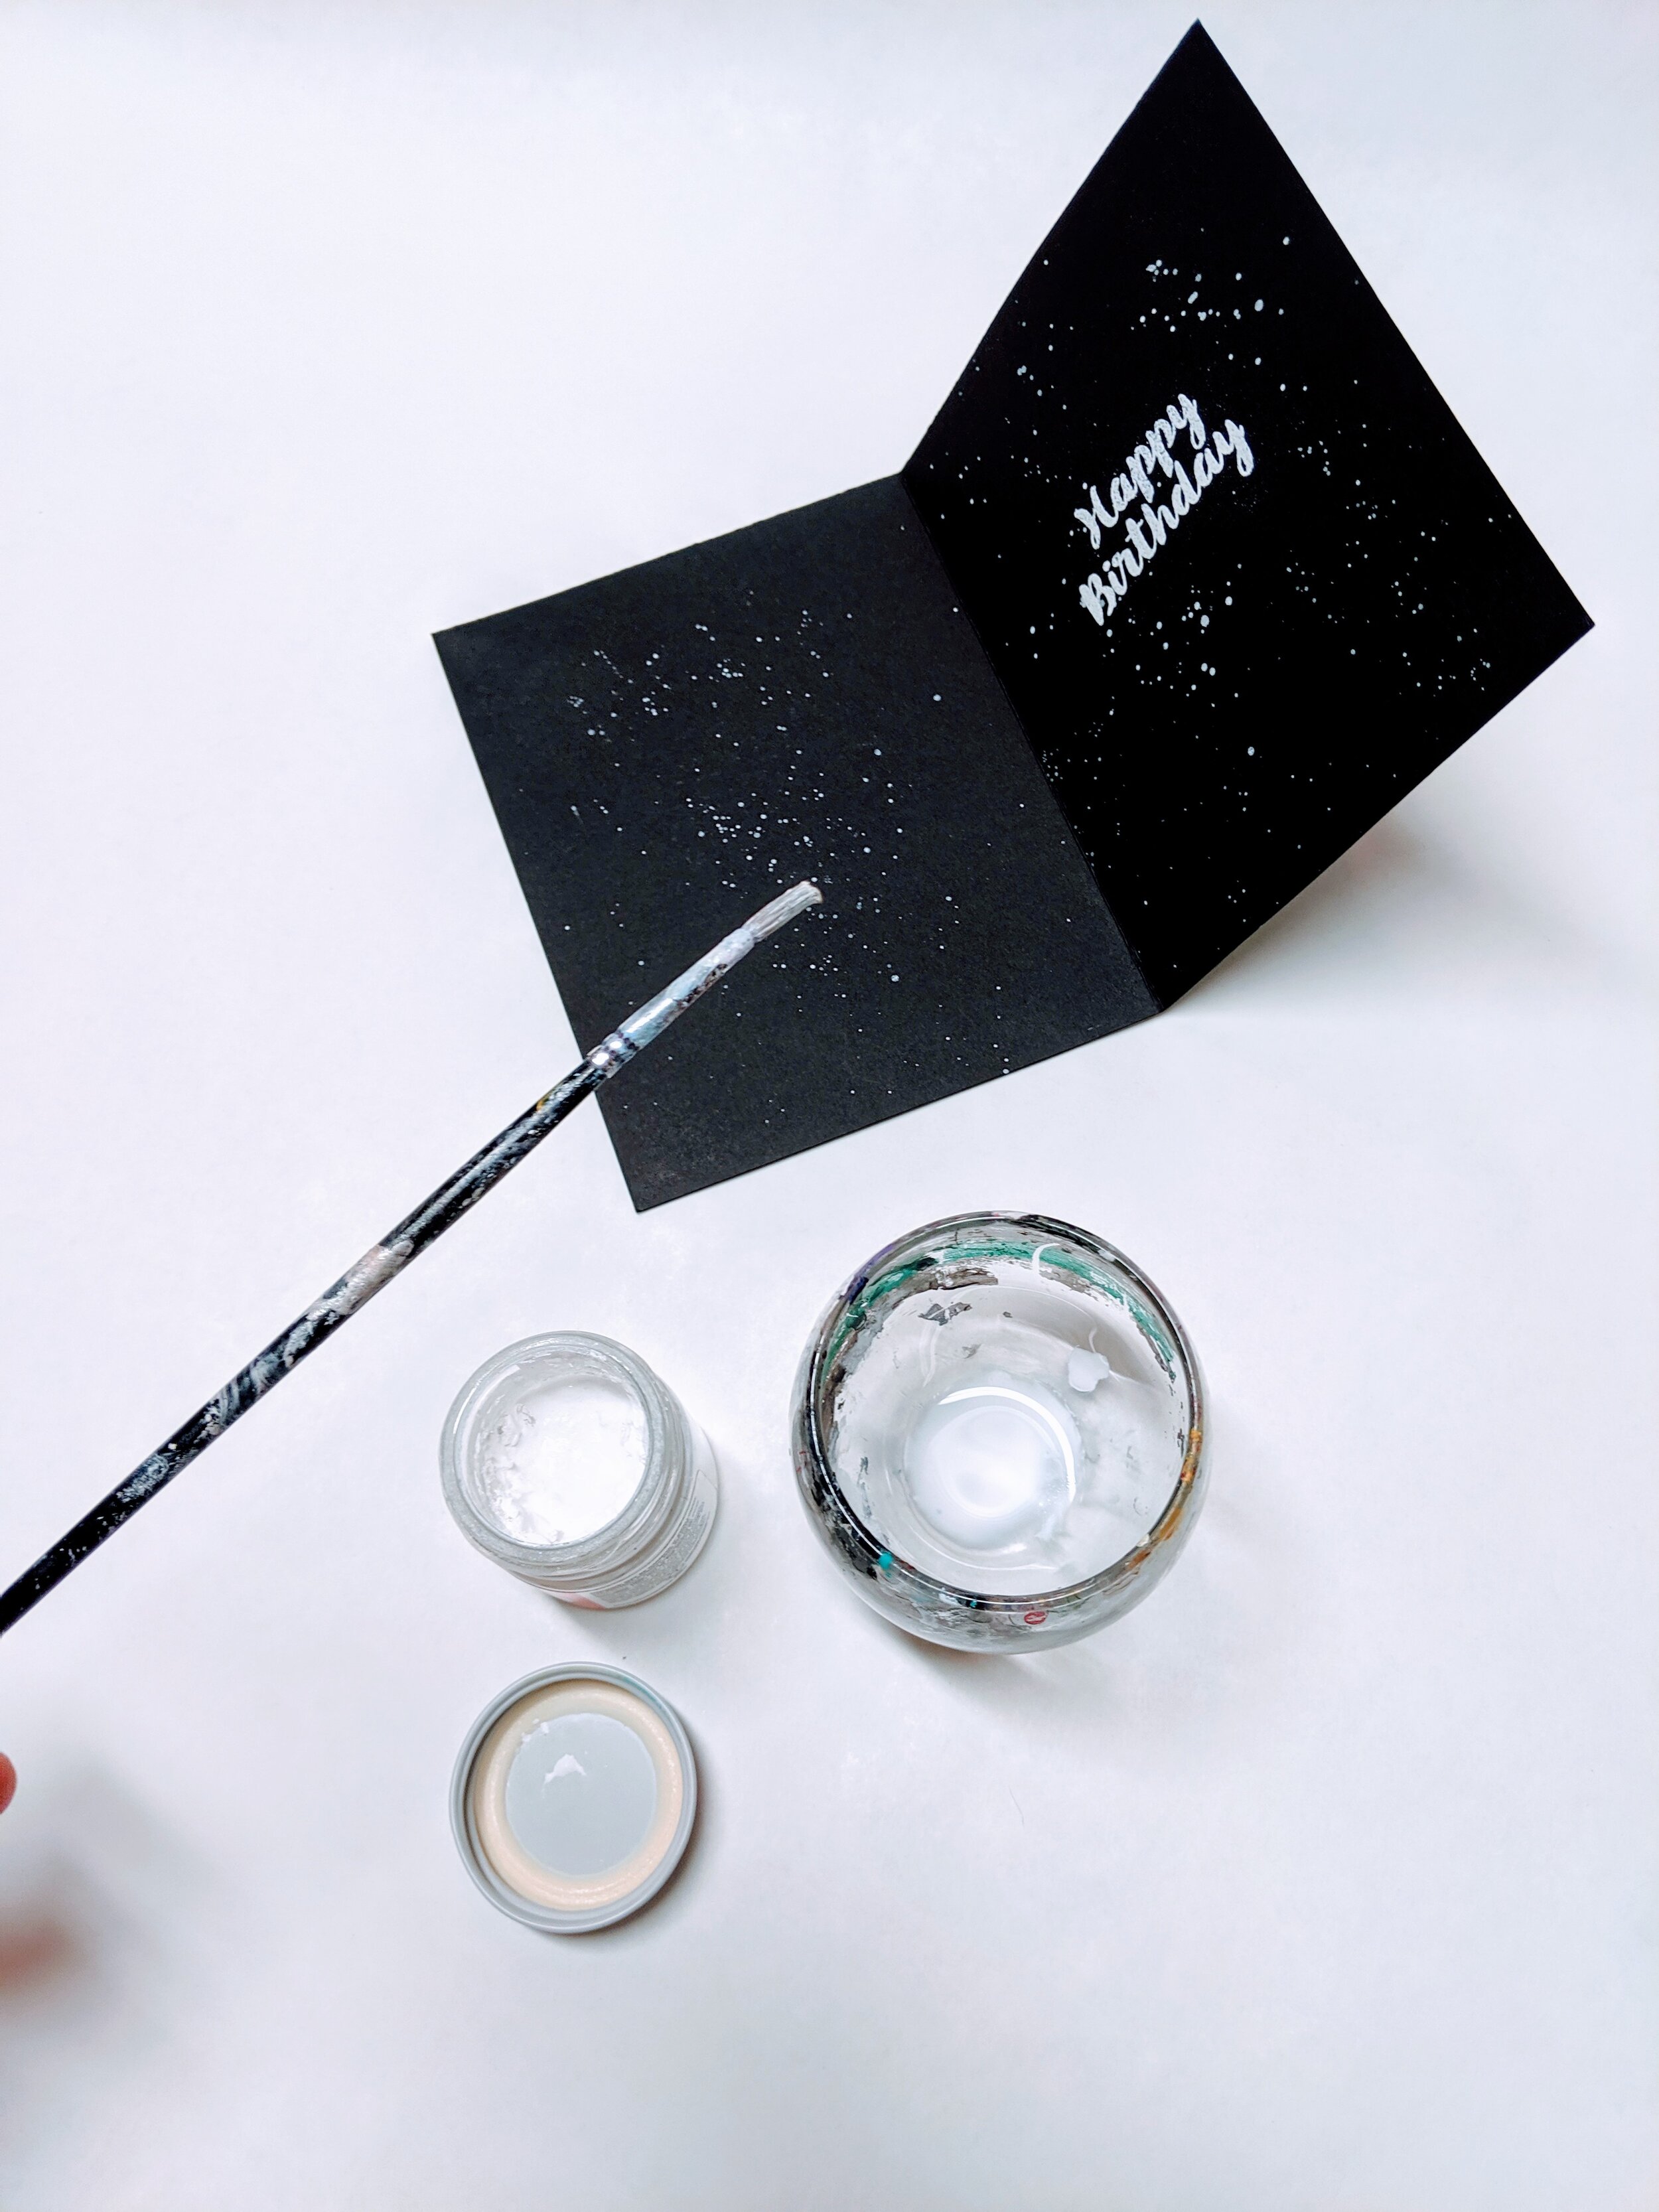
On the inside of the card, use the Bleed Proof White Splatter technique to apply more white splatter galaxies!
Finish off the card by stamping the Happy Birthday sentiment with Versamark Ink and White Embossing Powder. Heat set the sentiment.


I LOVE, LOVE, LOVE how this card turned out!! I wanted to create a fun card that could be used with ANY sentiment on the inside.. graduation, thinking of you, even a sympathy card.
Use gel pens (like white or silver) on the inside of the card to write the sentiment!!!

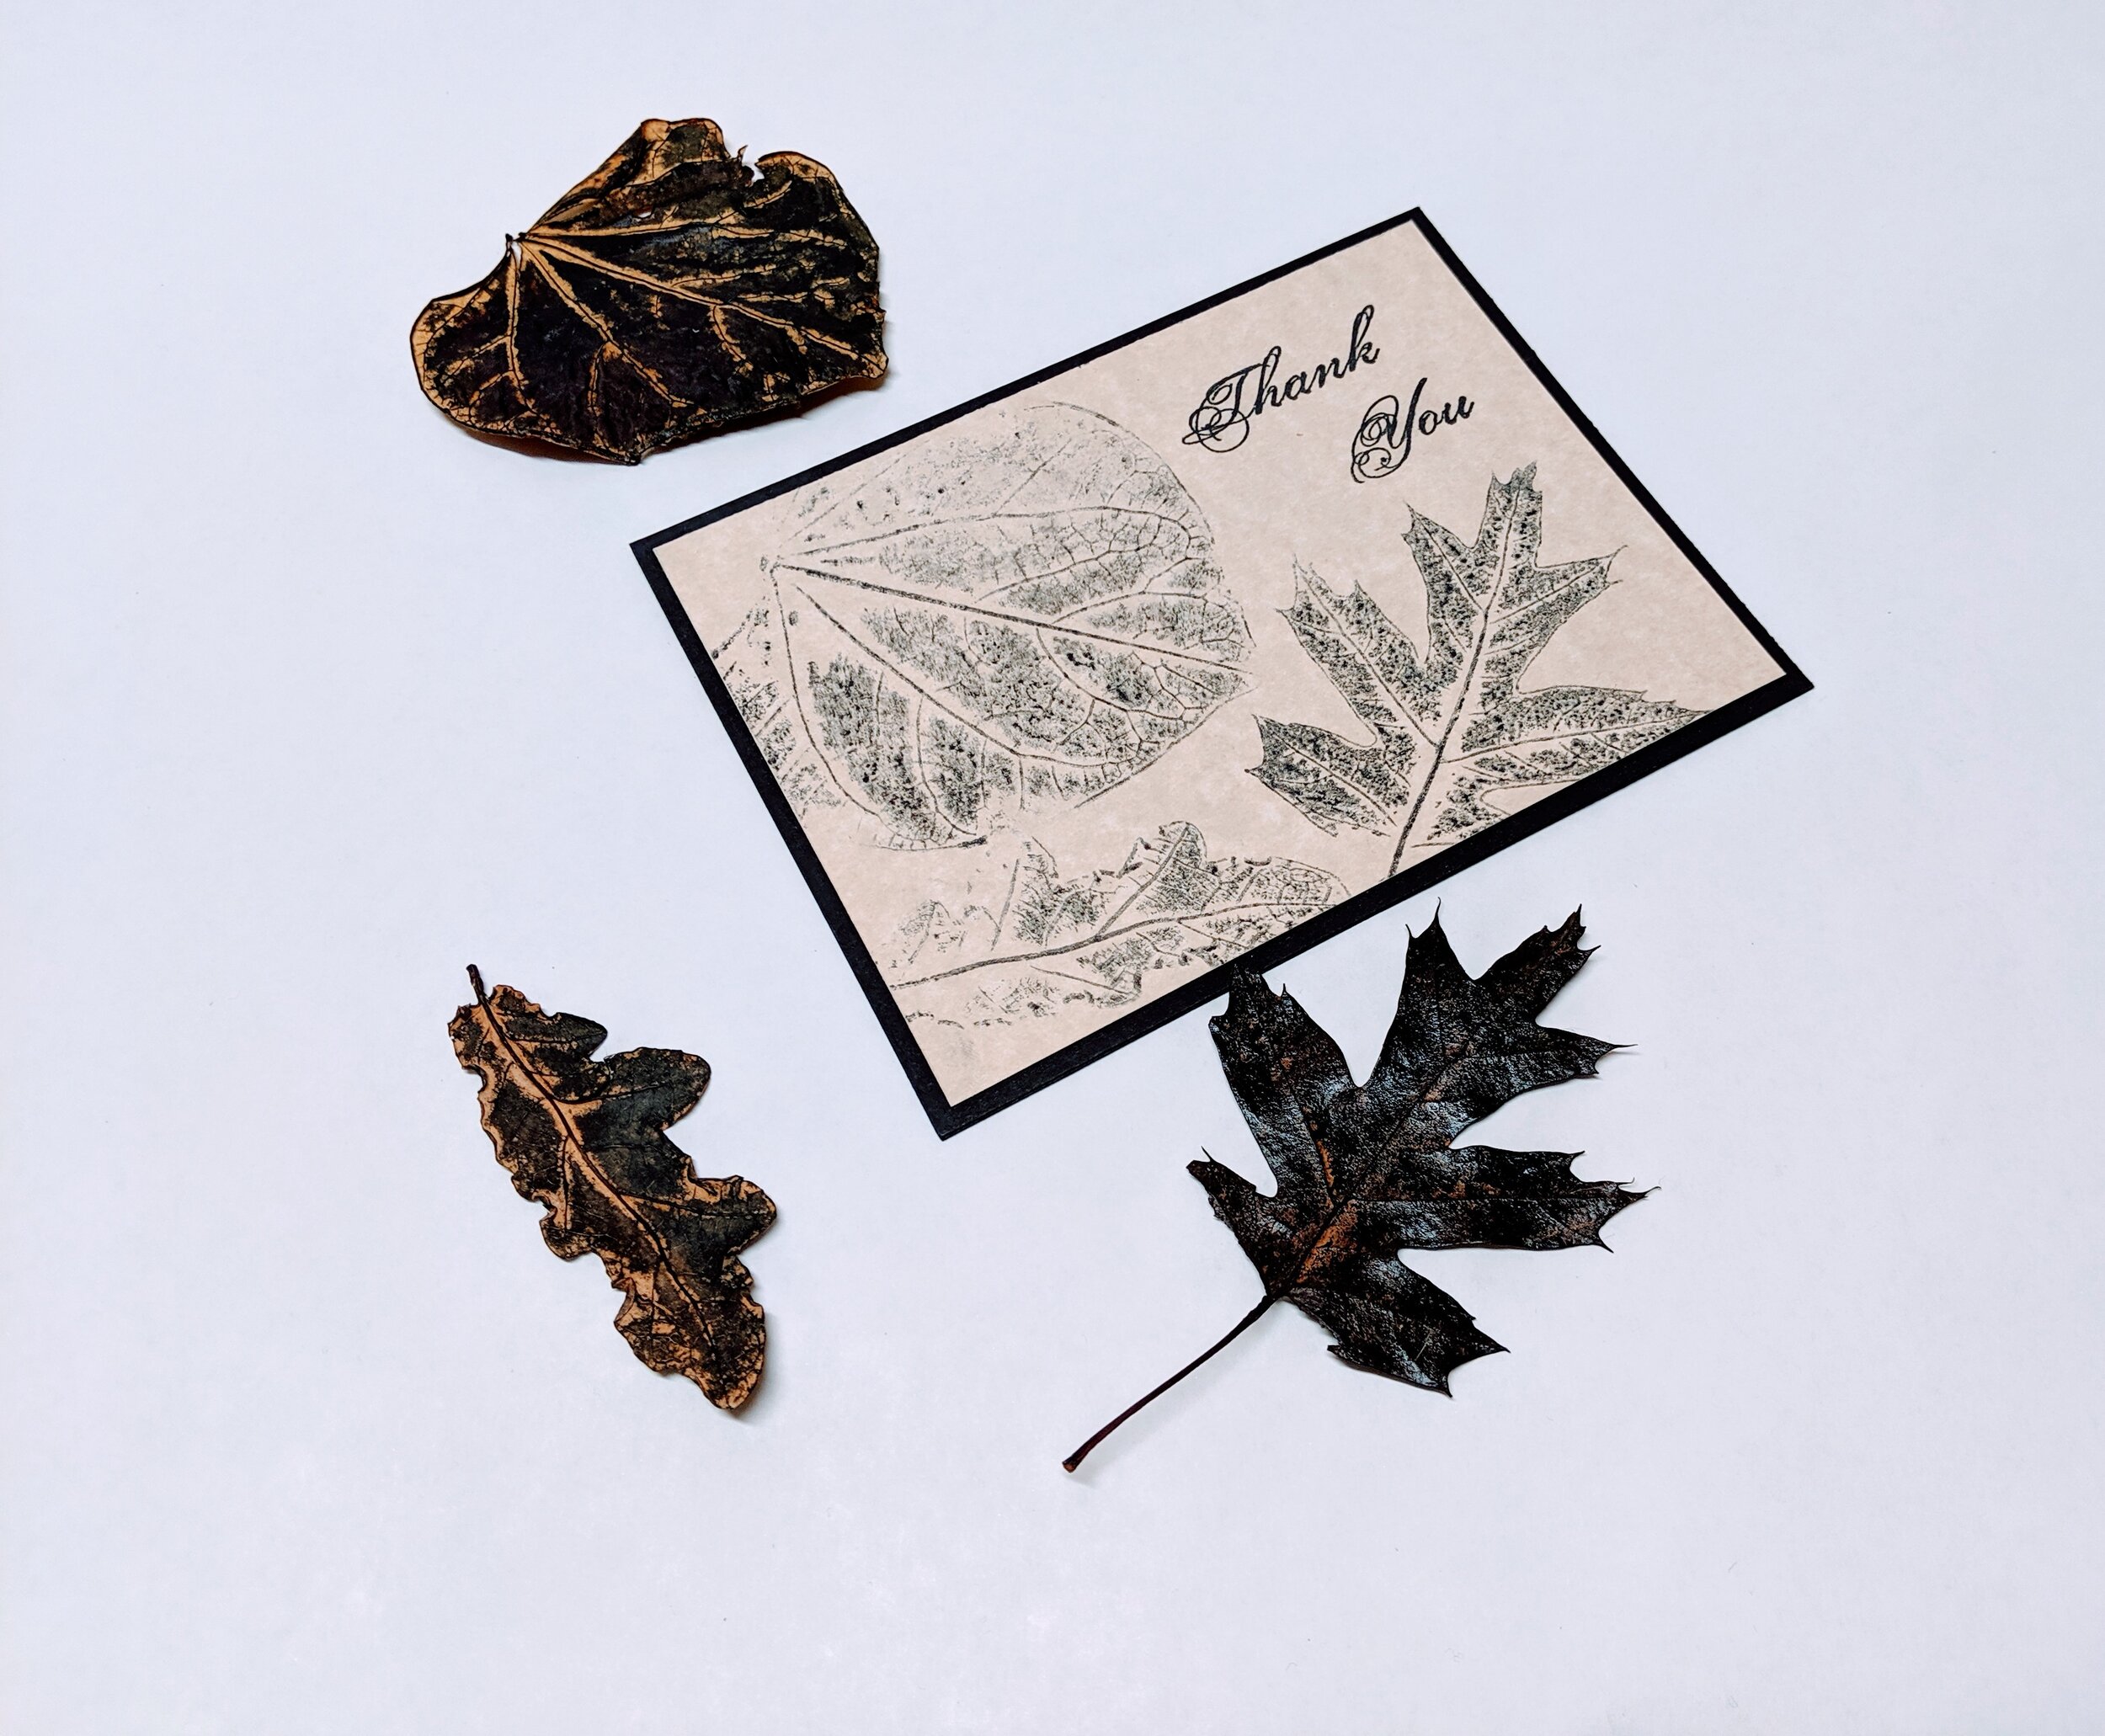
The last card that we created was actually a lot of fun!! All you need for this one is Versafine Clair inks and a Sentiment. I used Black Versafine Clair ink but you can use ANY of your Versafine Clair inks for this project!! I also used the BoBunny stamp set, Invited for this card.


To make the card:
Start out with a piece of black card stock as your card base.
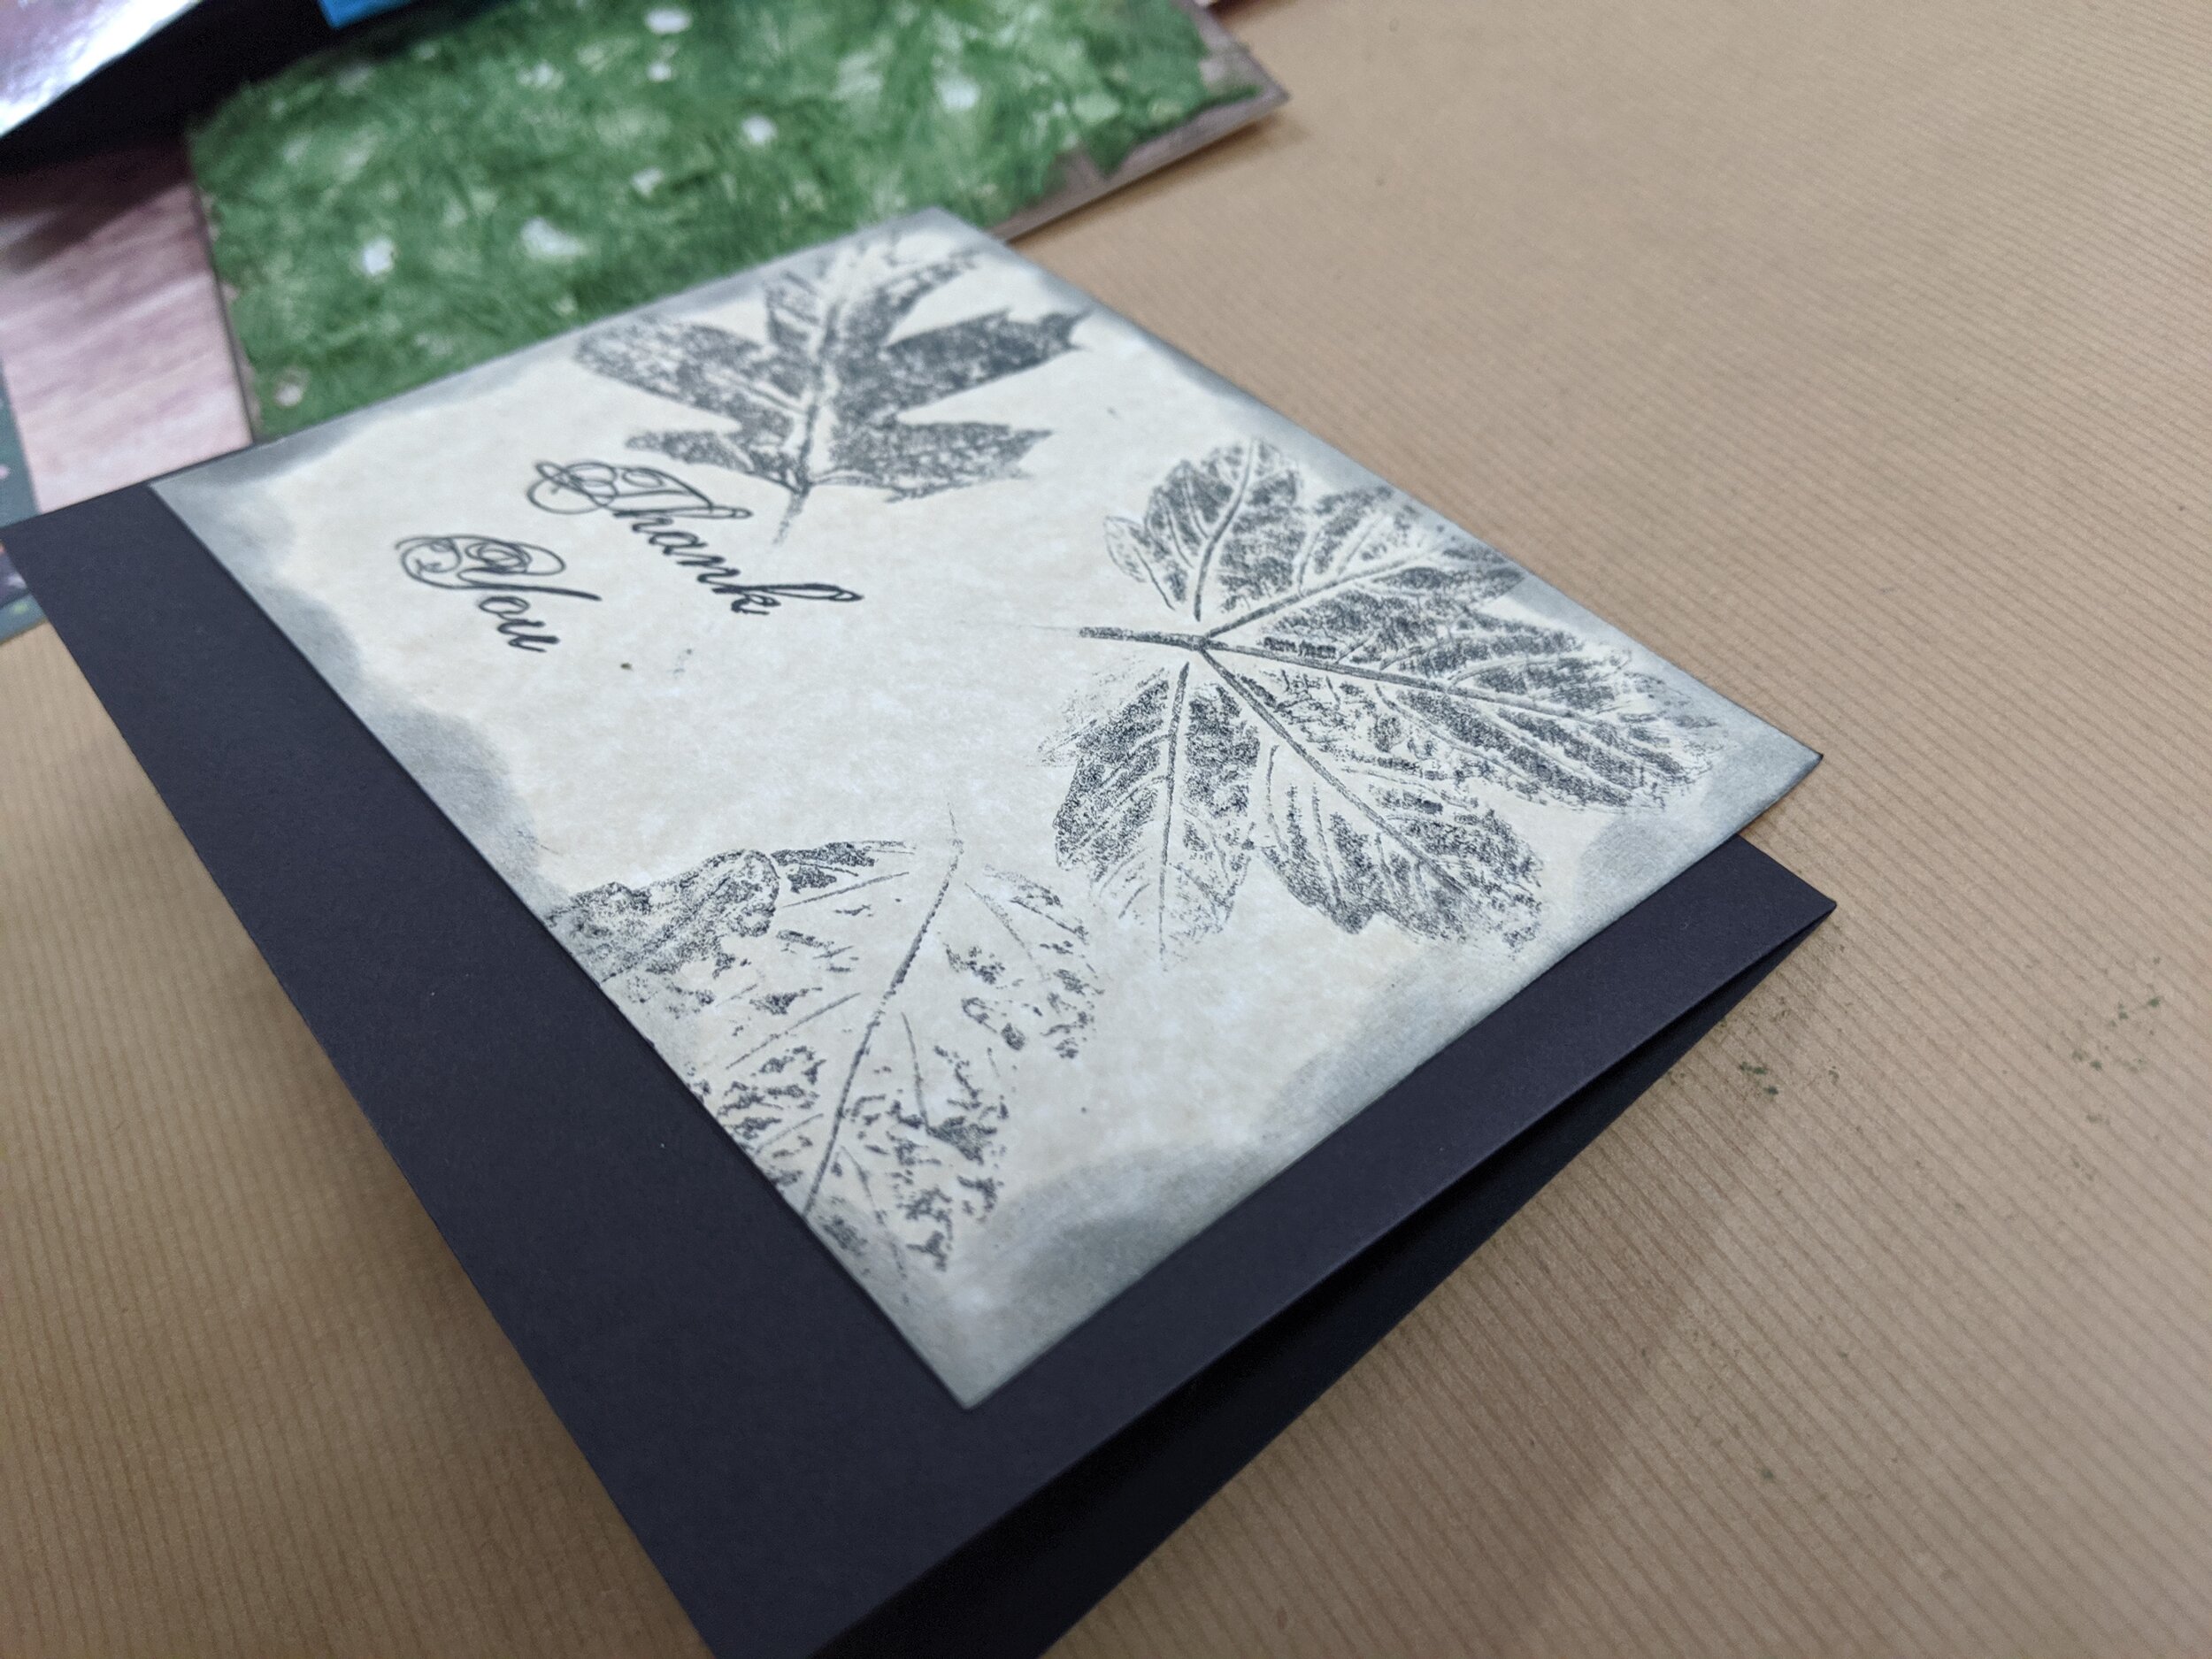
Use a piece of Astroparche paper as your front layering piece (this is where you will stamp your leaves)
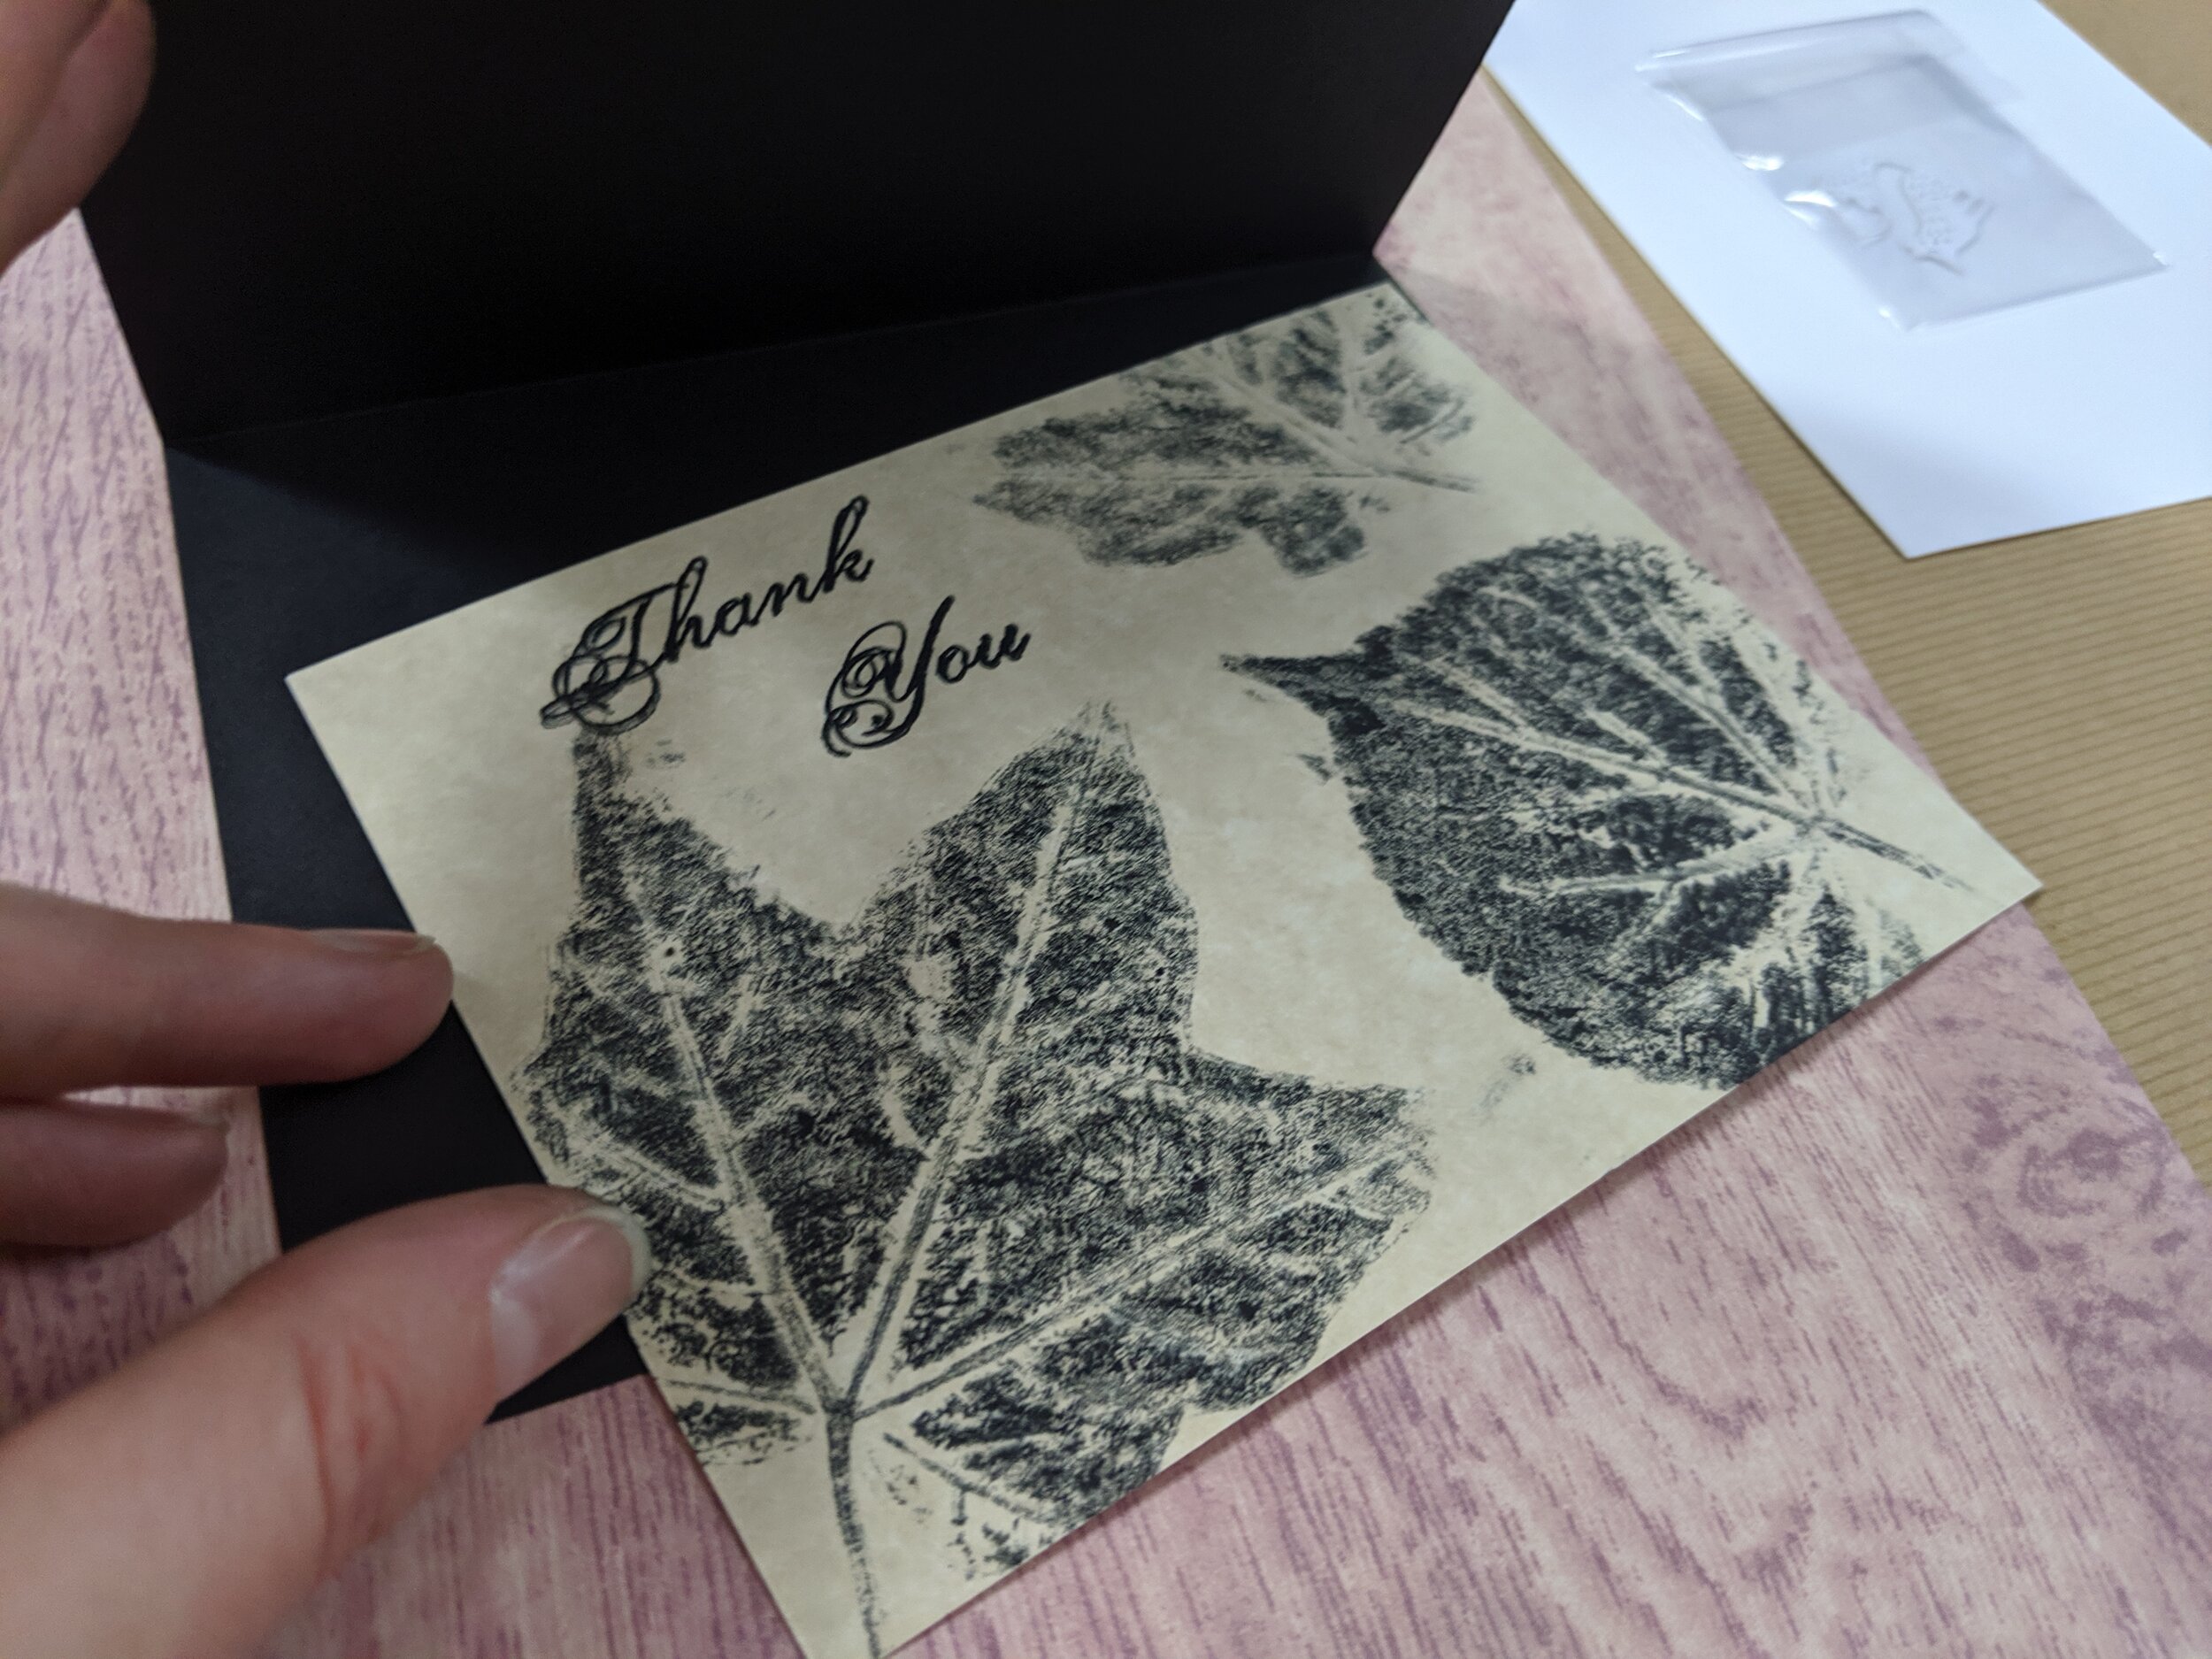
* I recommend using gloves for this part because it could get messy! * Use your silicone craft mat to lay down your leaves. Press your Versafine Clair ink pad to the leaves
Pick up the inked leaves and set them INK SIDE DOWN onto the craft mat. Place a paper towel over the leaves, and a piece of paper on top of the paper towel and press fully all the way across the paper. Lift everything away and you should see leaf images on the silicone mat (if you do NOT, add ink to your ink pad and do it again, you want nice, juicy images on the mat)
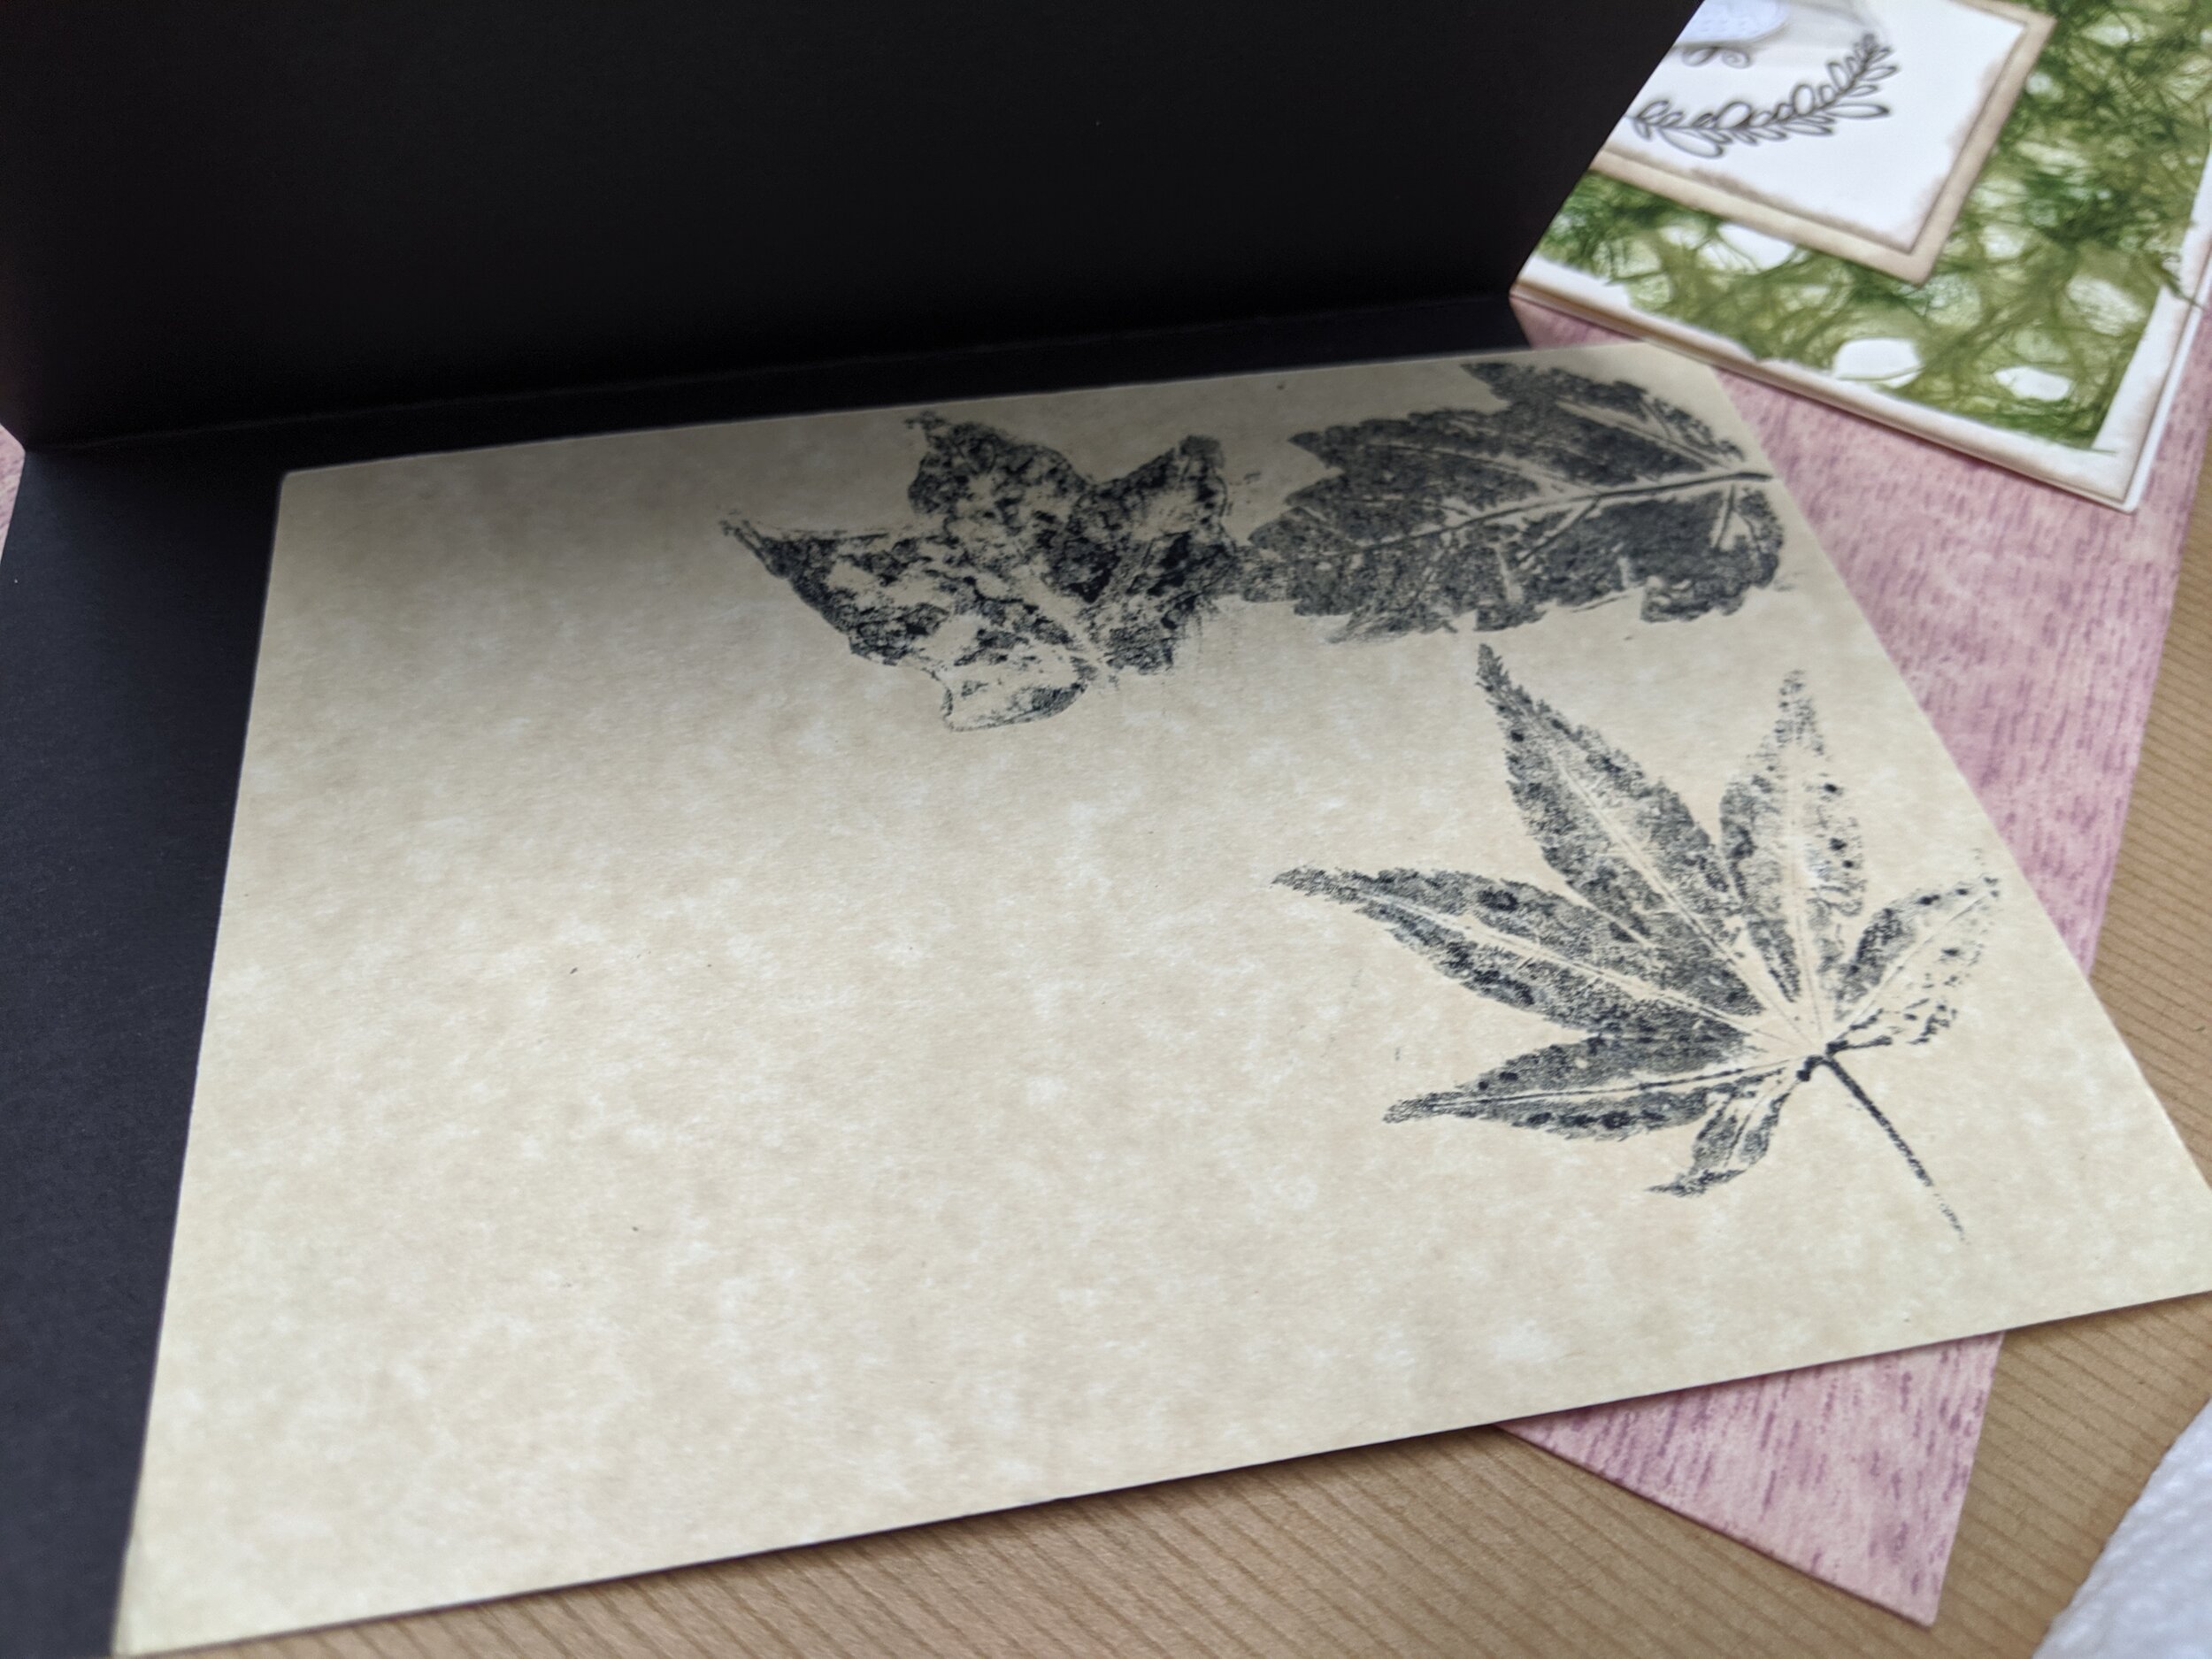
Now, press your Astroparche Paper down on top of the leaf images. When you press down on your paper, the leaves will transfer!!
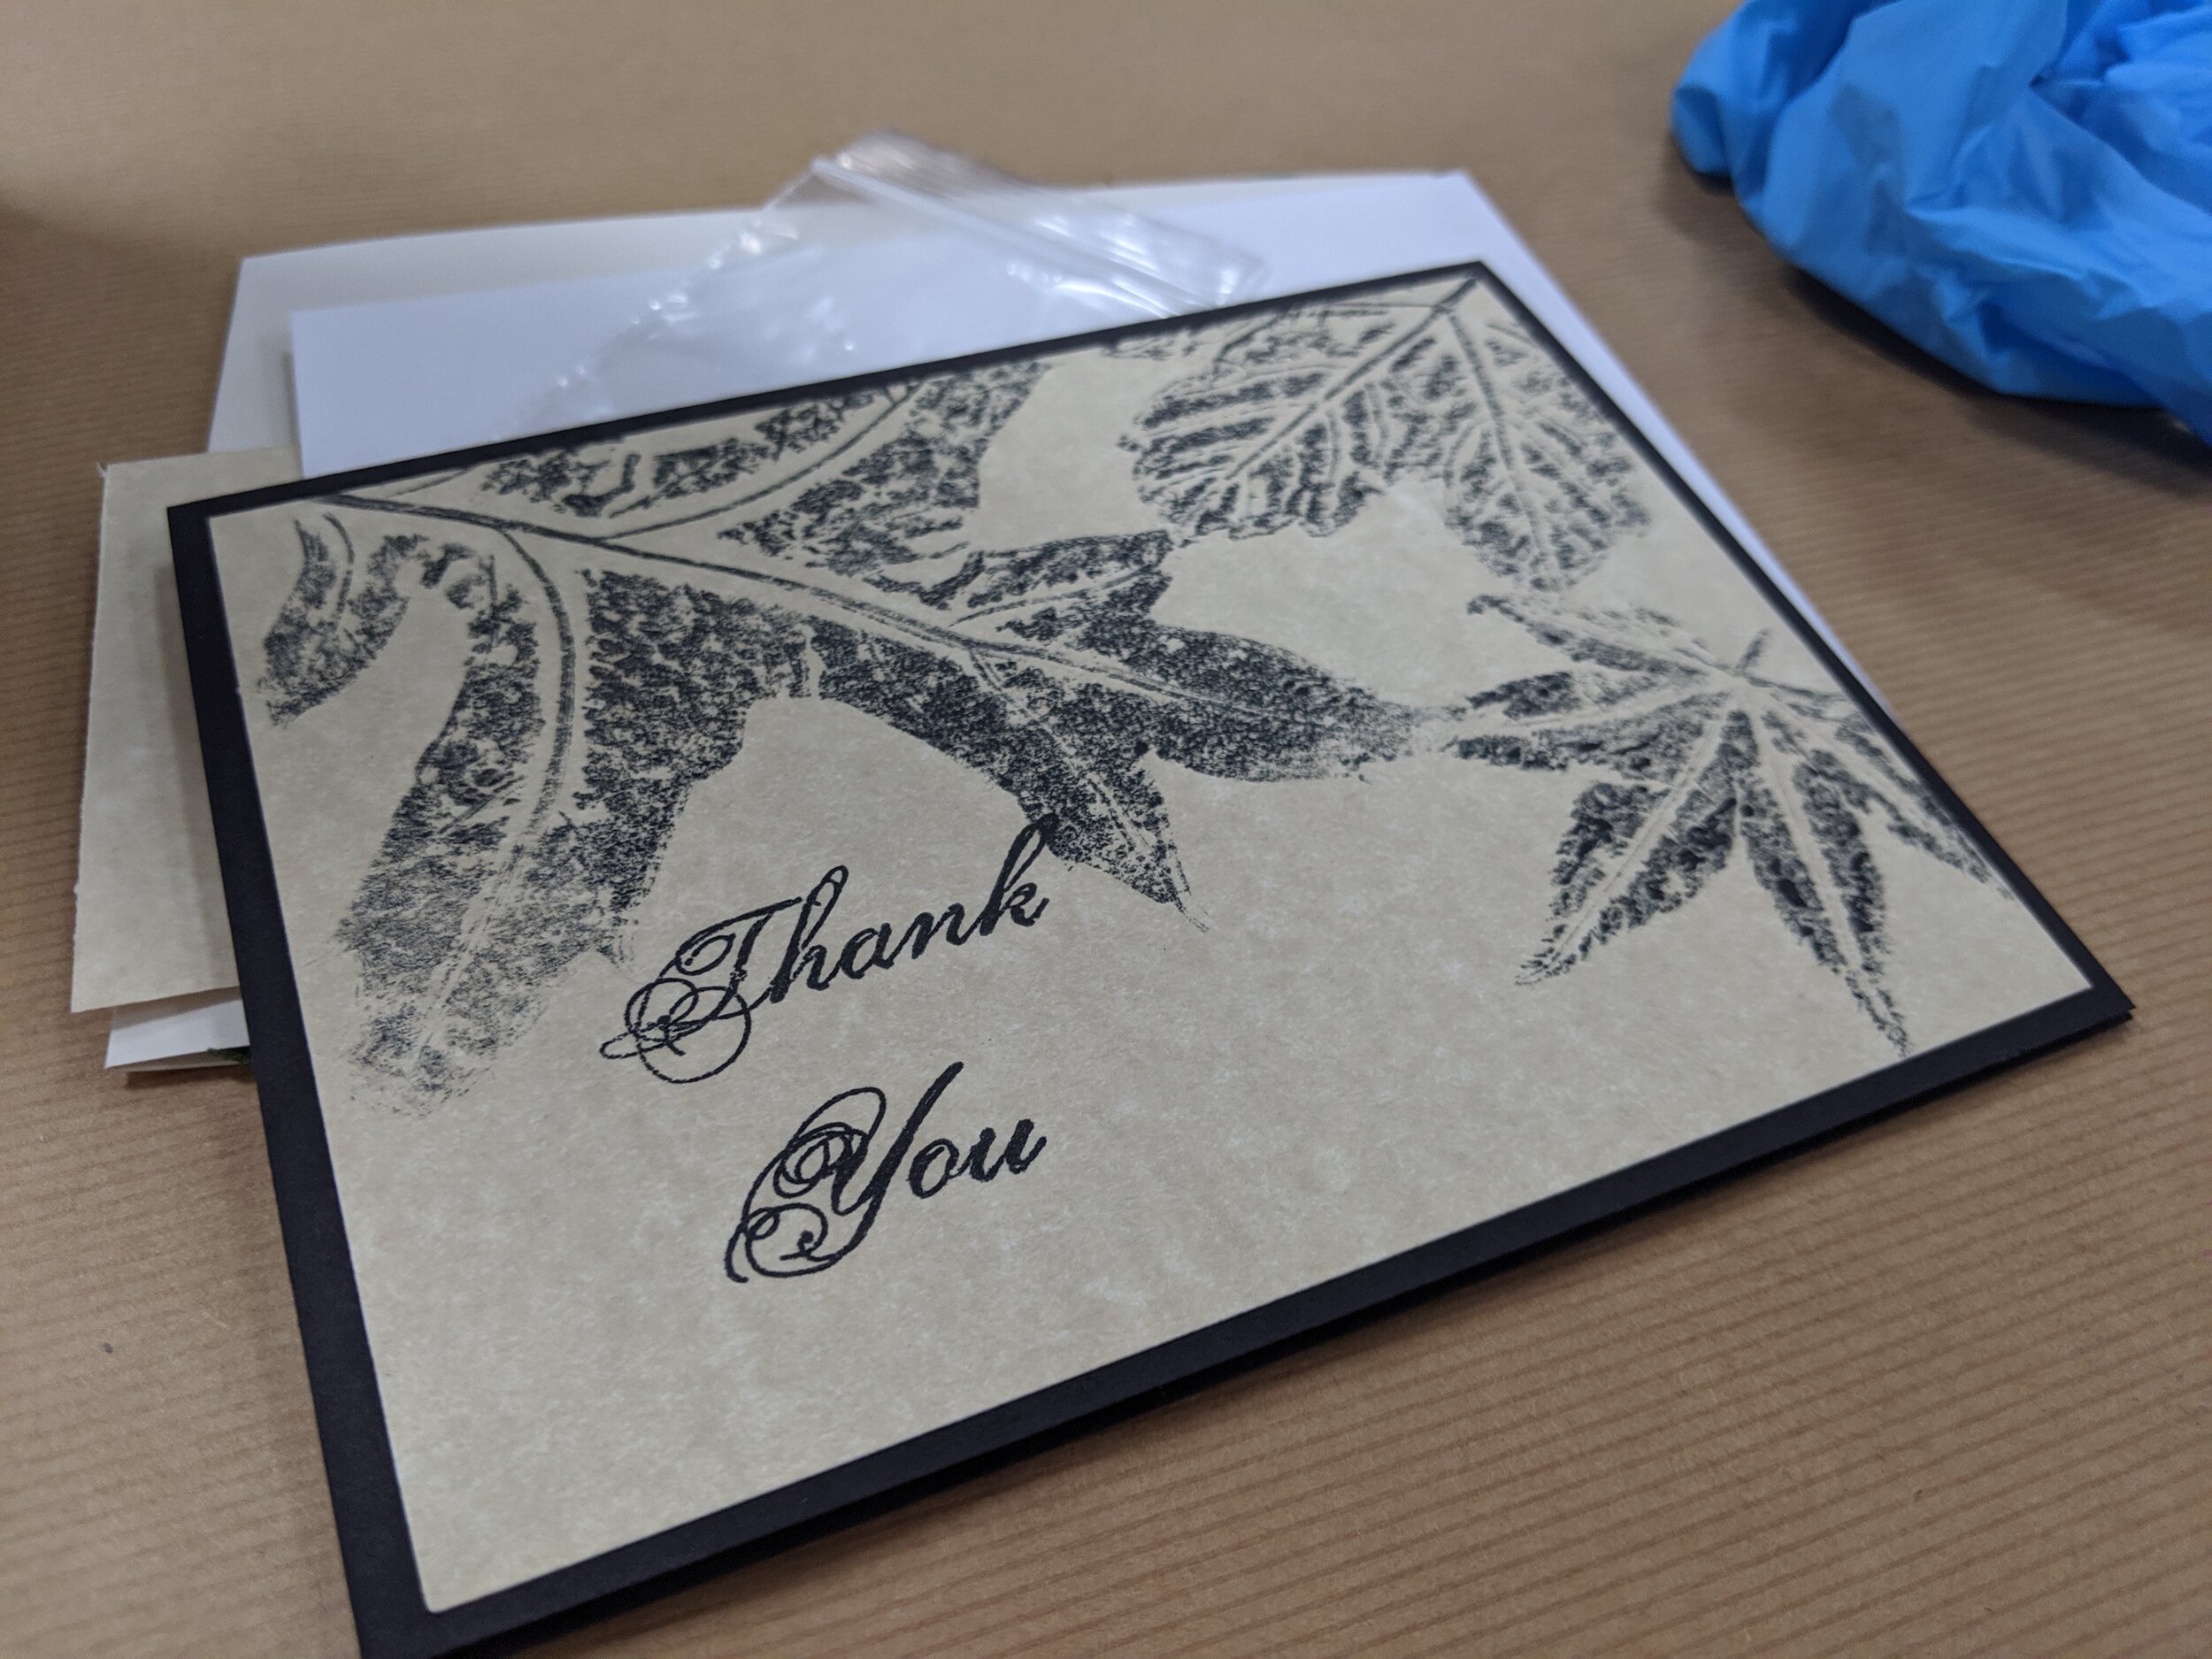
Stamp the sentiment, Thank you in the empty quadrant of your card.
** The key to this project is using Freshly Fallen Leaves **

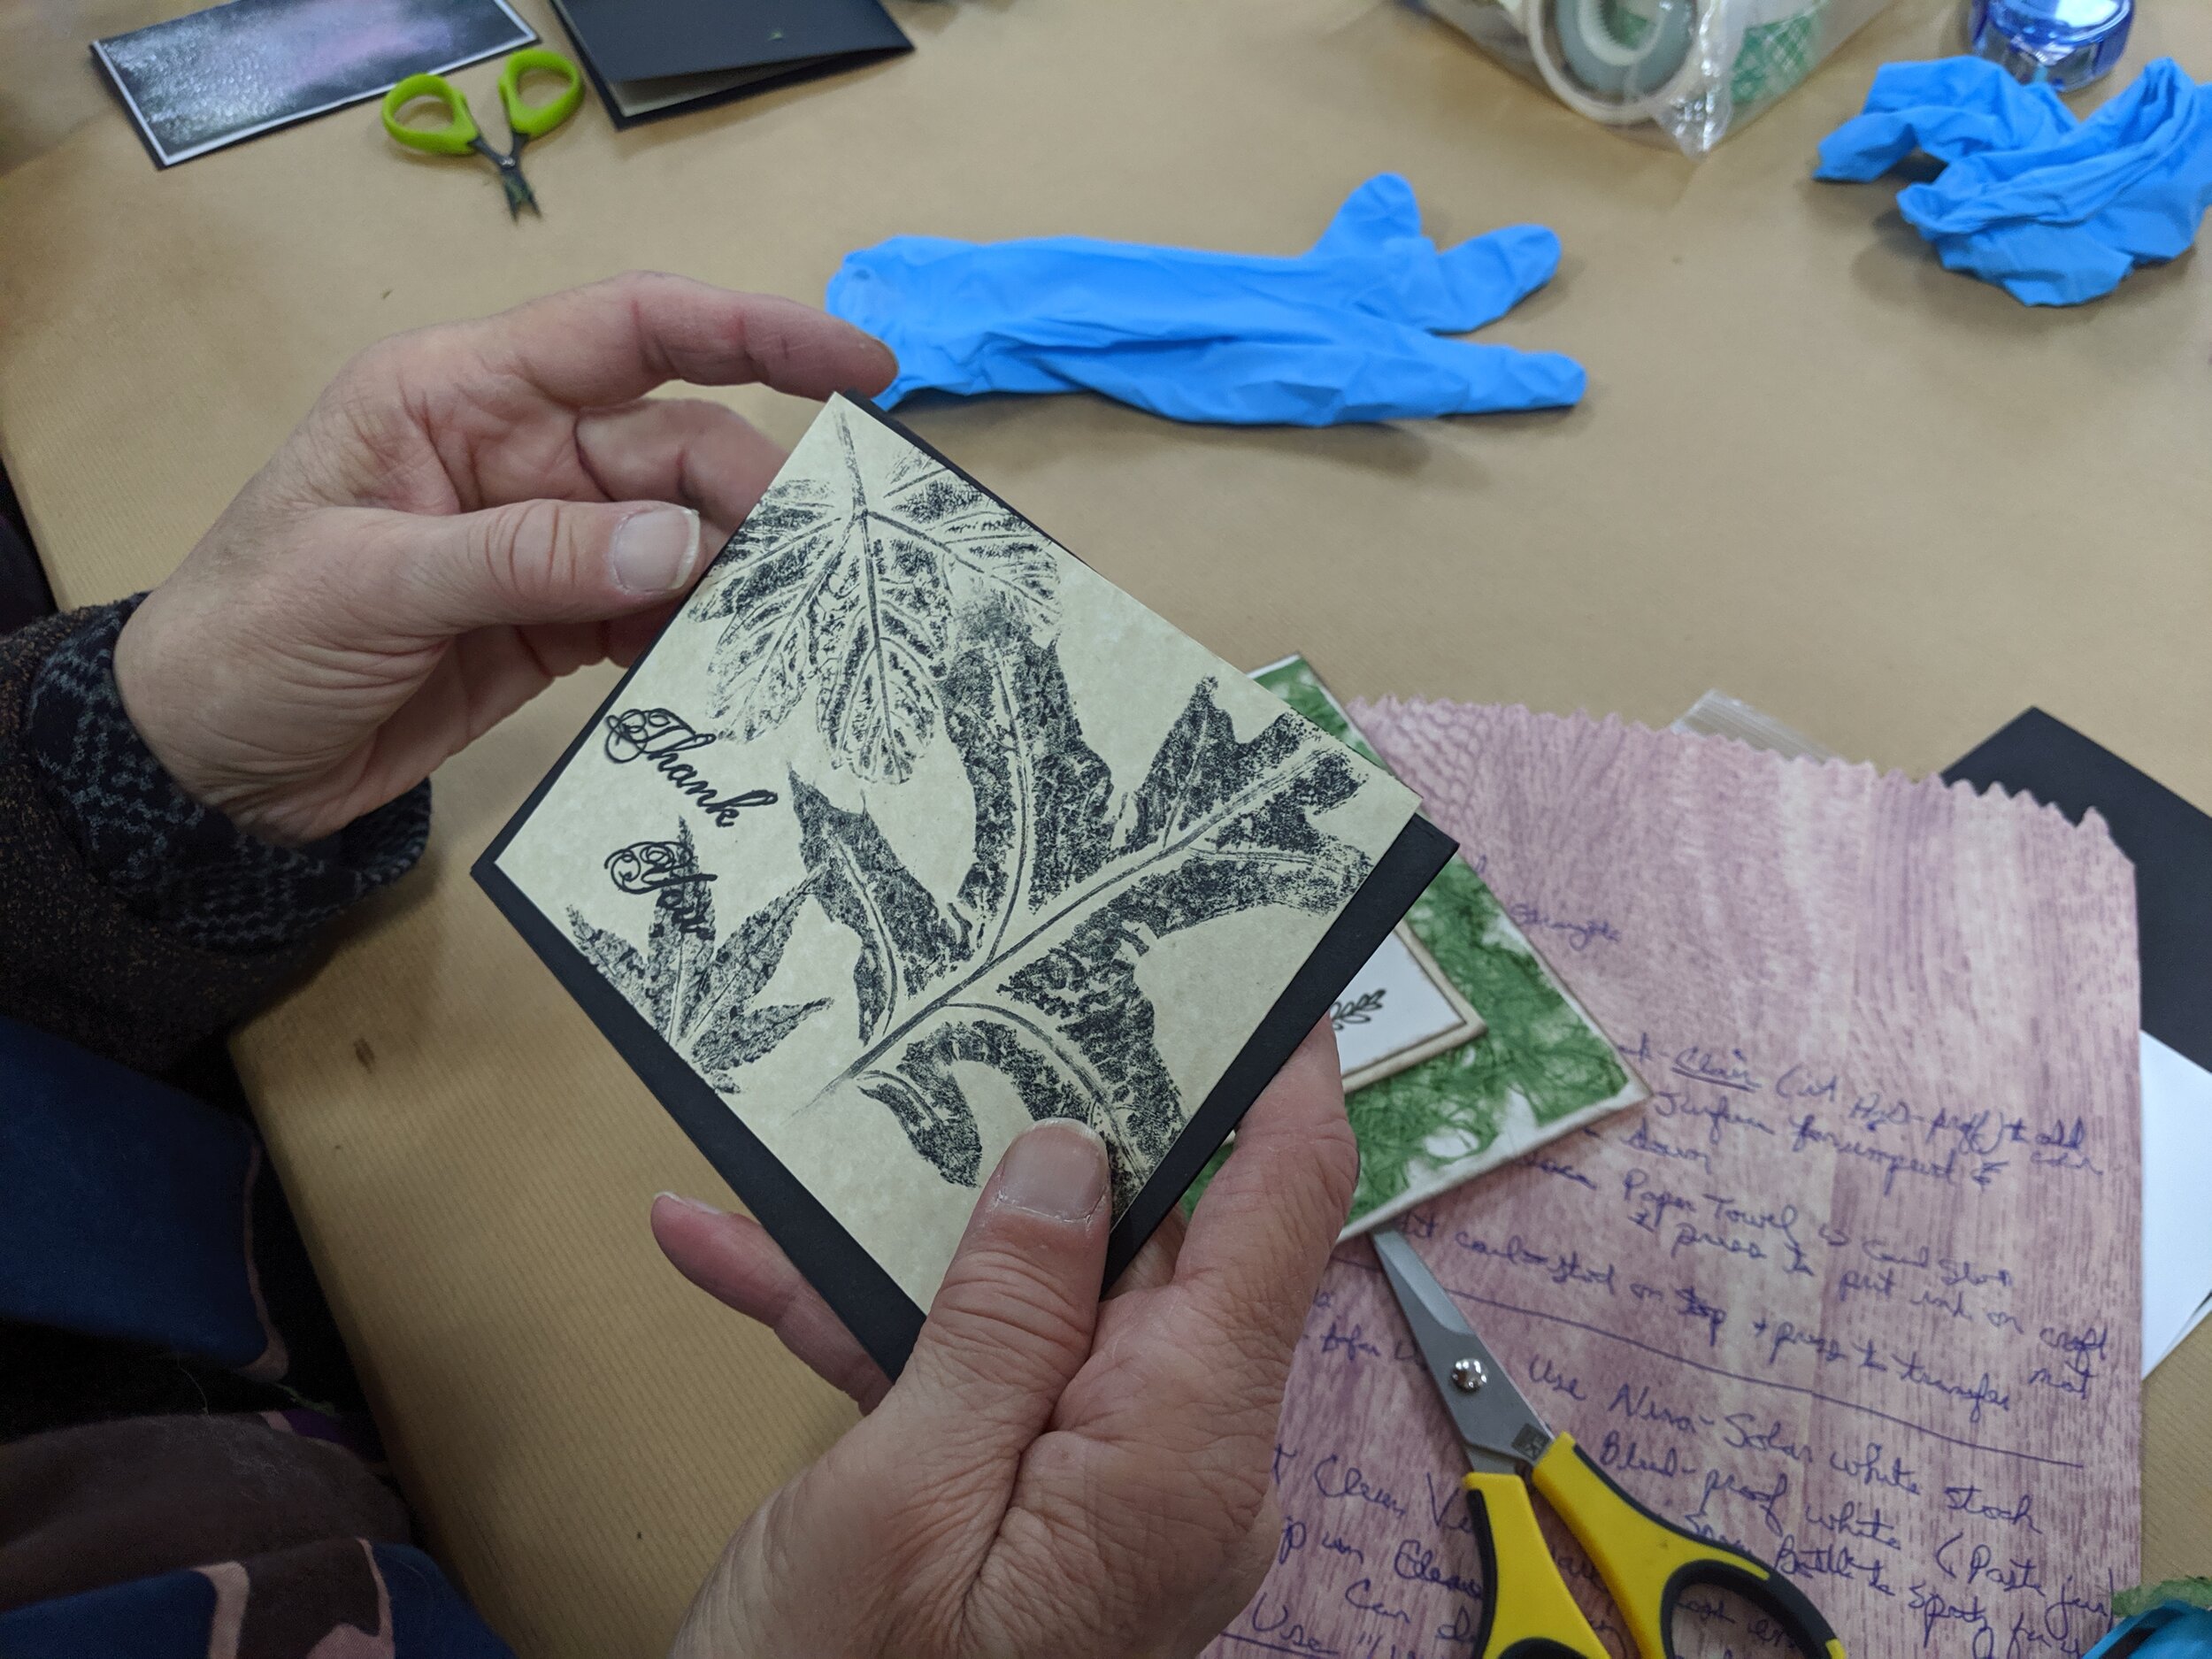
Check out some of these other Leaf Designs some of the gals created!!
My NEXT card making class will be offered on Sunday November 3rd!!
Please call 509-860-2919 to sign up or sign up online here: www.artandhappiness.shop/classes