Hi friends! Welcome to another Make-n-Take craft!
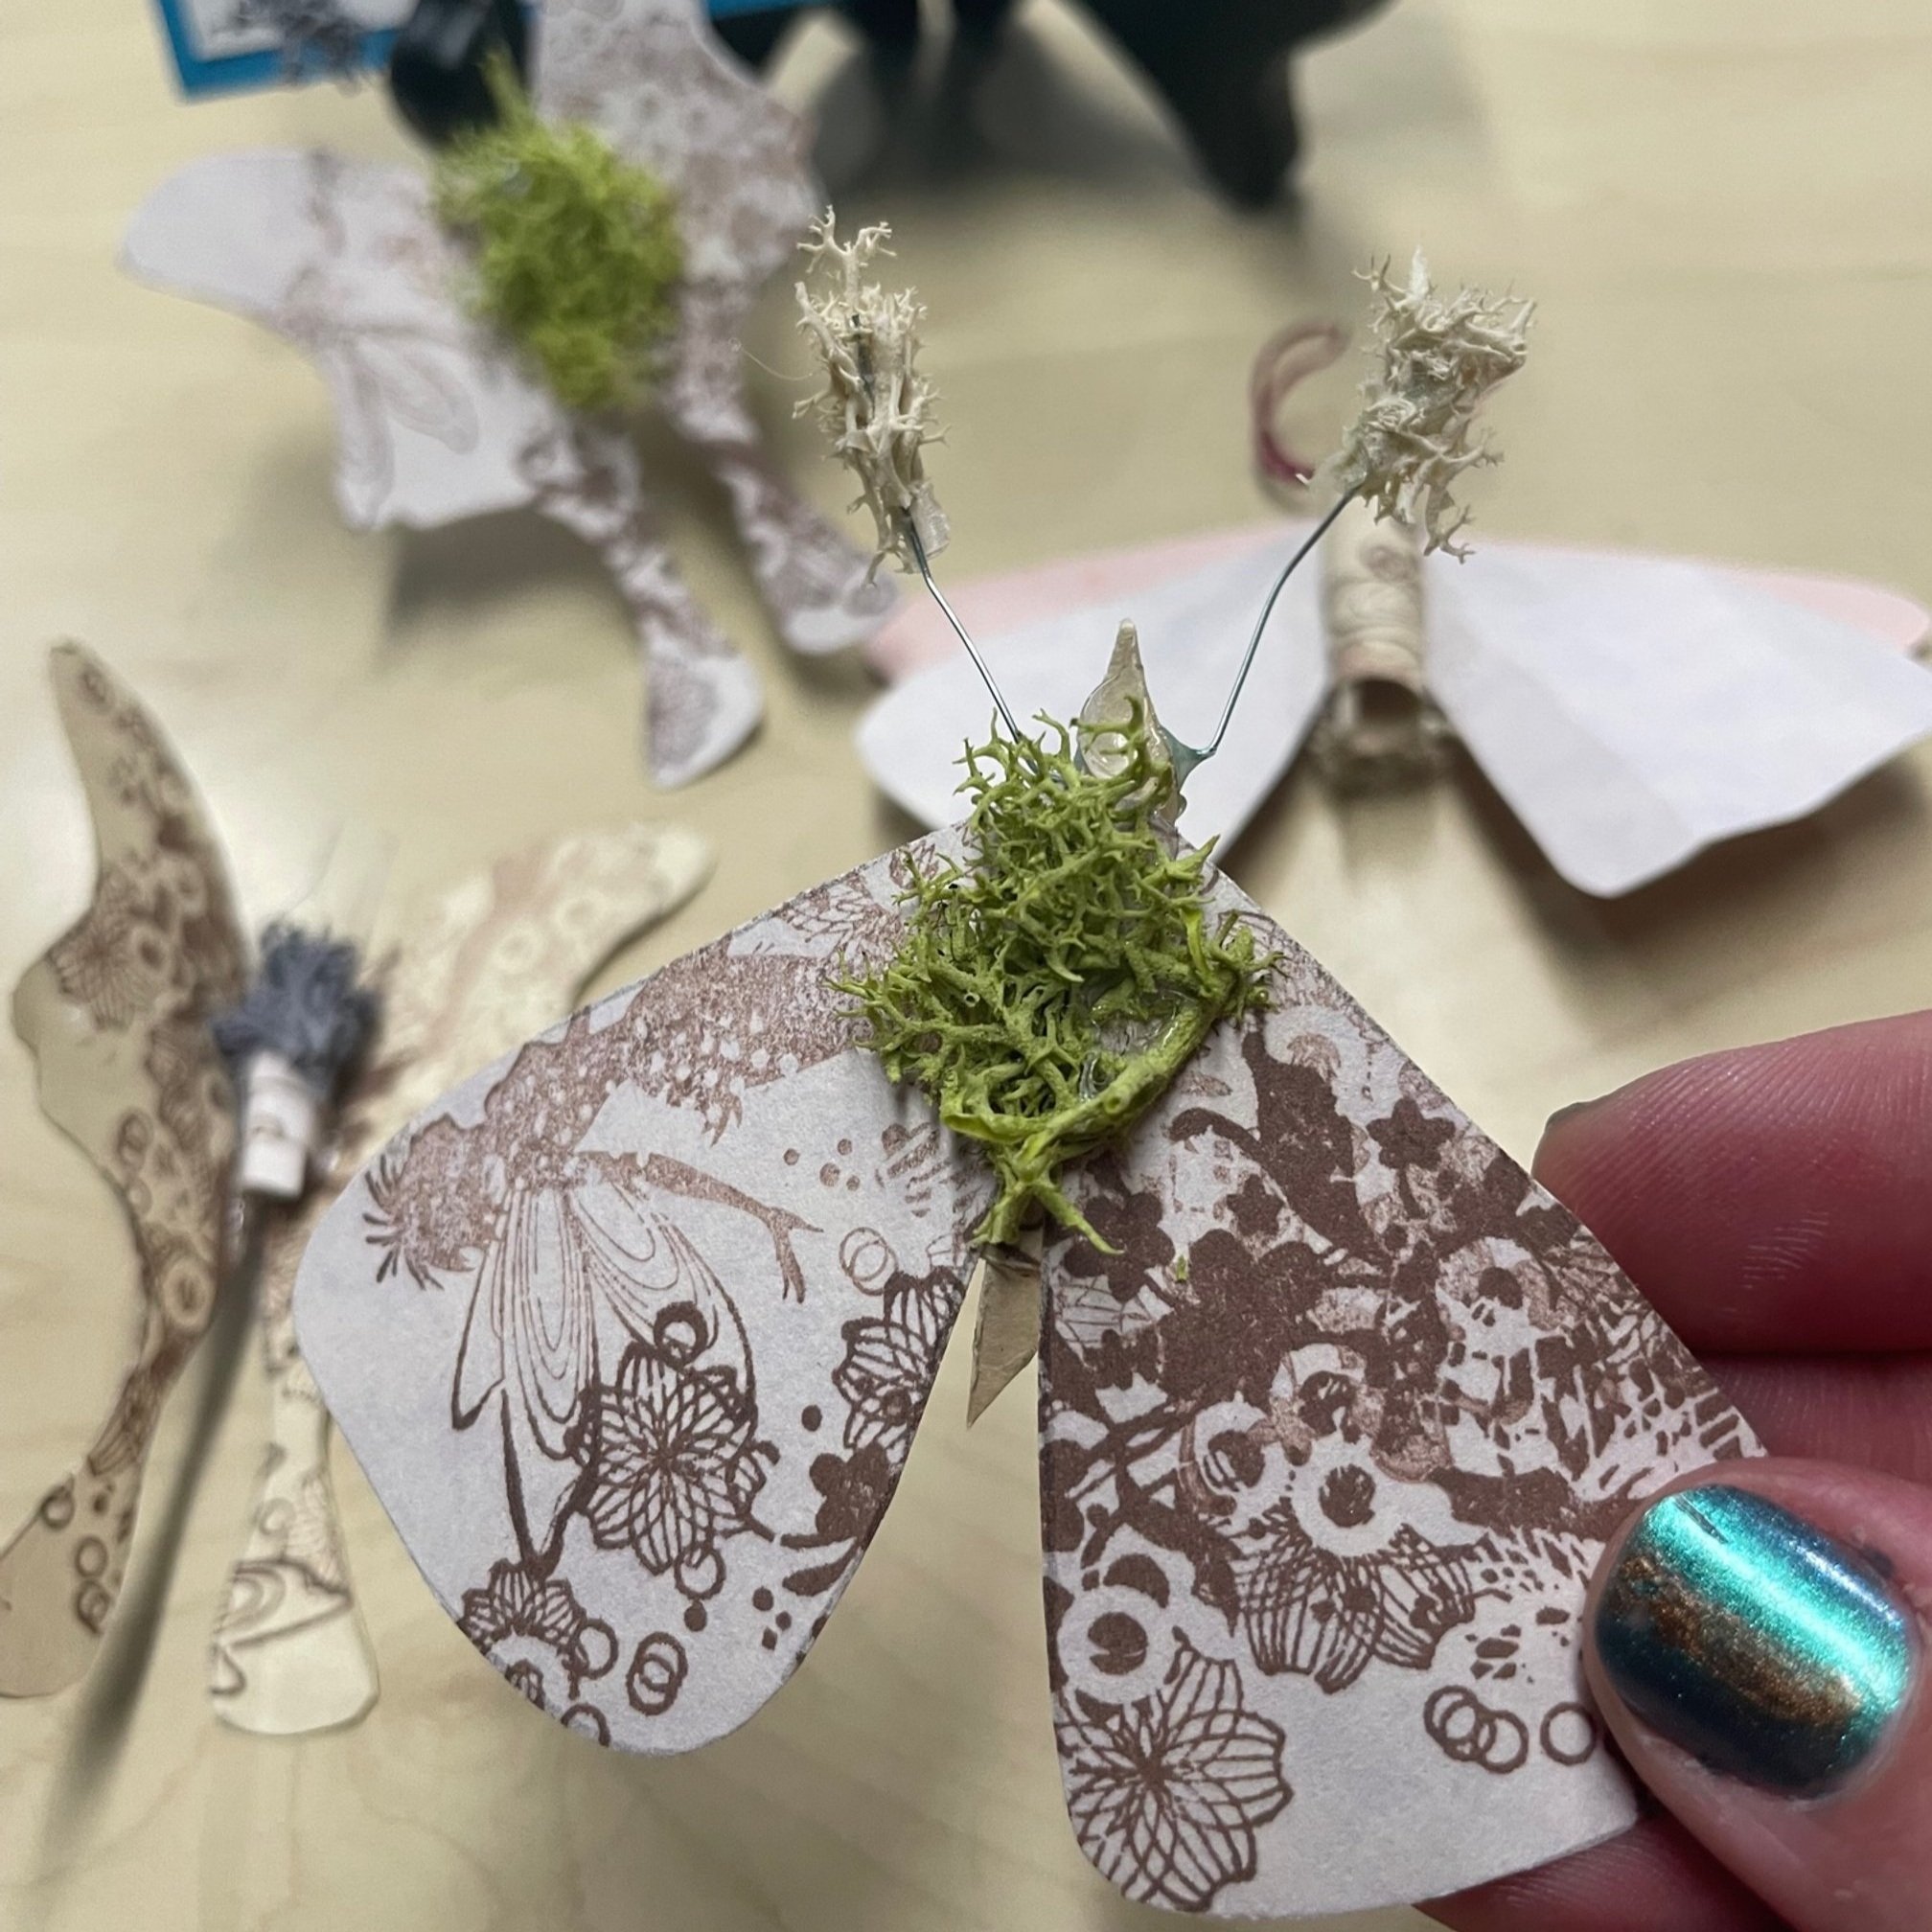
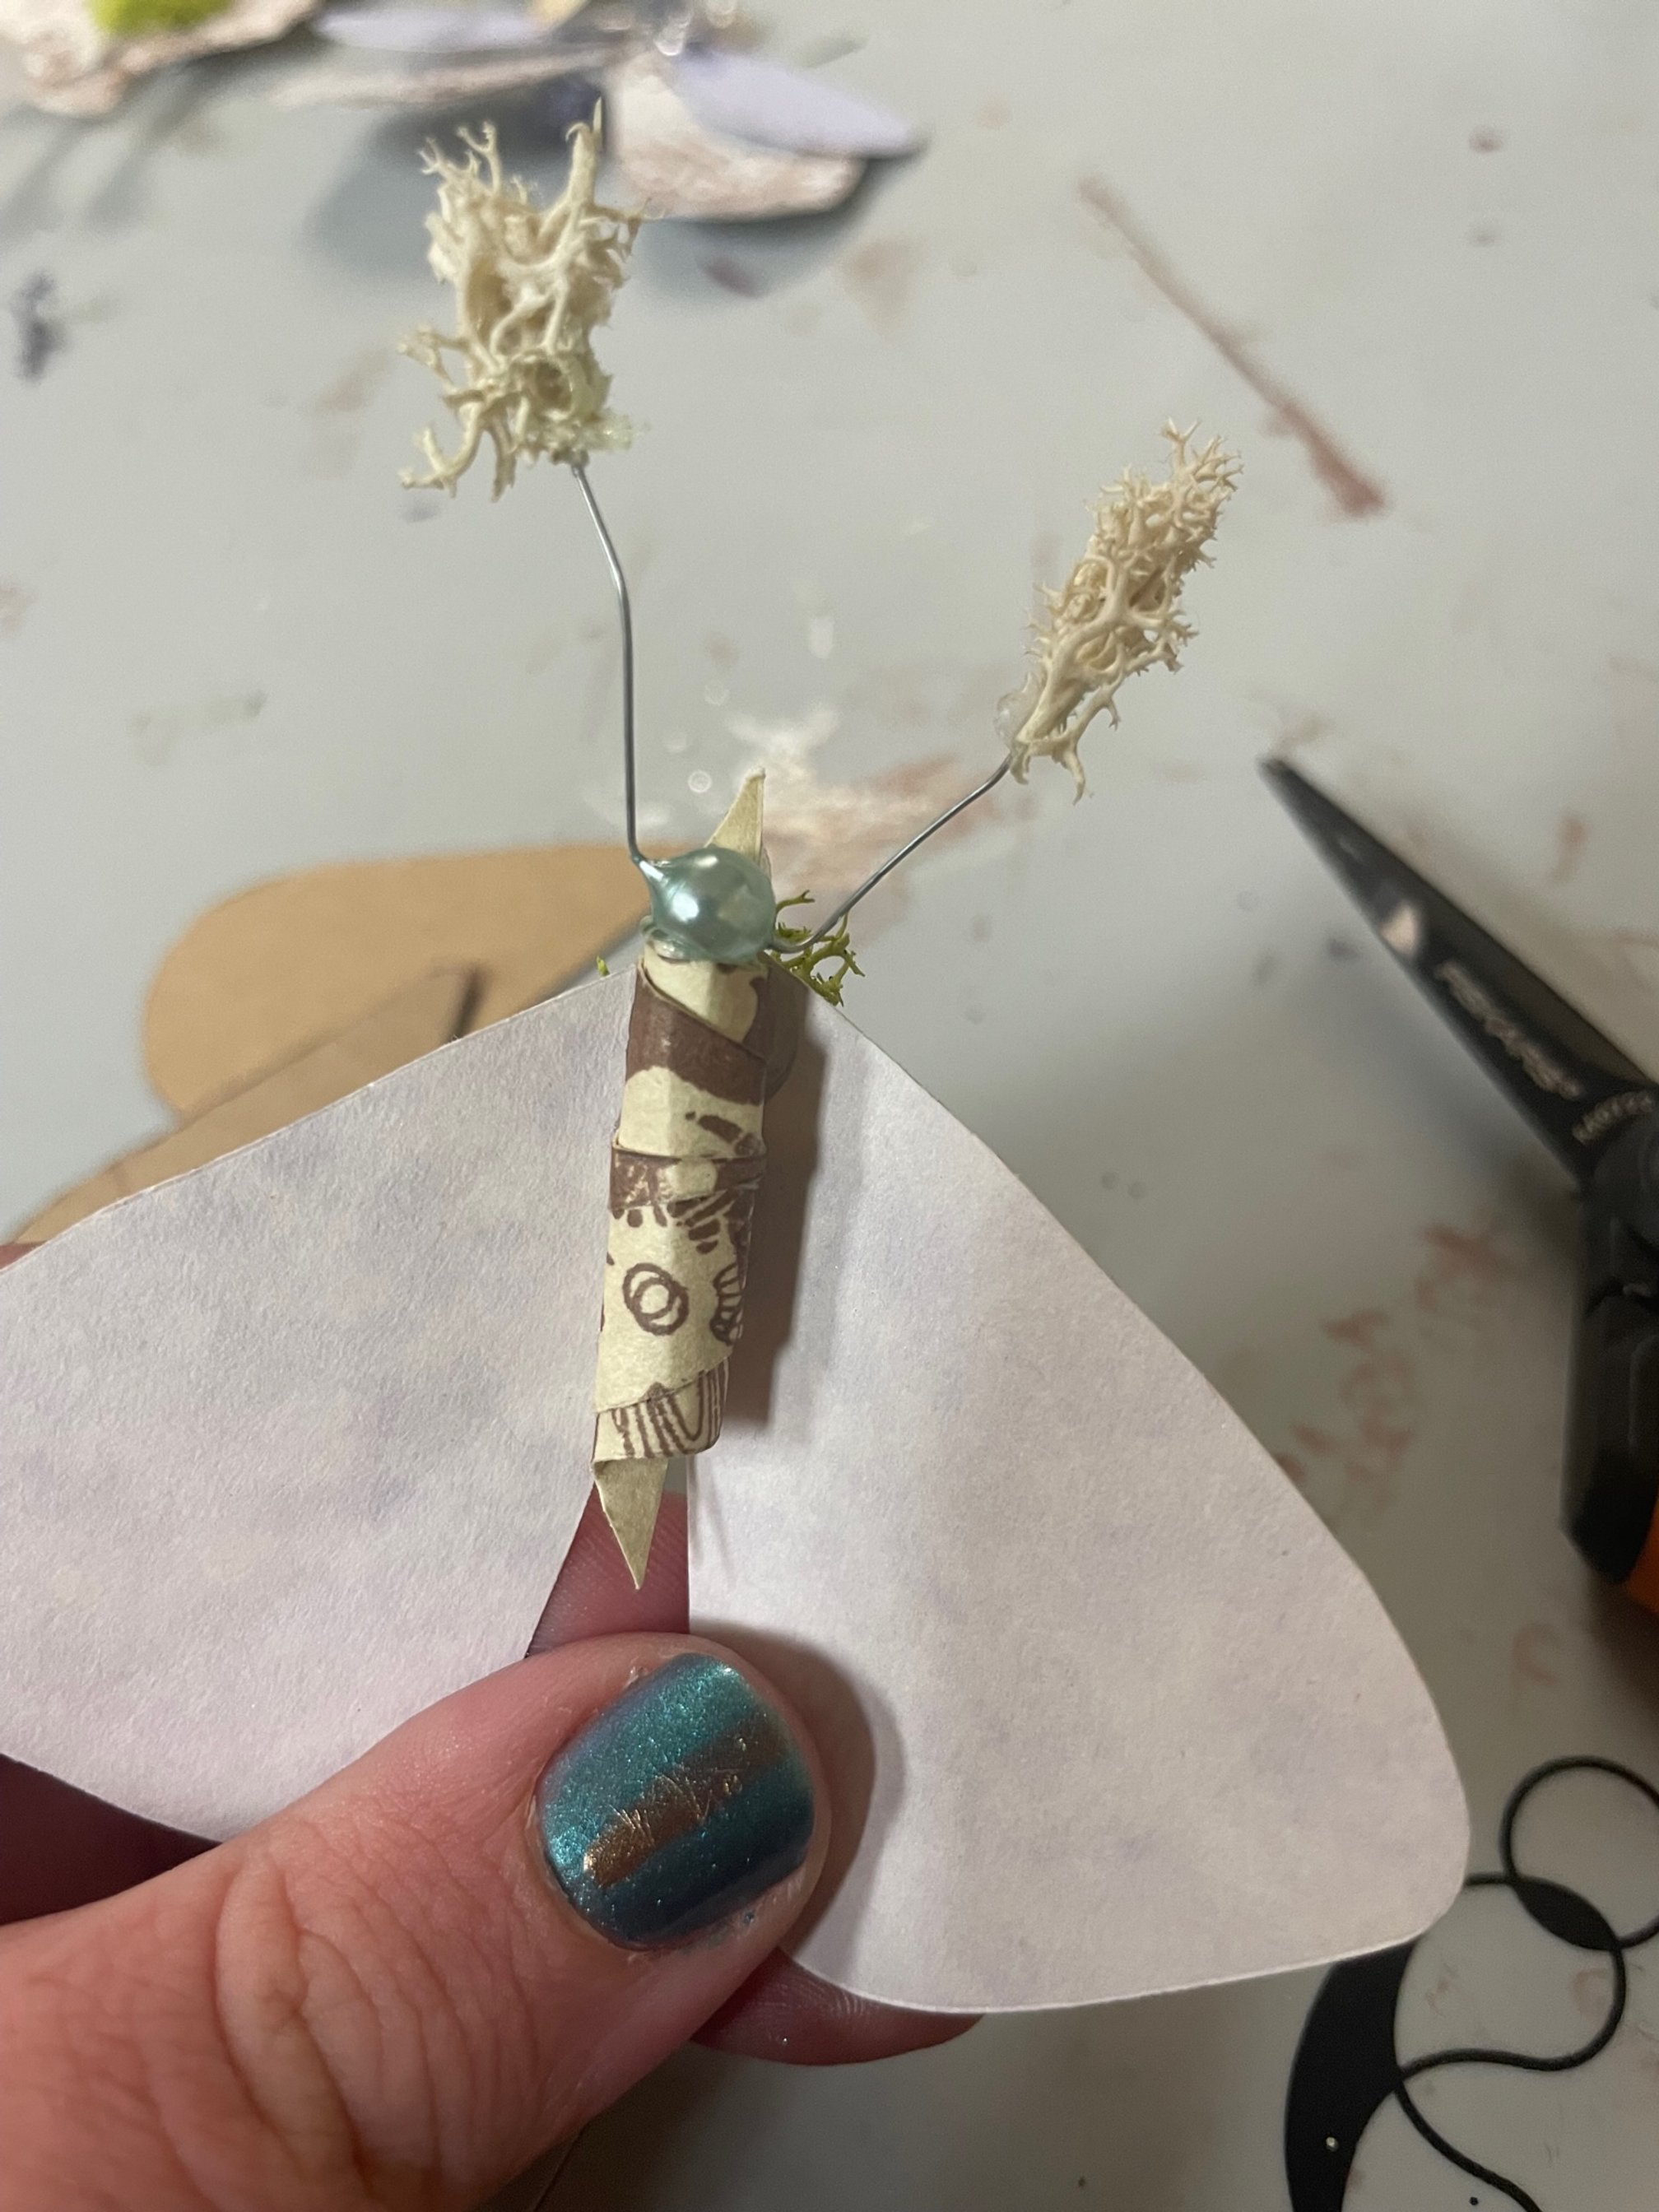
This week we are making.. Paper Moths!!
Three styles and SO many papers to choose from- let’s make some cute critters!
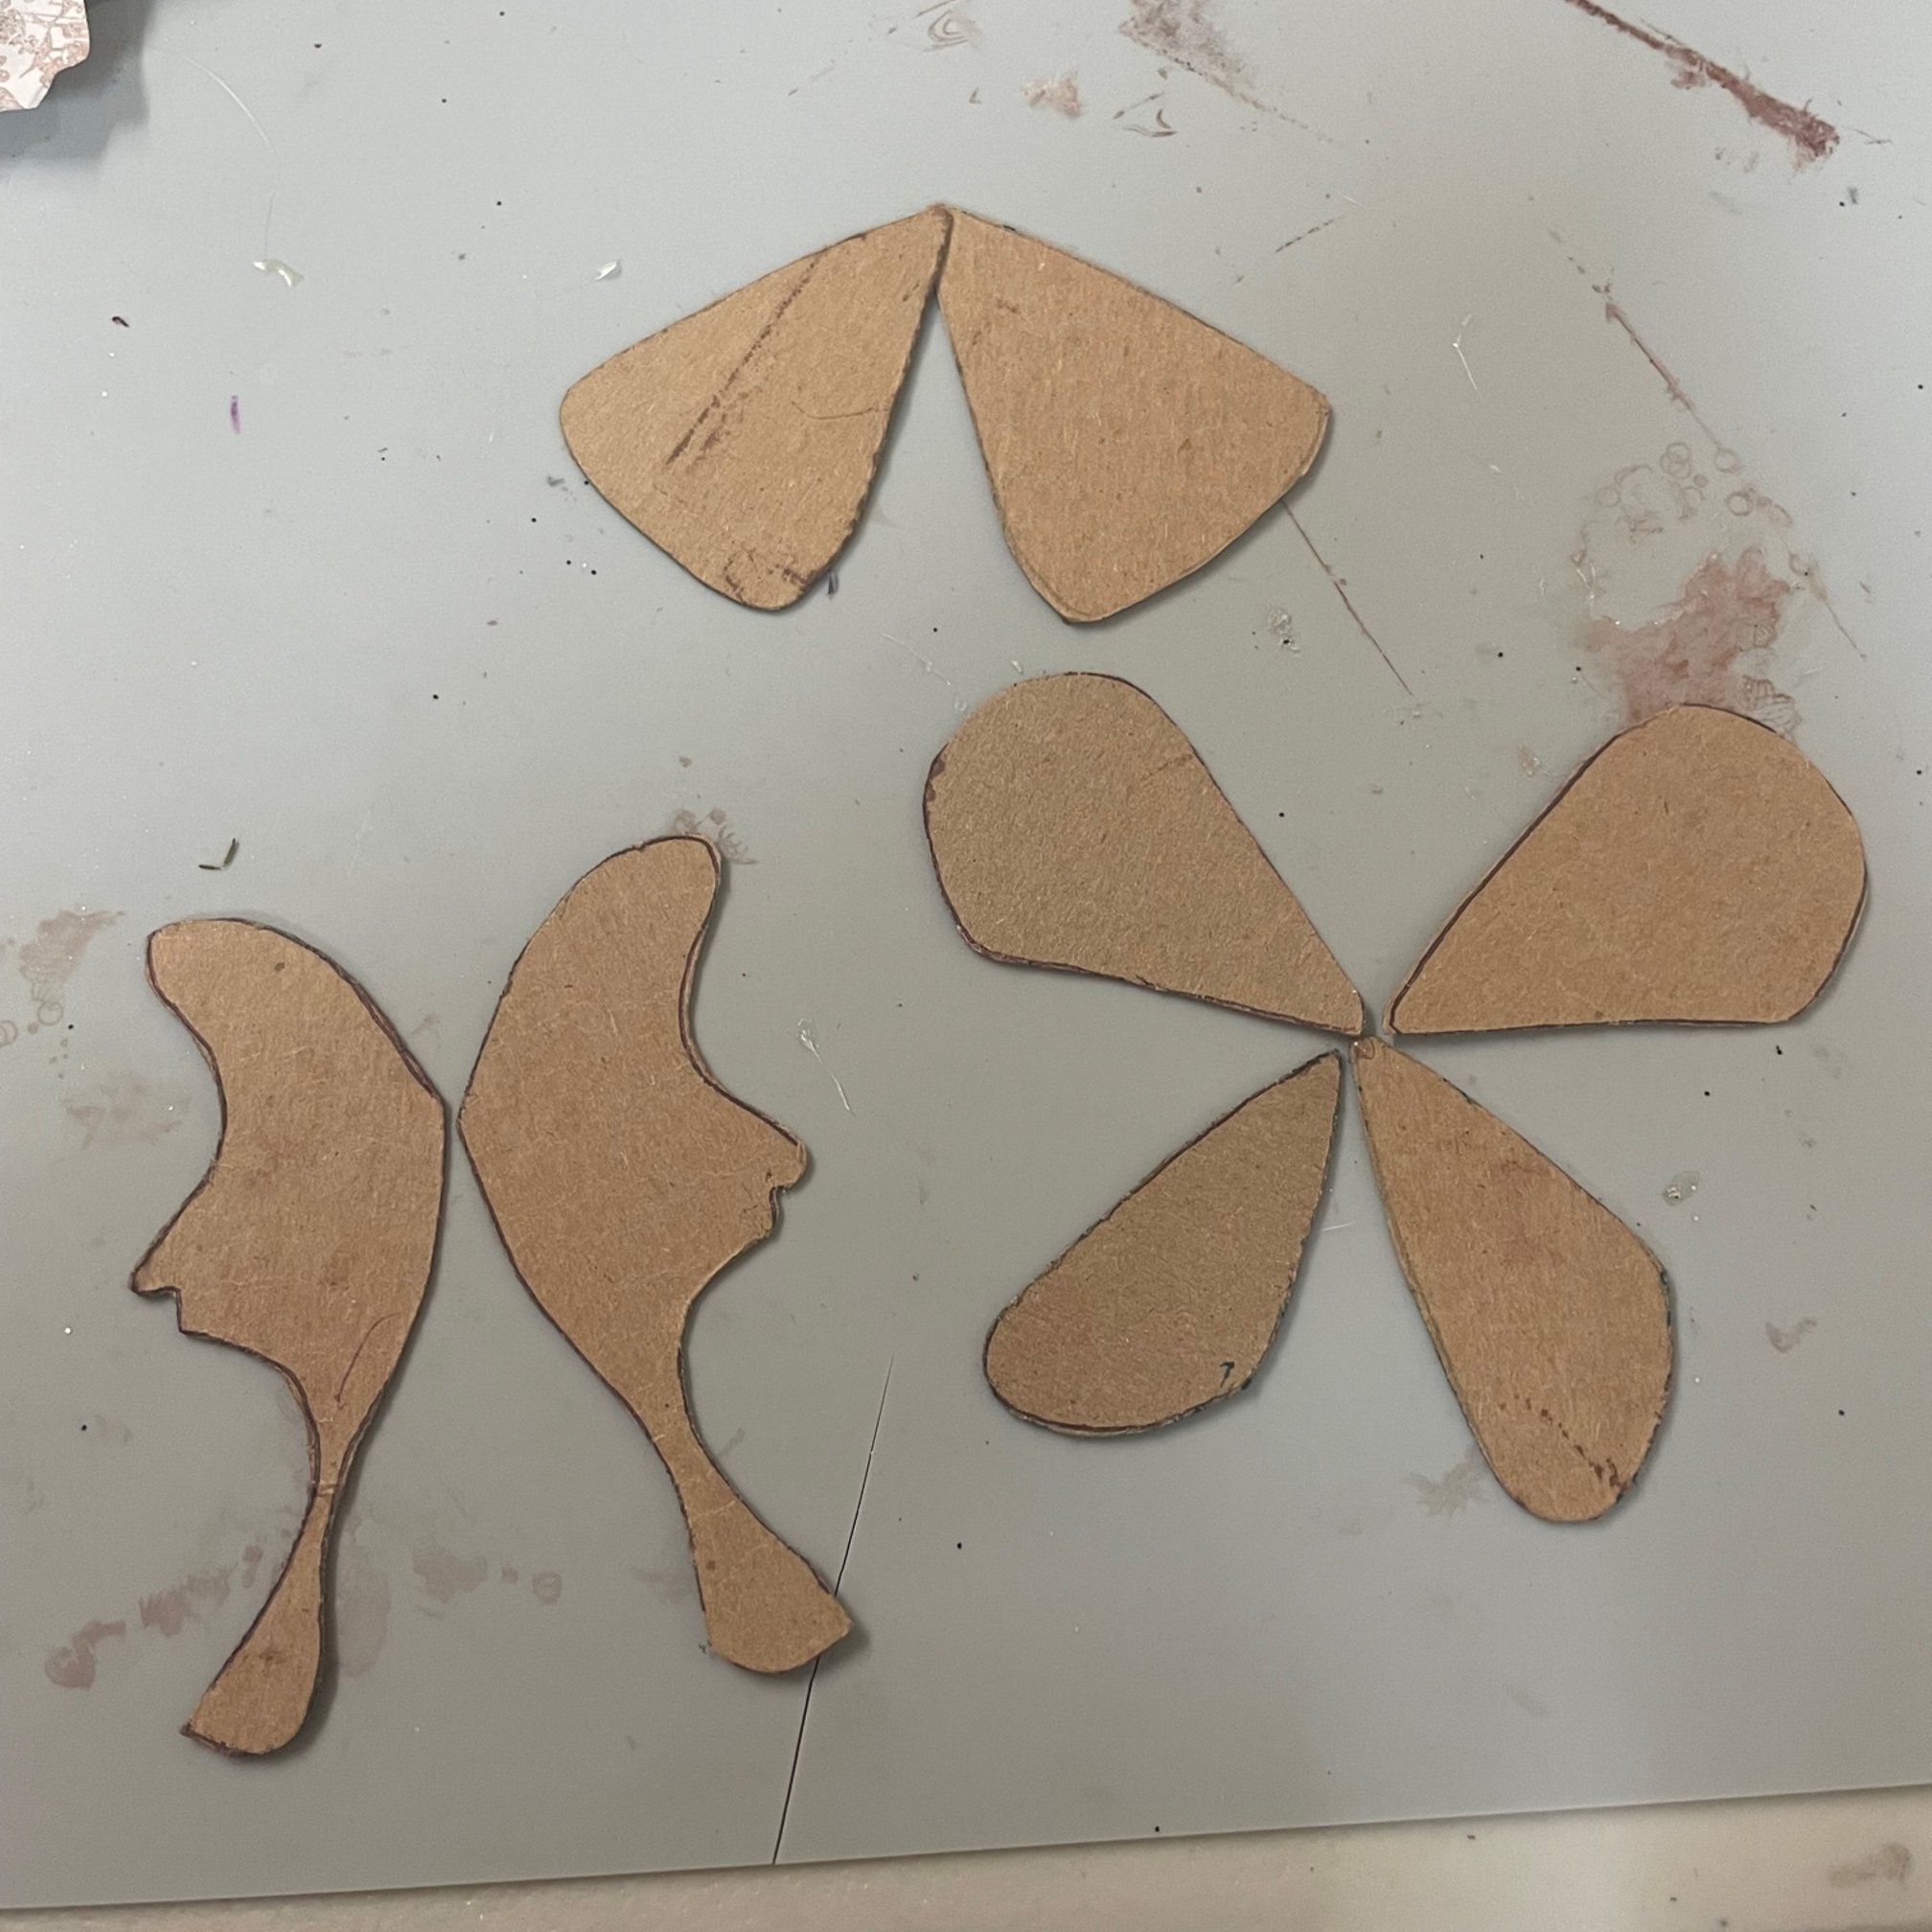
There are three fun shapes you can create your bugs with!
Each template creates a moth with it’s own unique shape, and of course you can mix and match too!
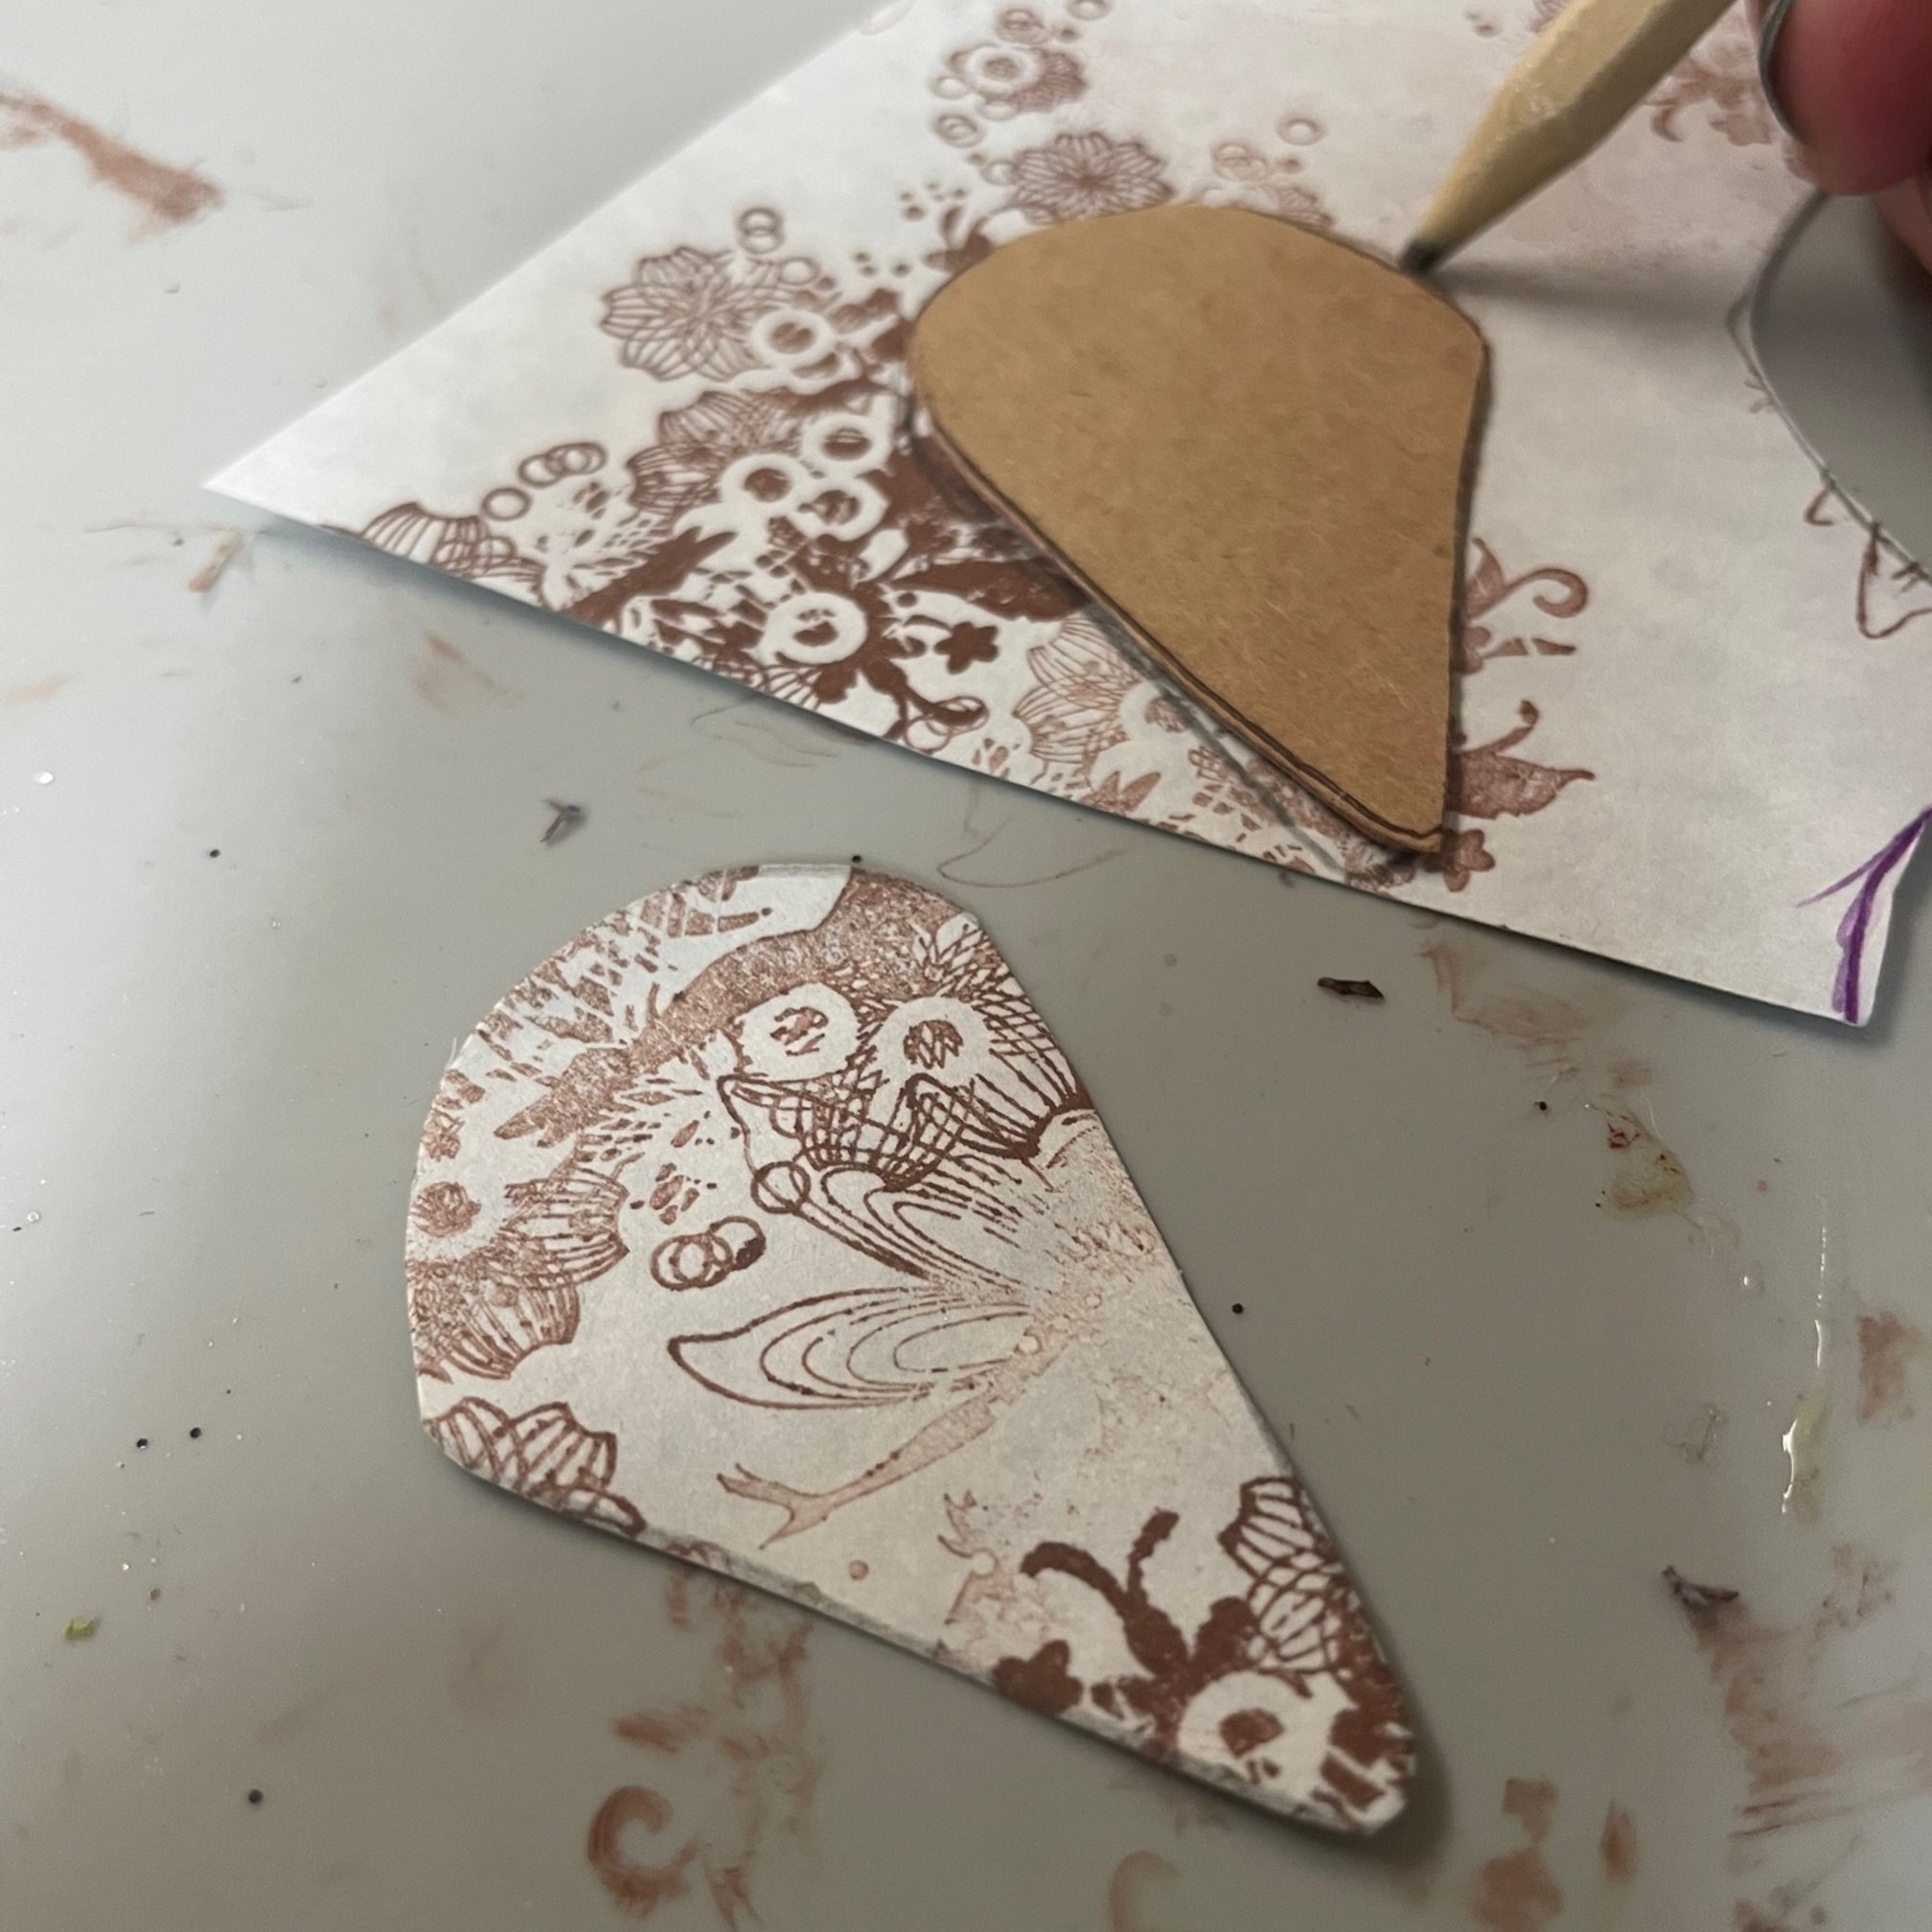
If you’re crafting from home, trace out some wing shapes you love on a thick paper or chipboard, trim them out, and you have your own templates!
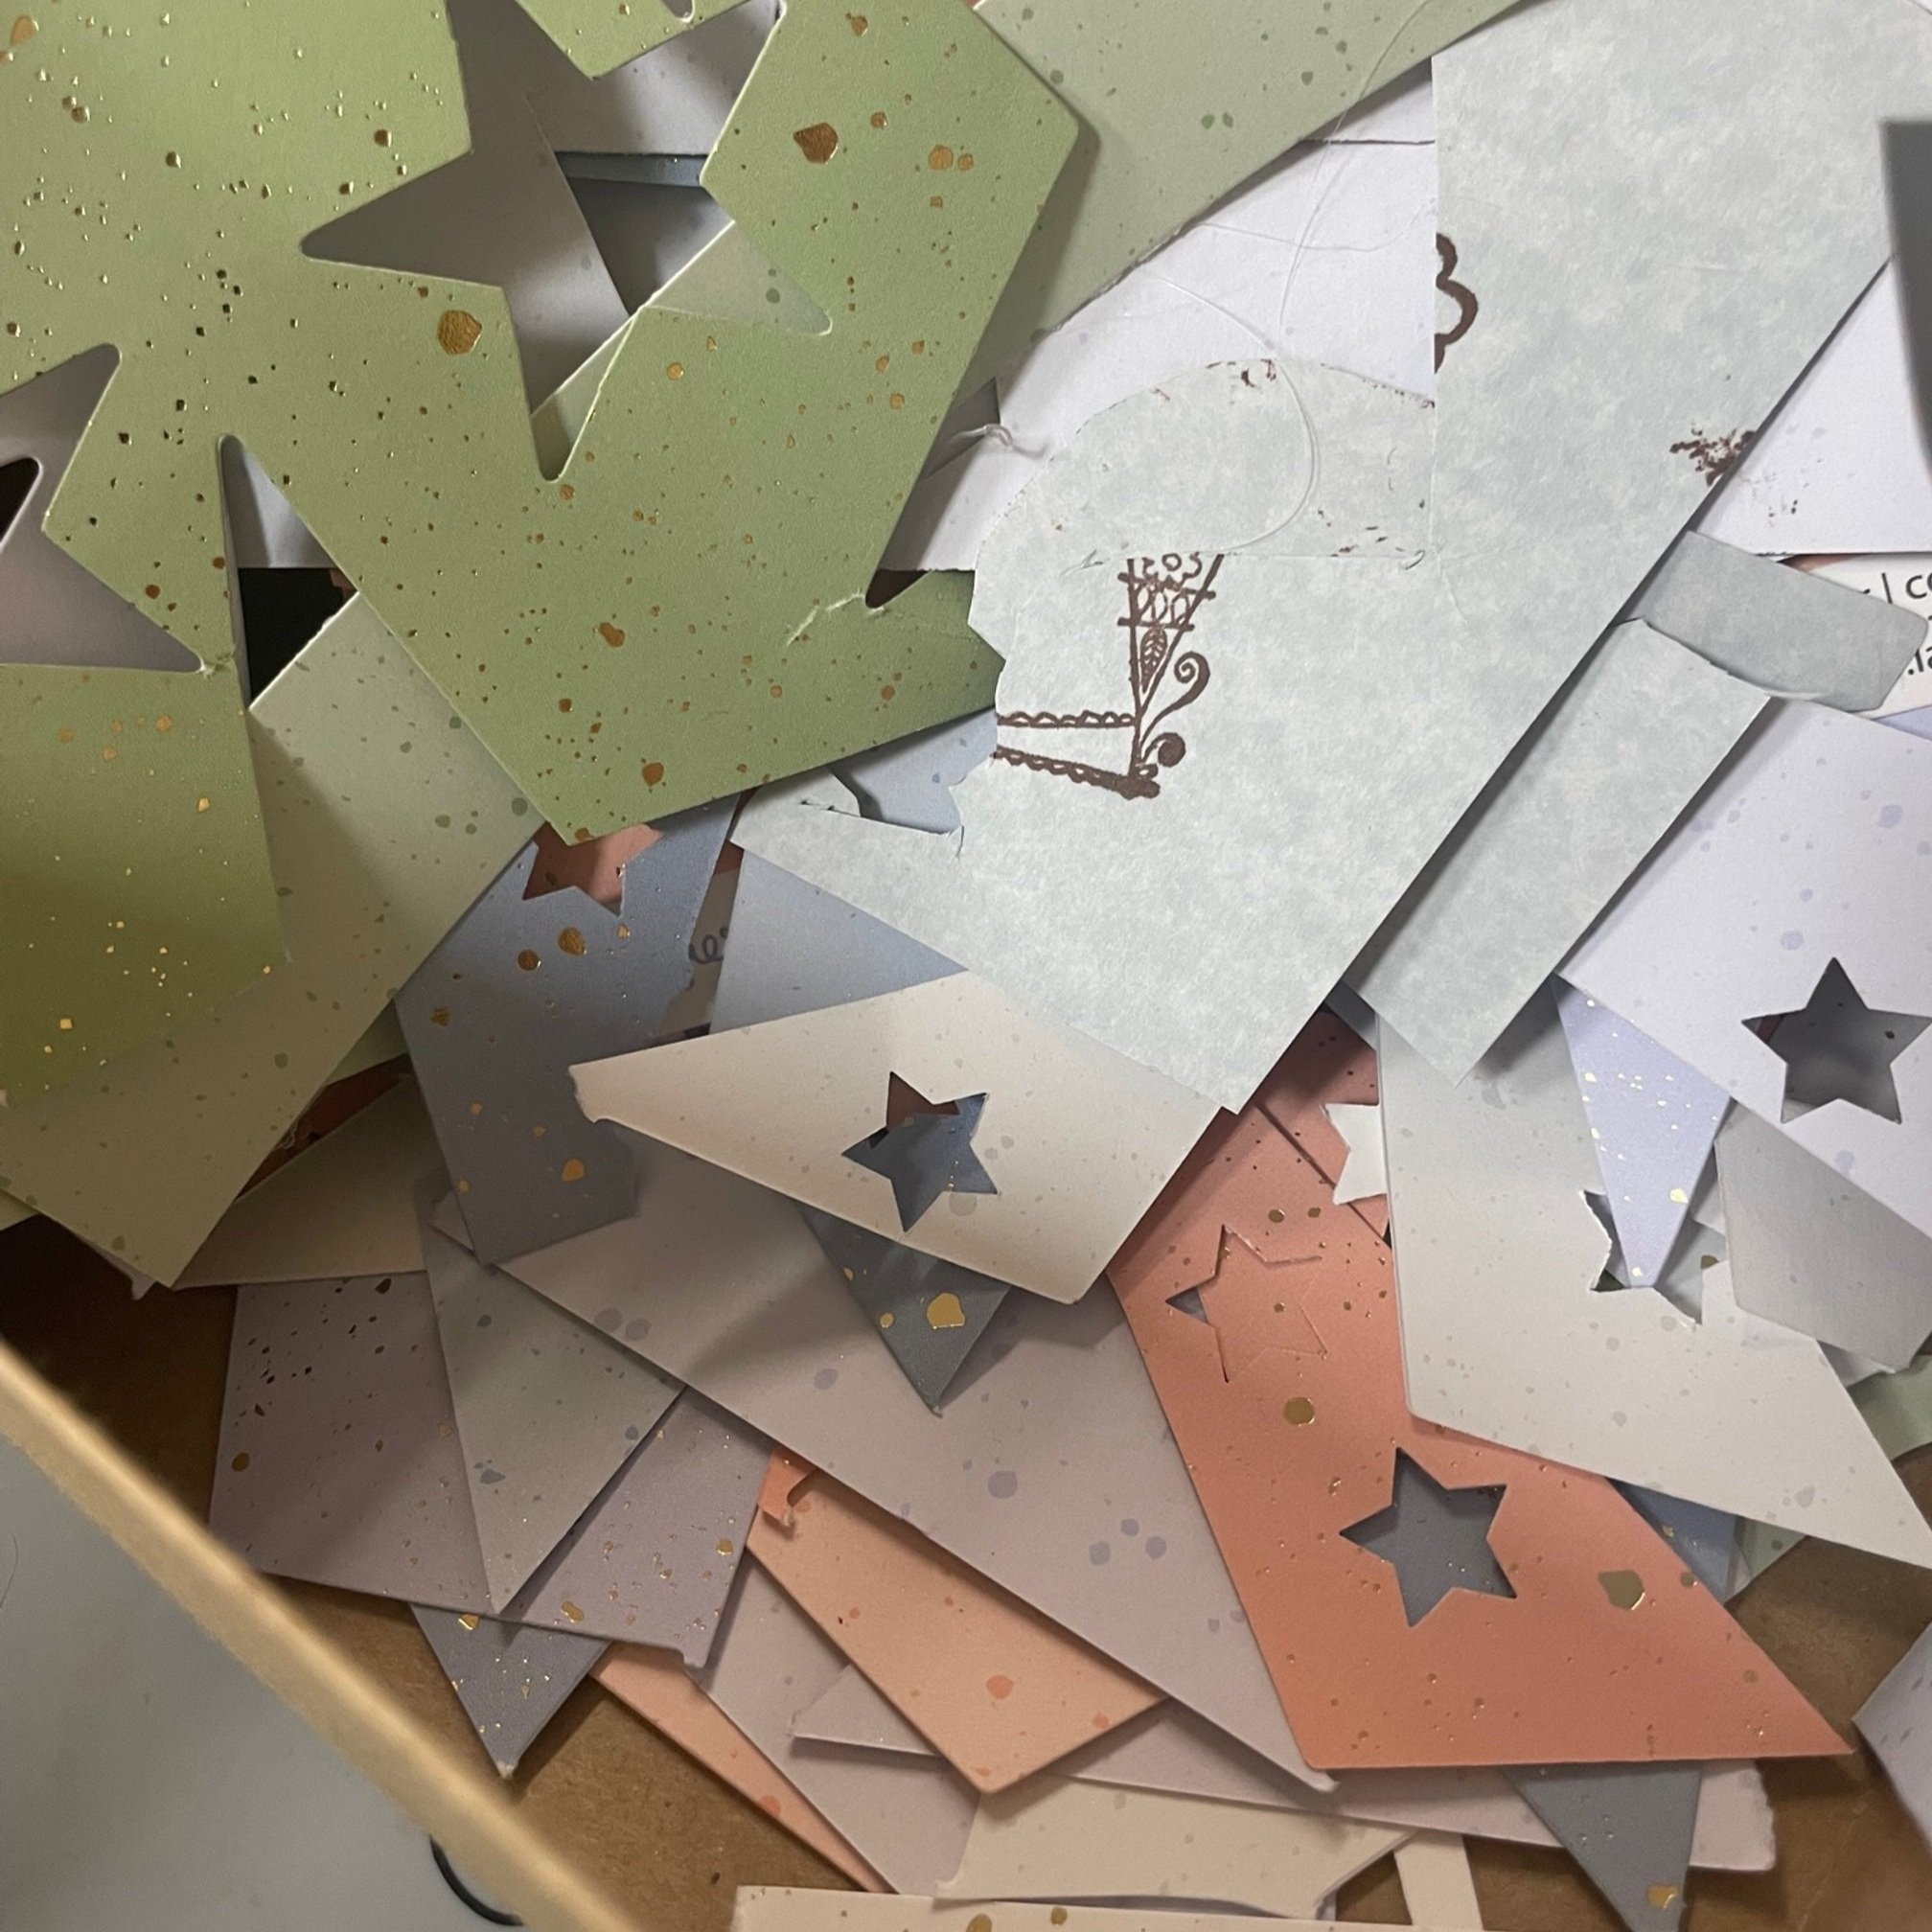
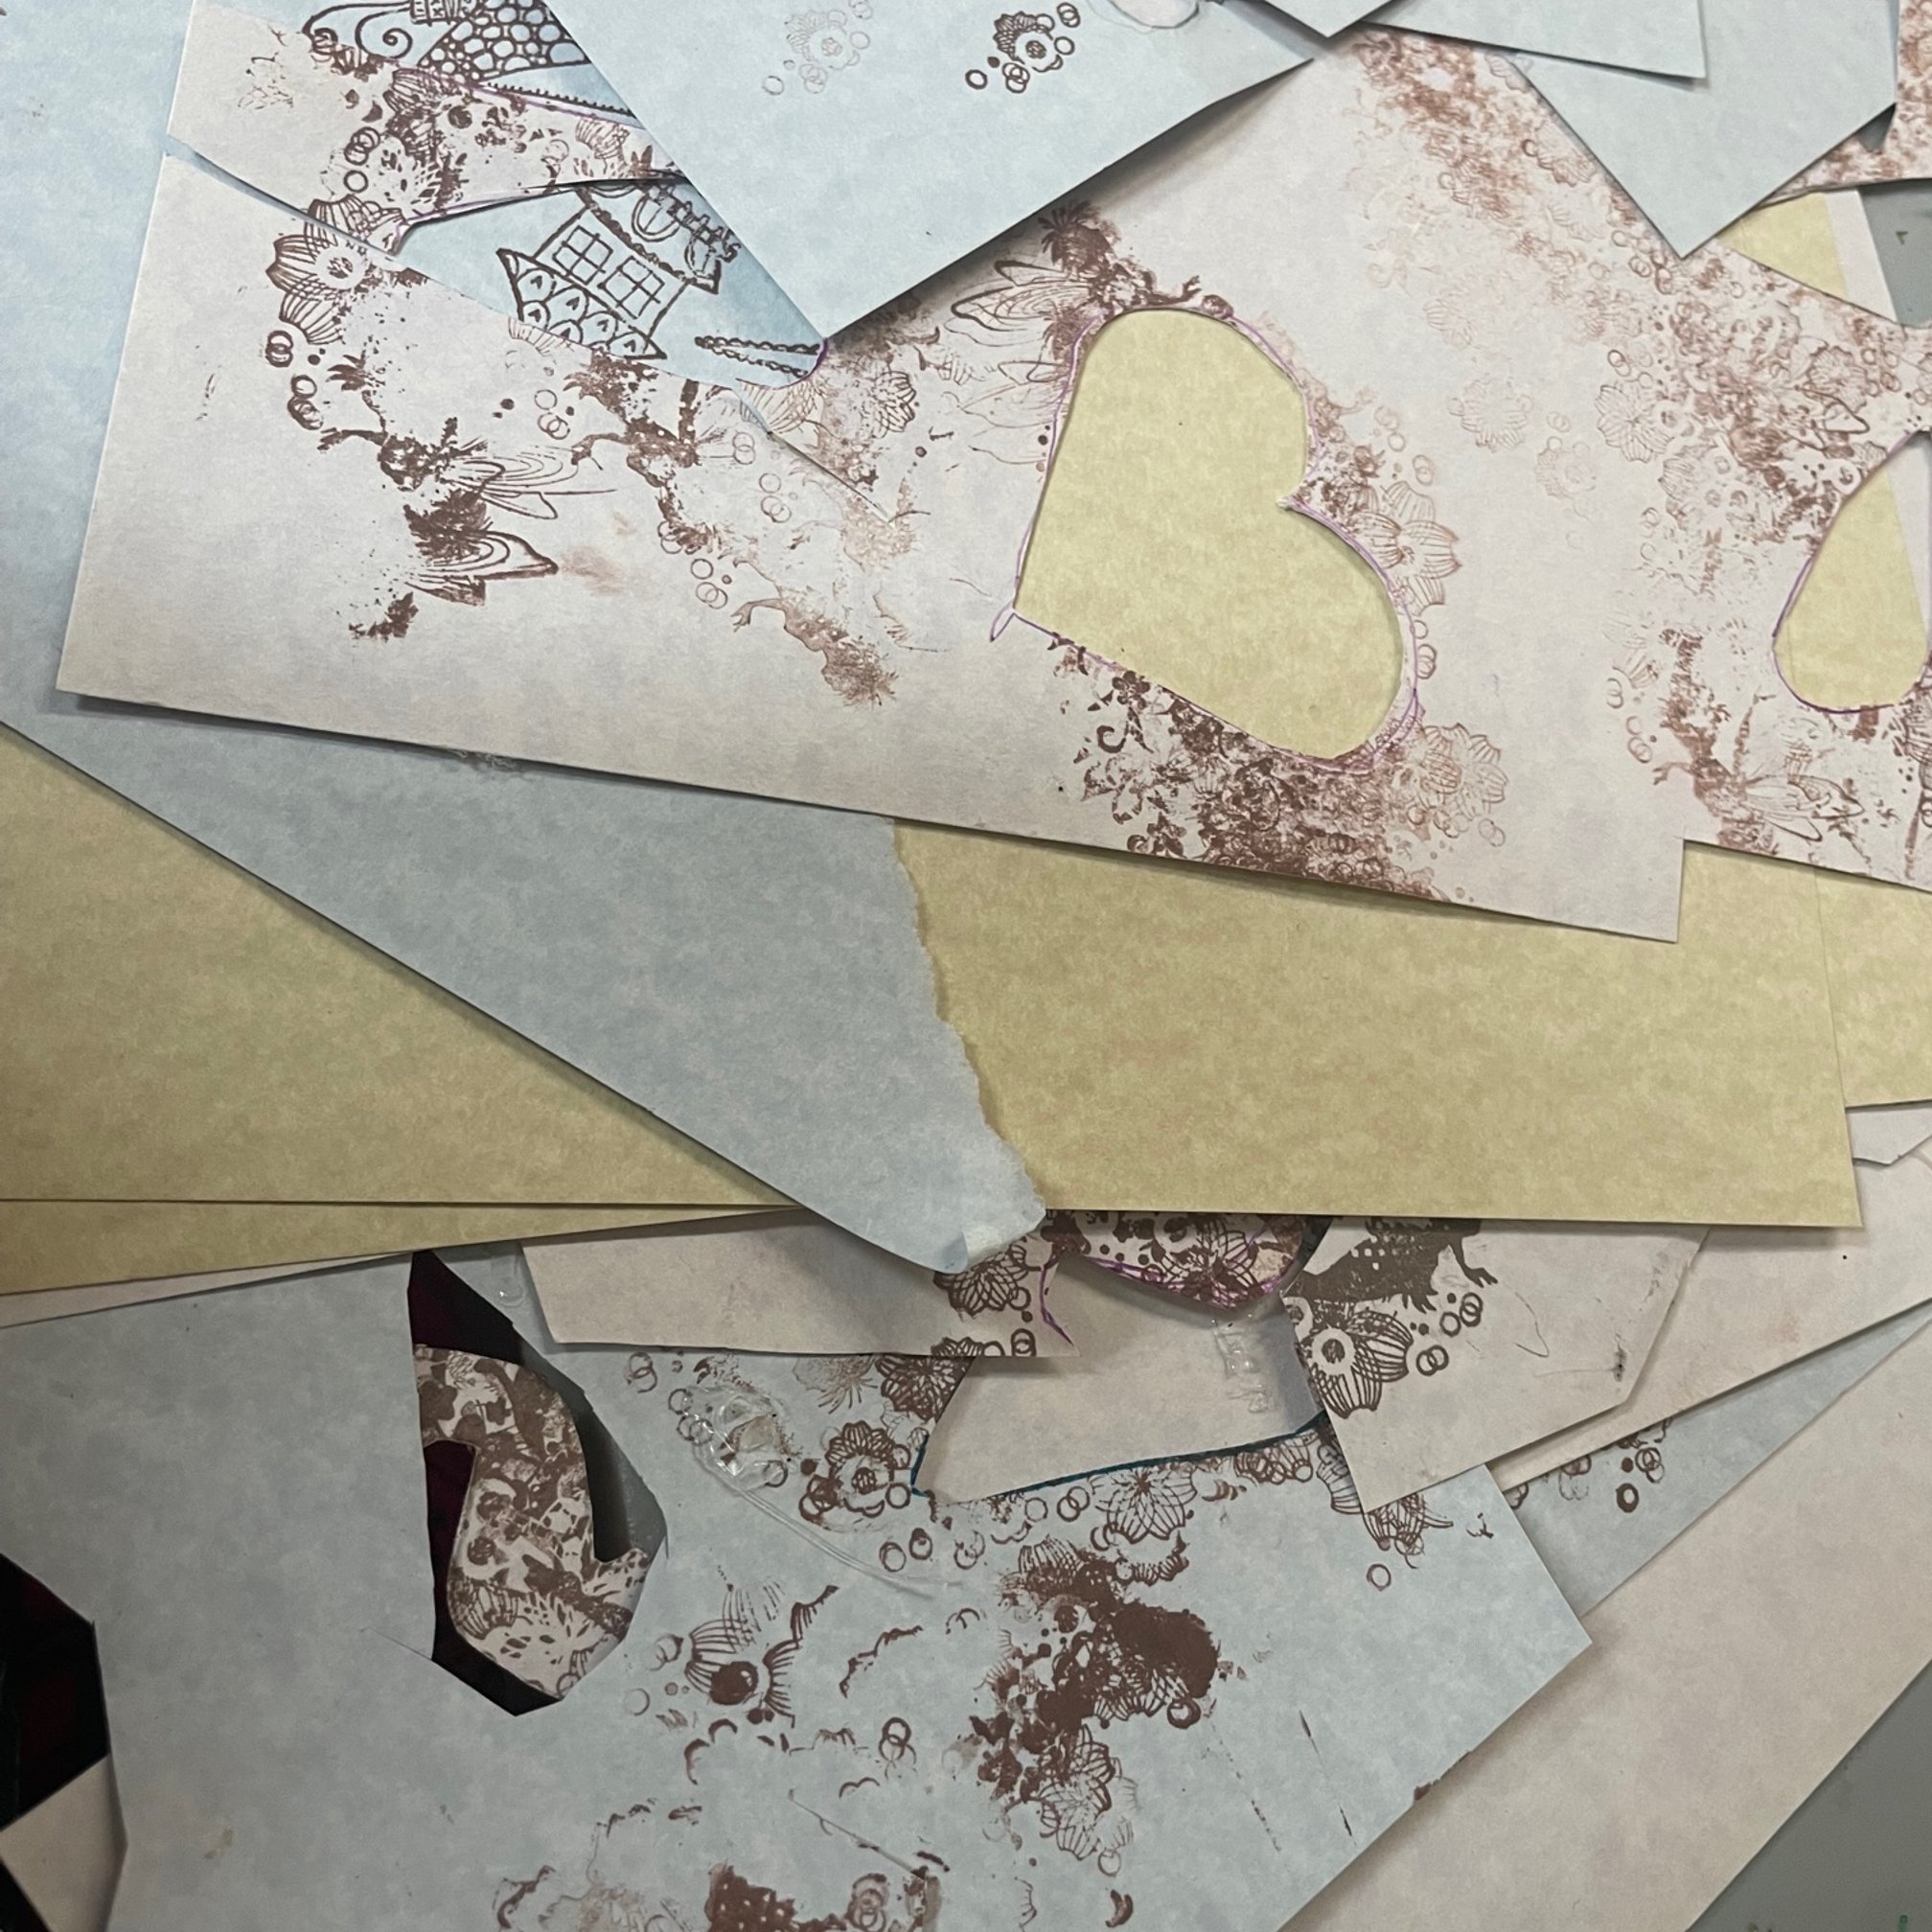
Let’s gather our paper!
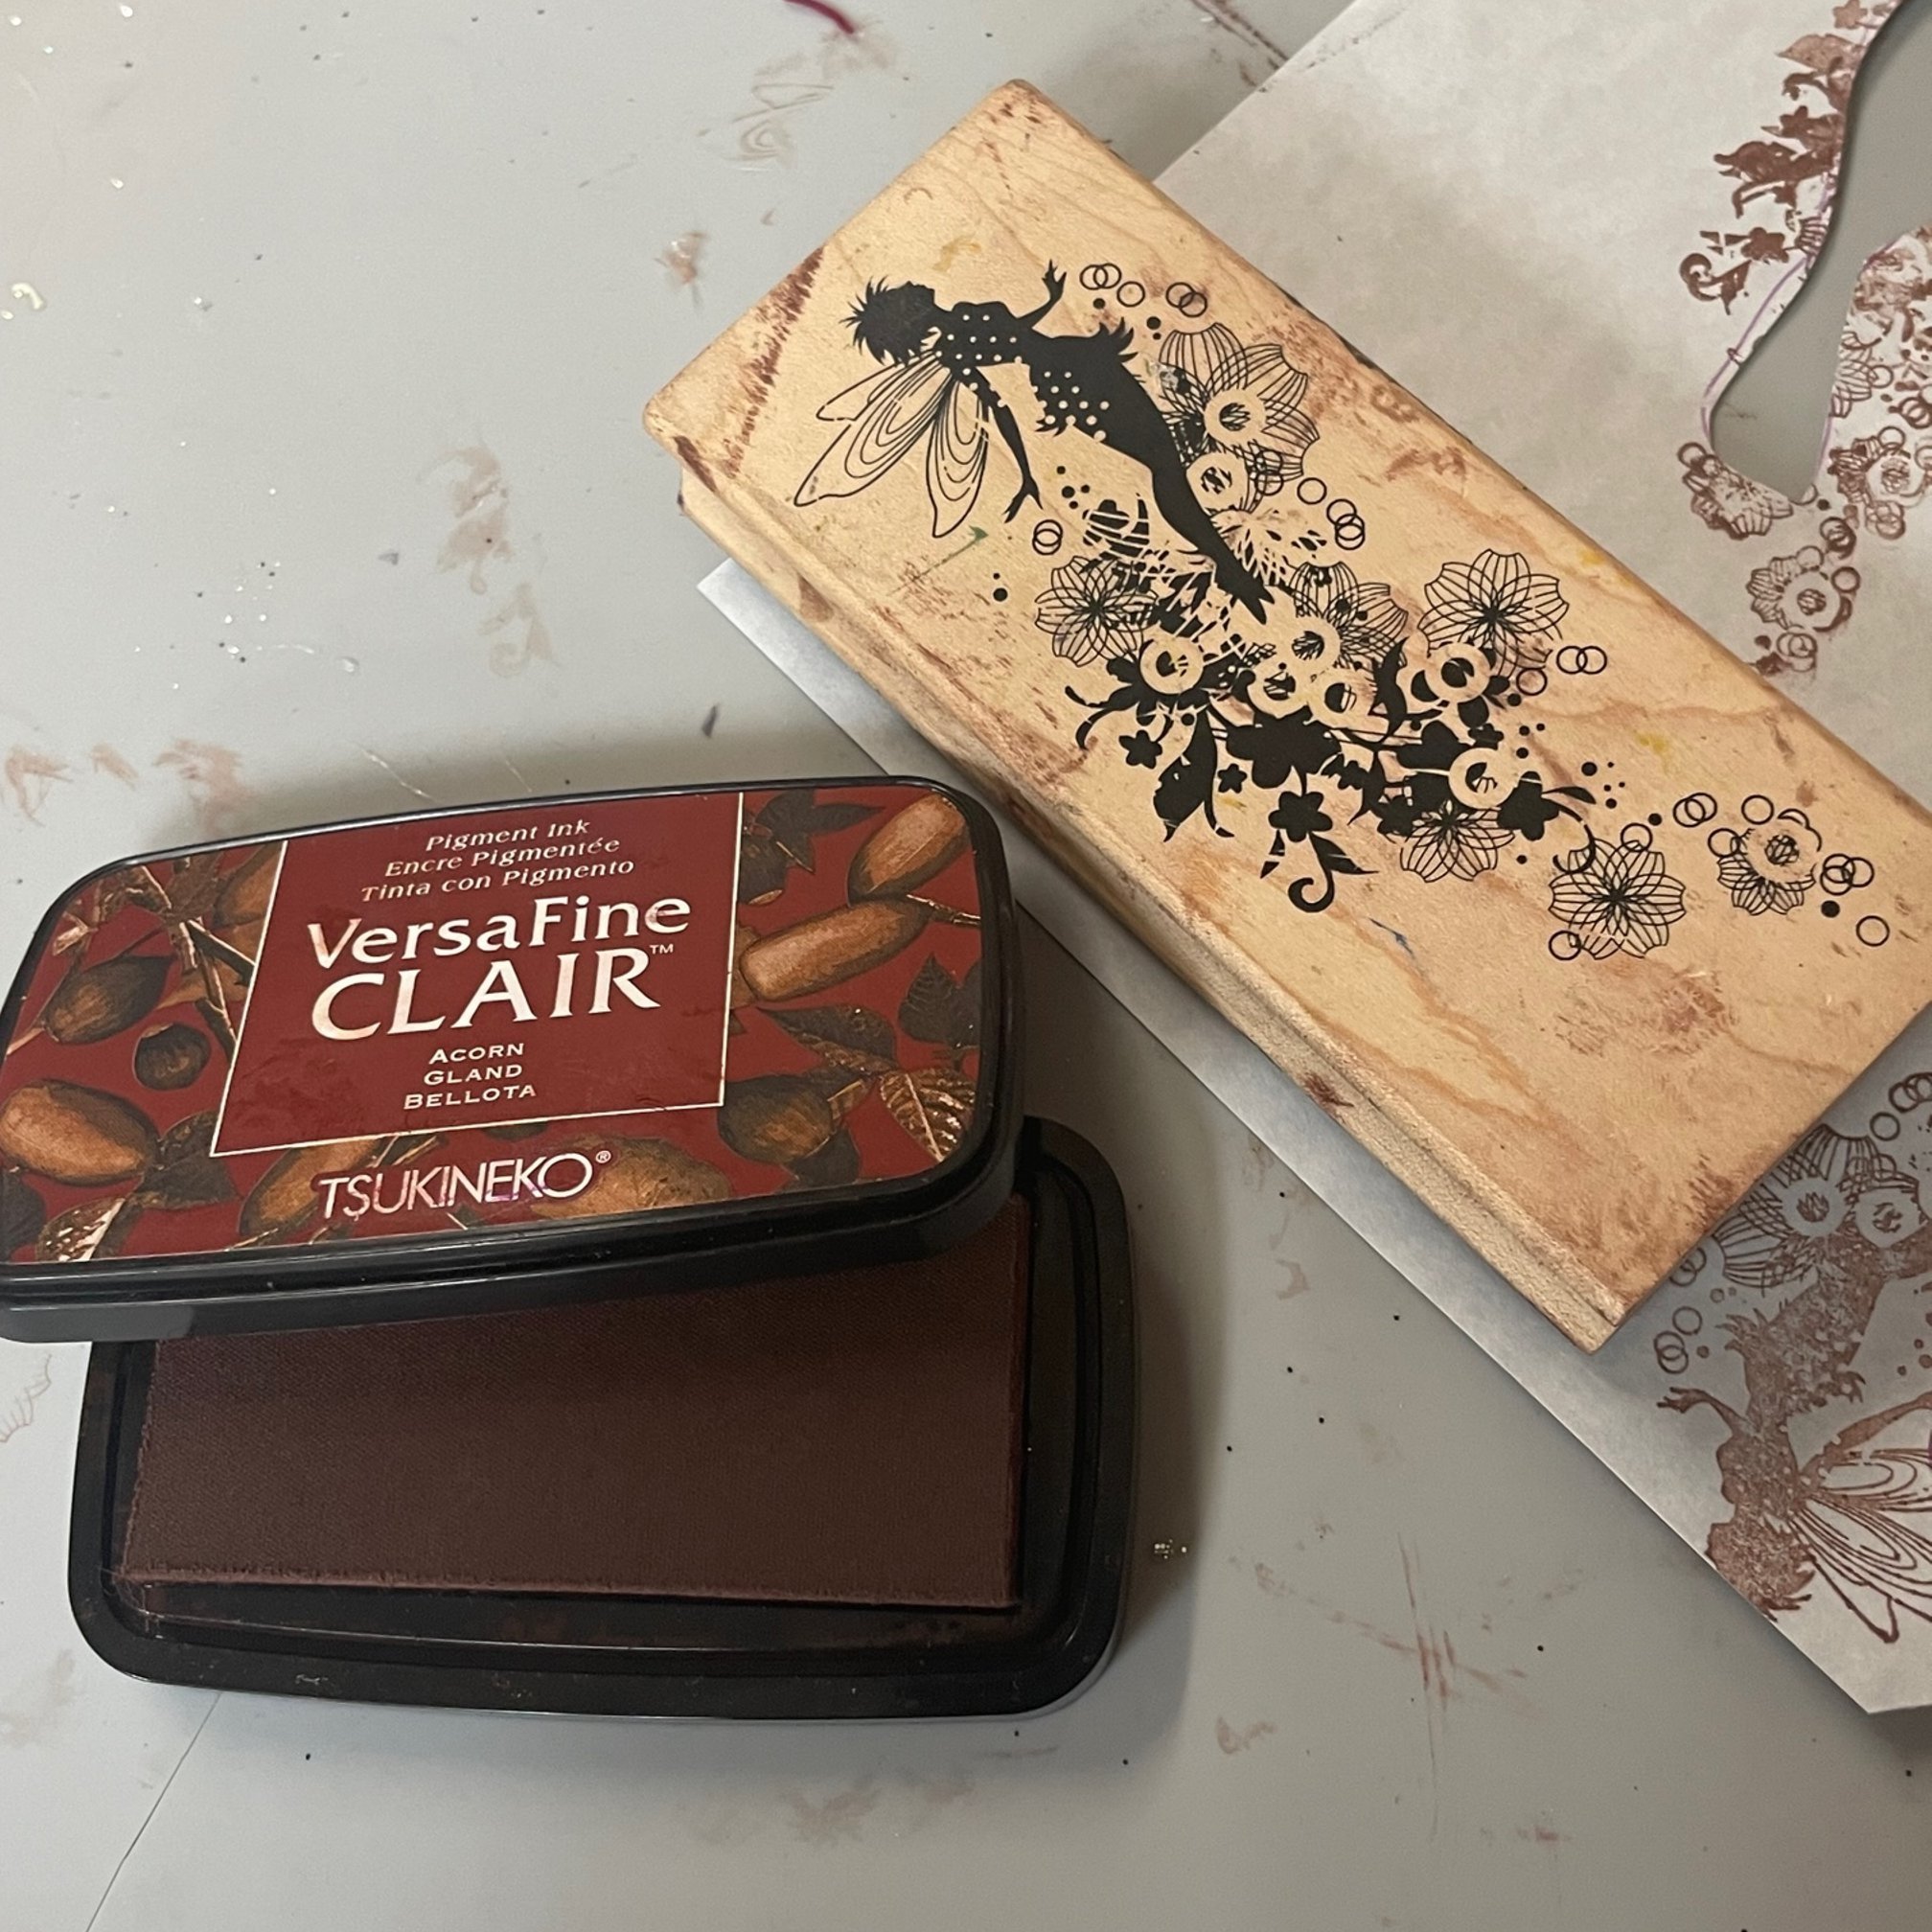
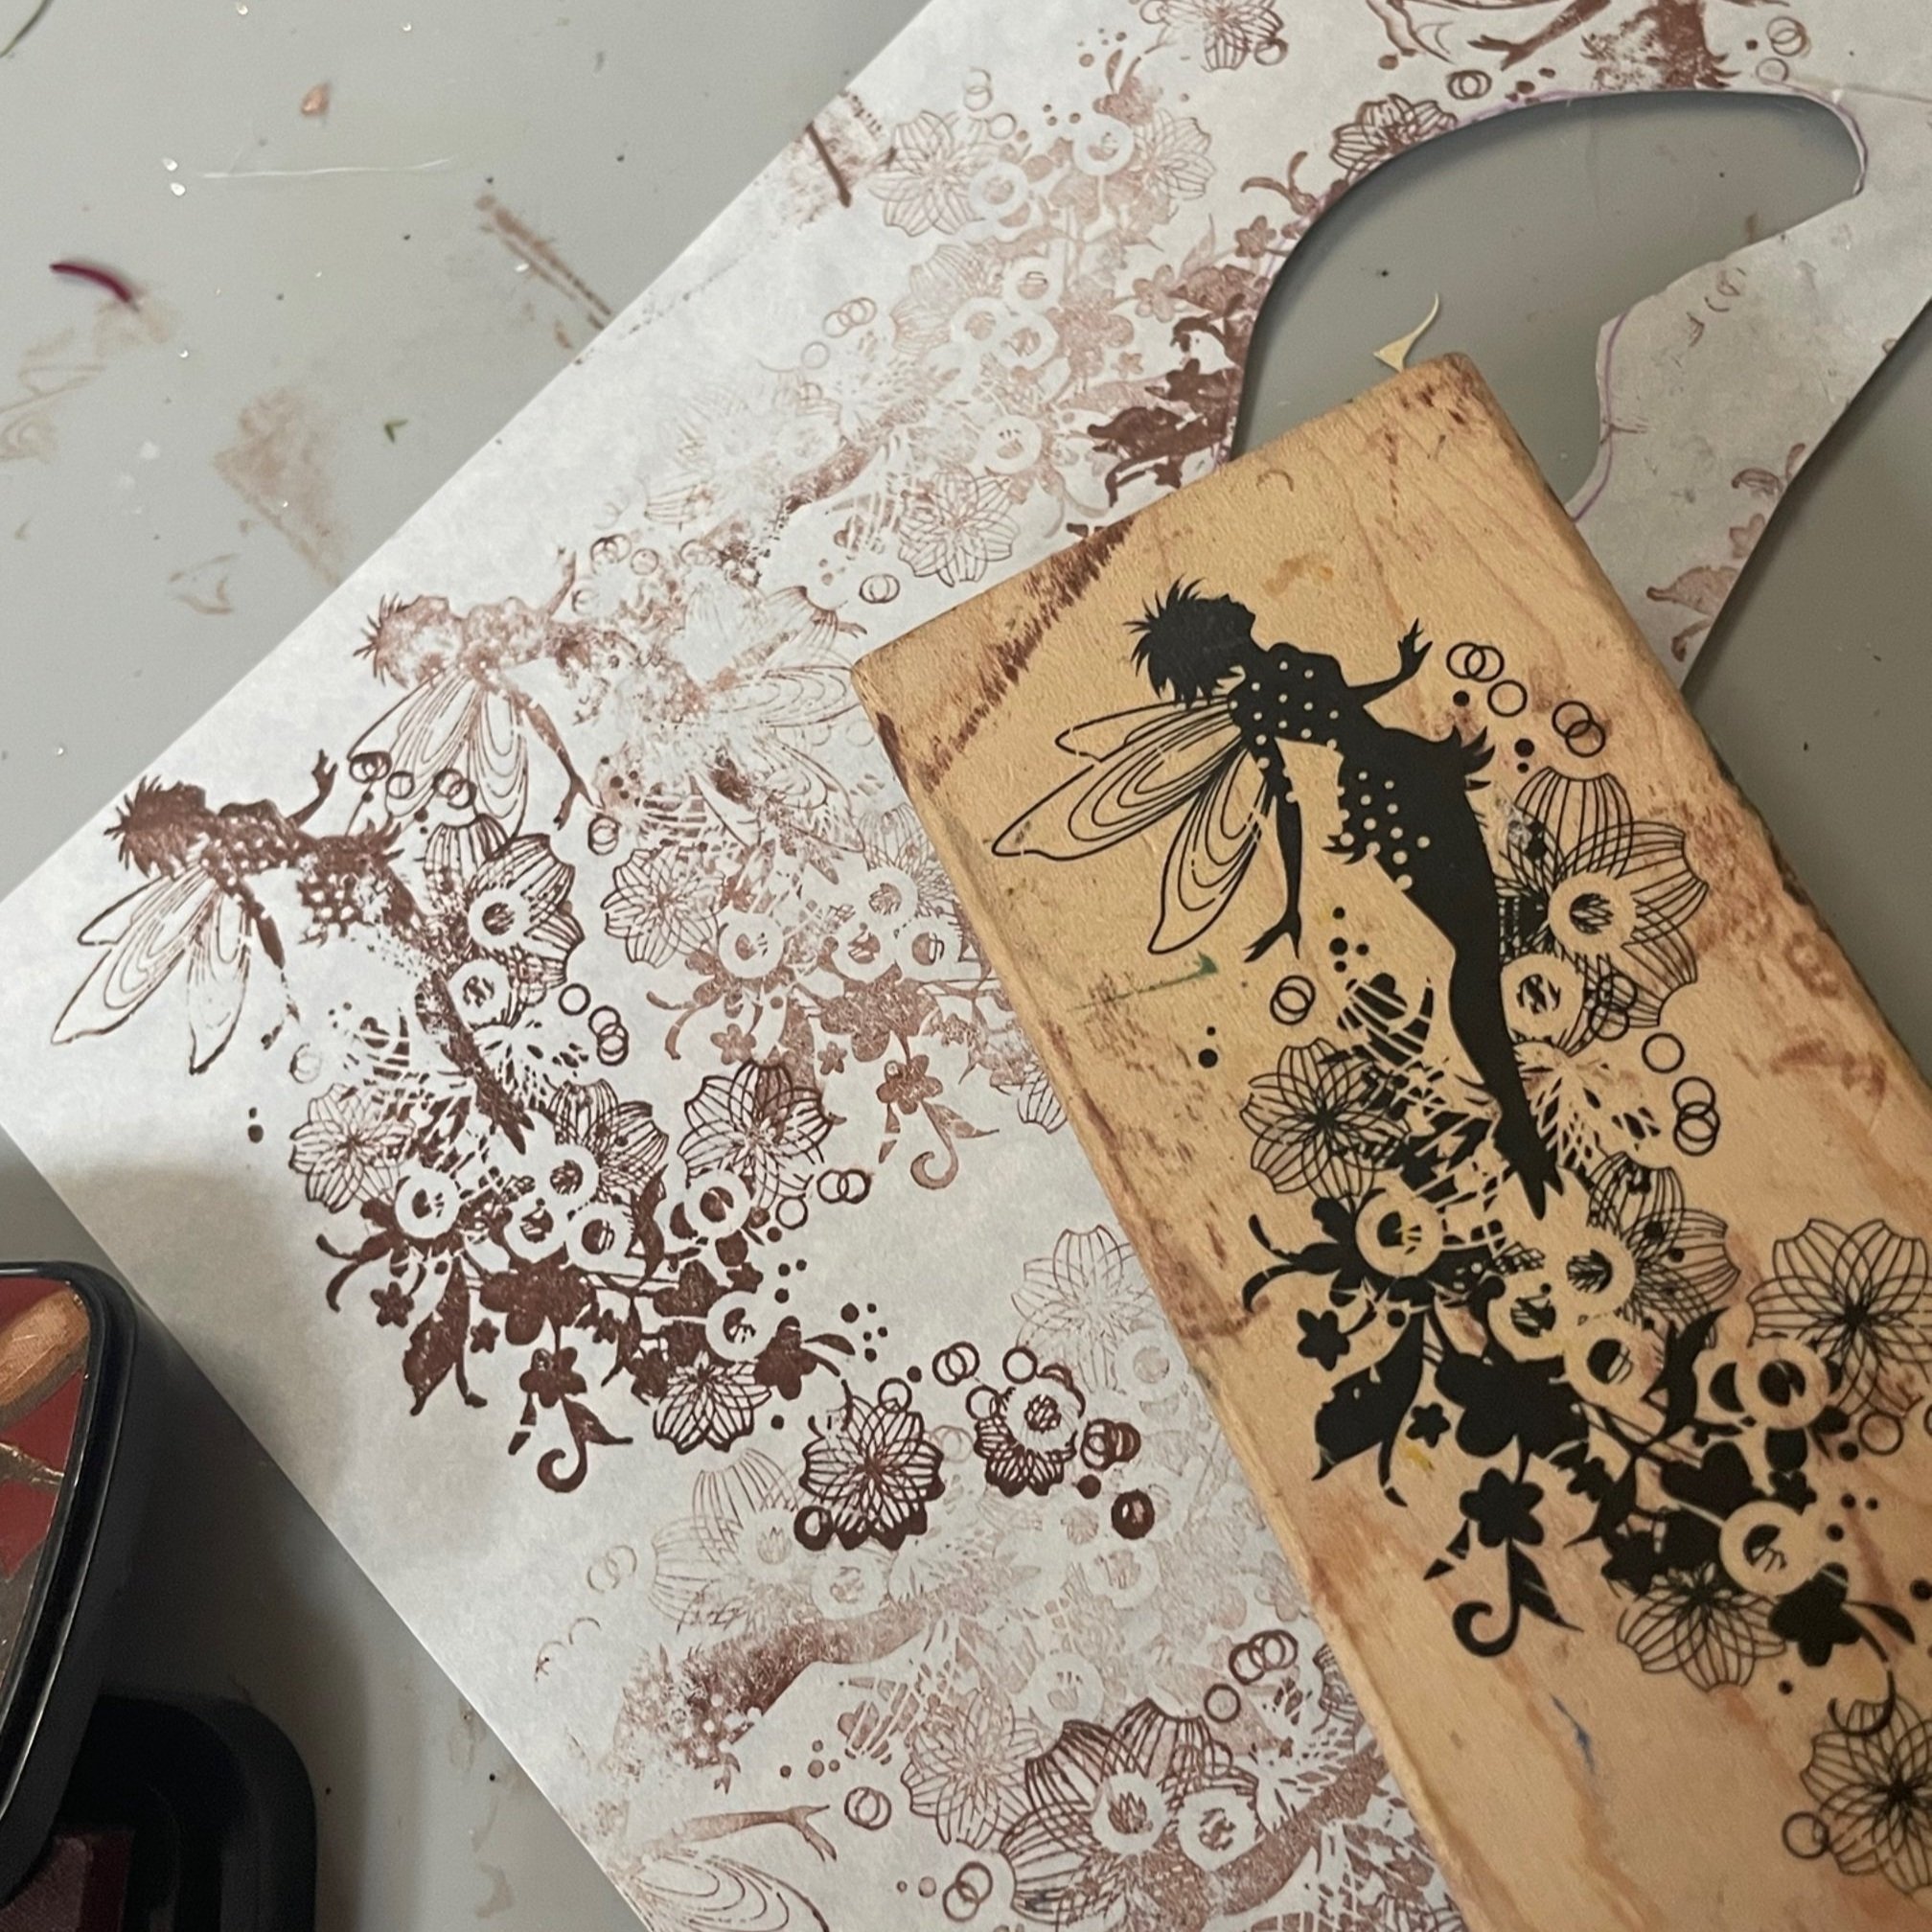
There’s a variety of papers you could use to create your wings with! To add texture to the more simple papers, a stamp with brown ink adds details. Stamp this and trim your wings shape out!
Now that you’ve traced and trimmed your papers for the wings, let’s create the body of the bug!
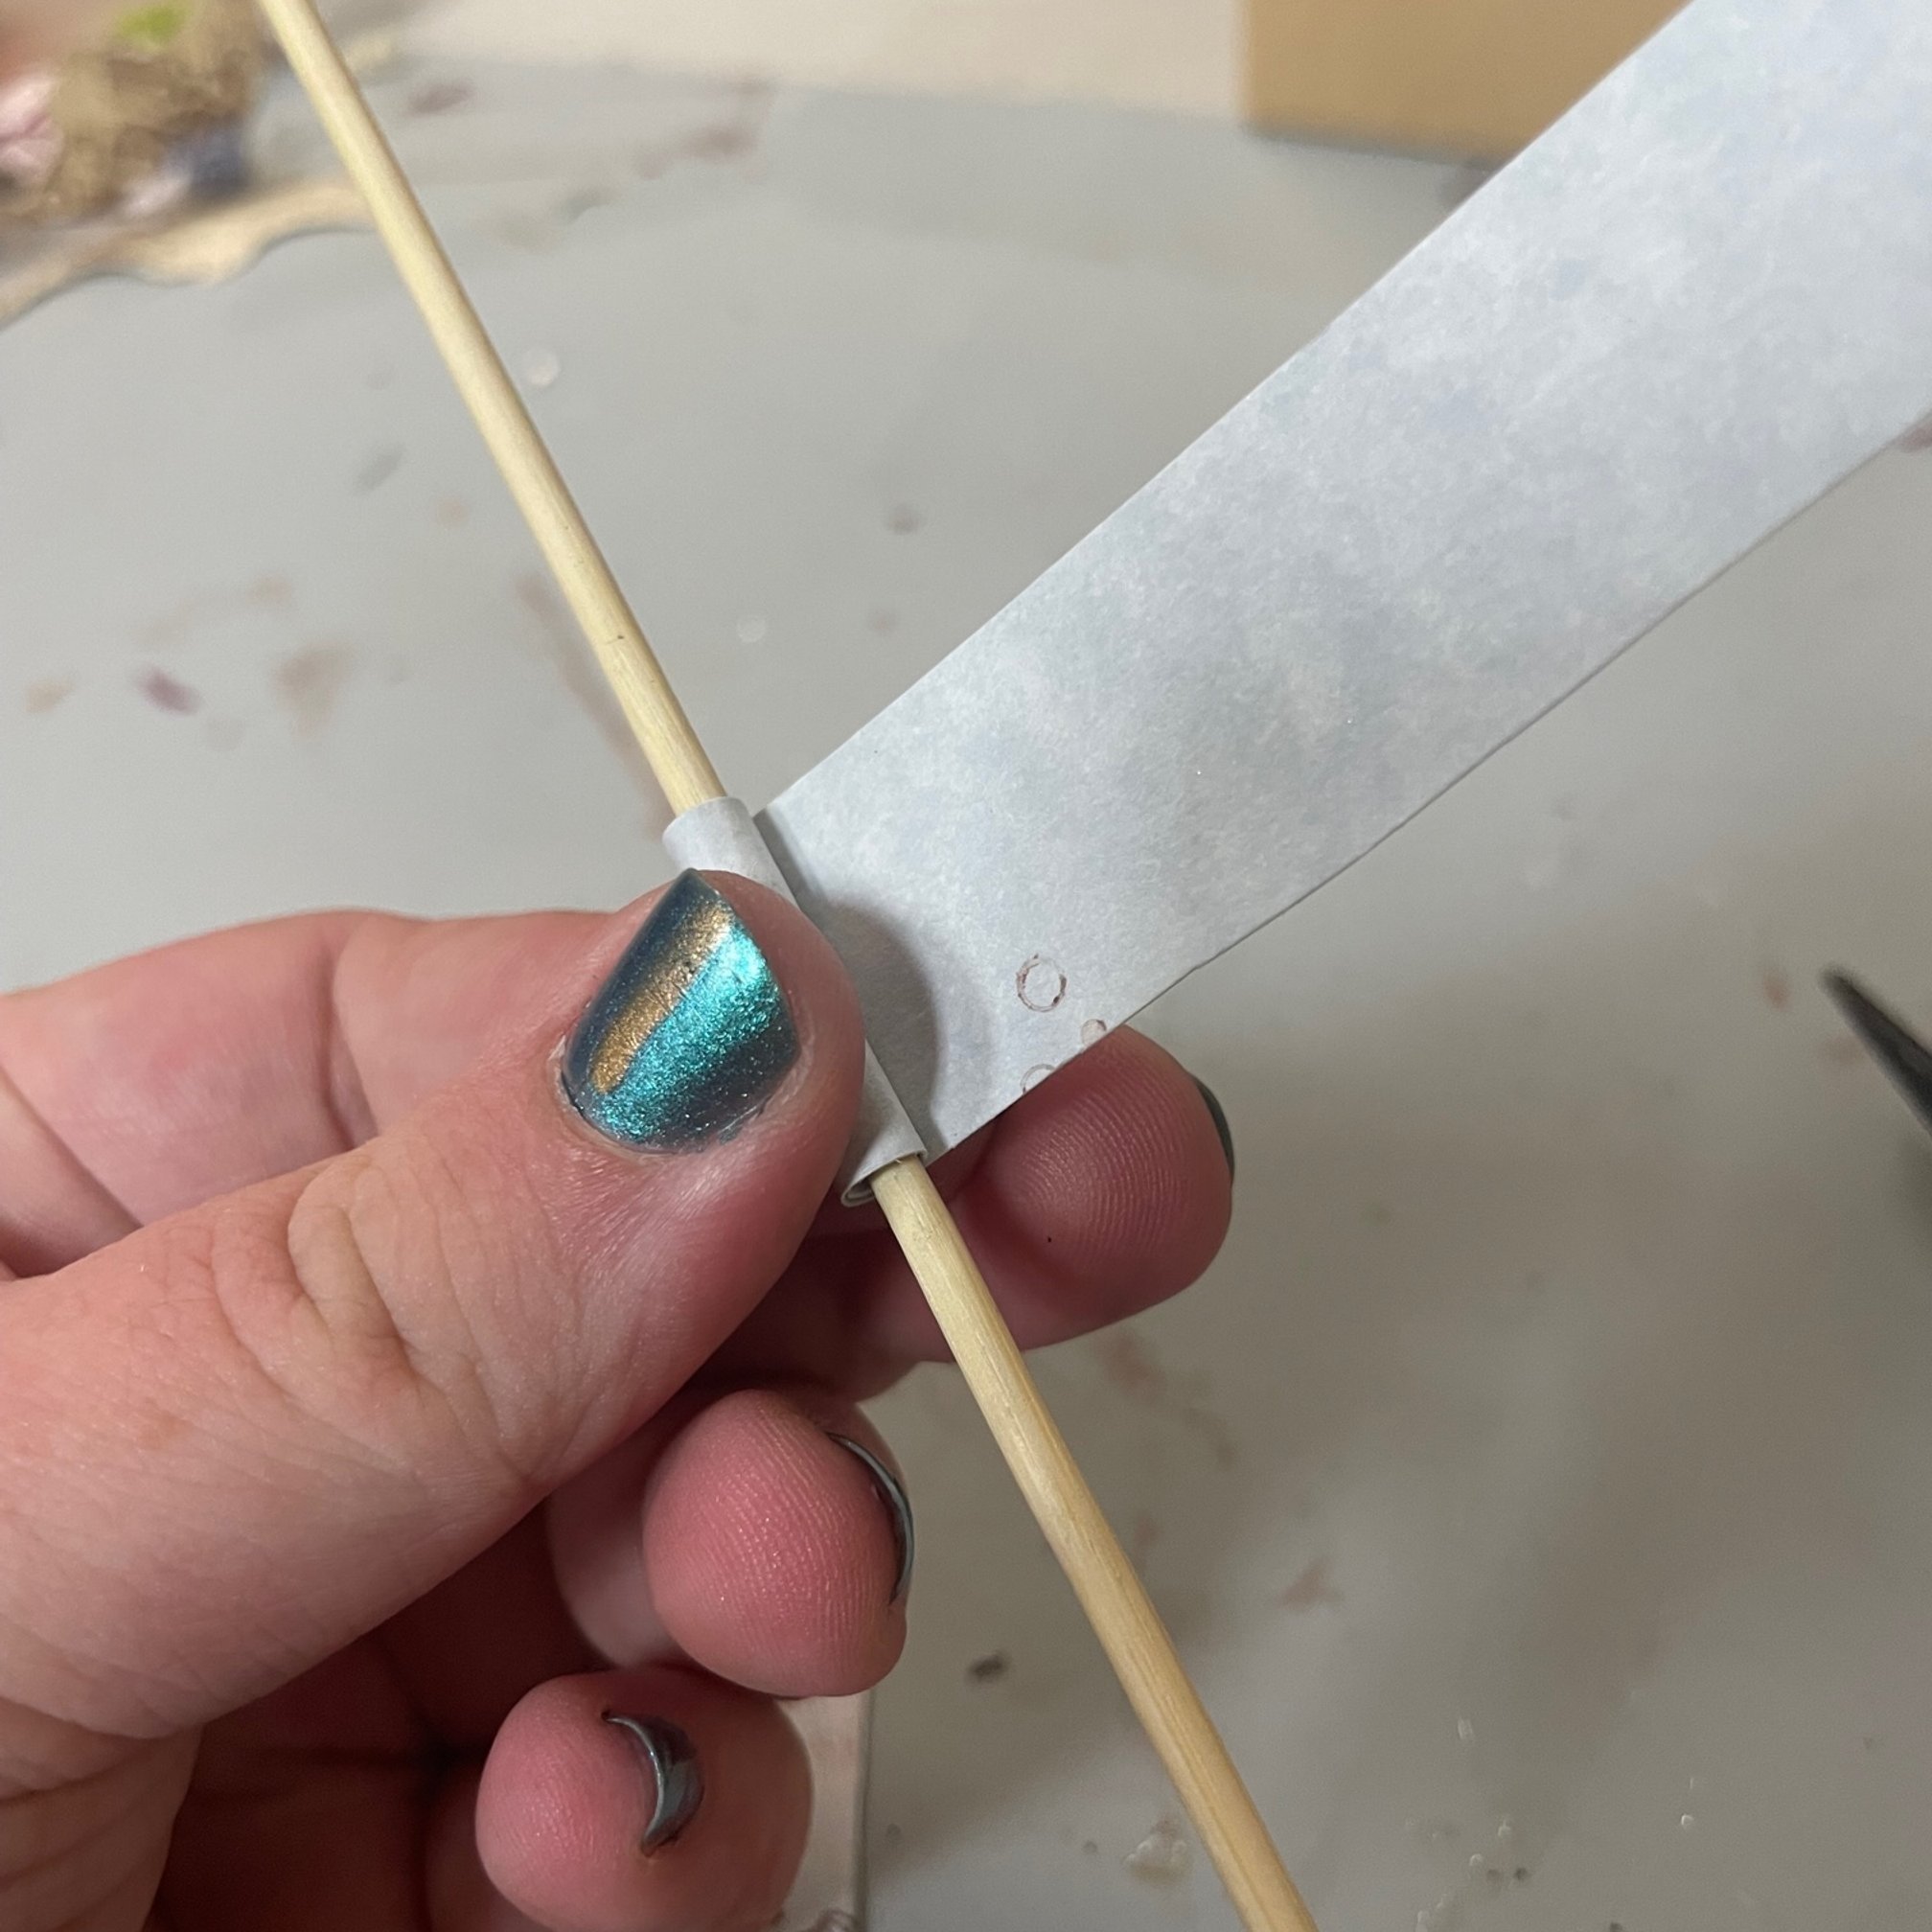
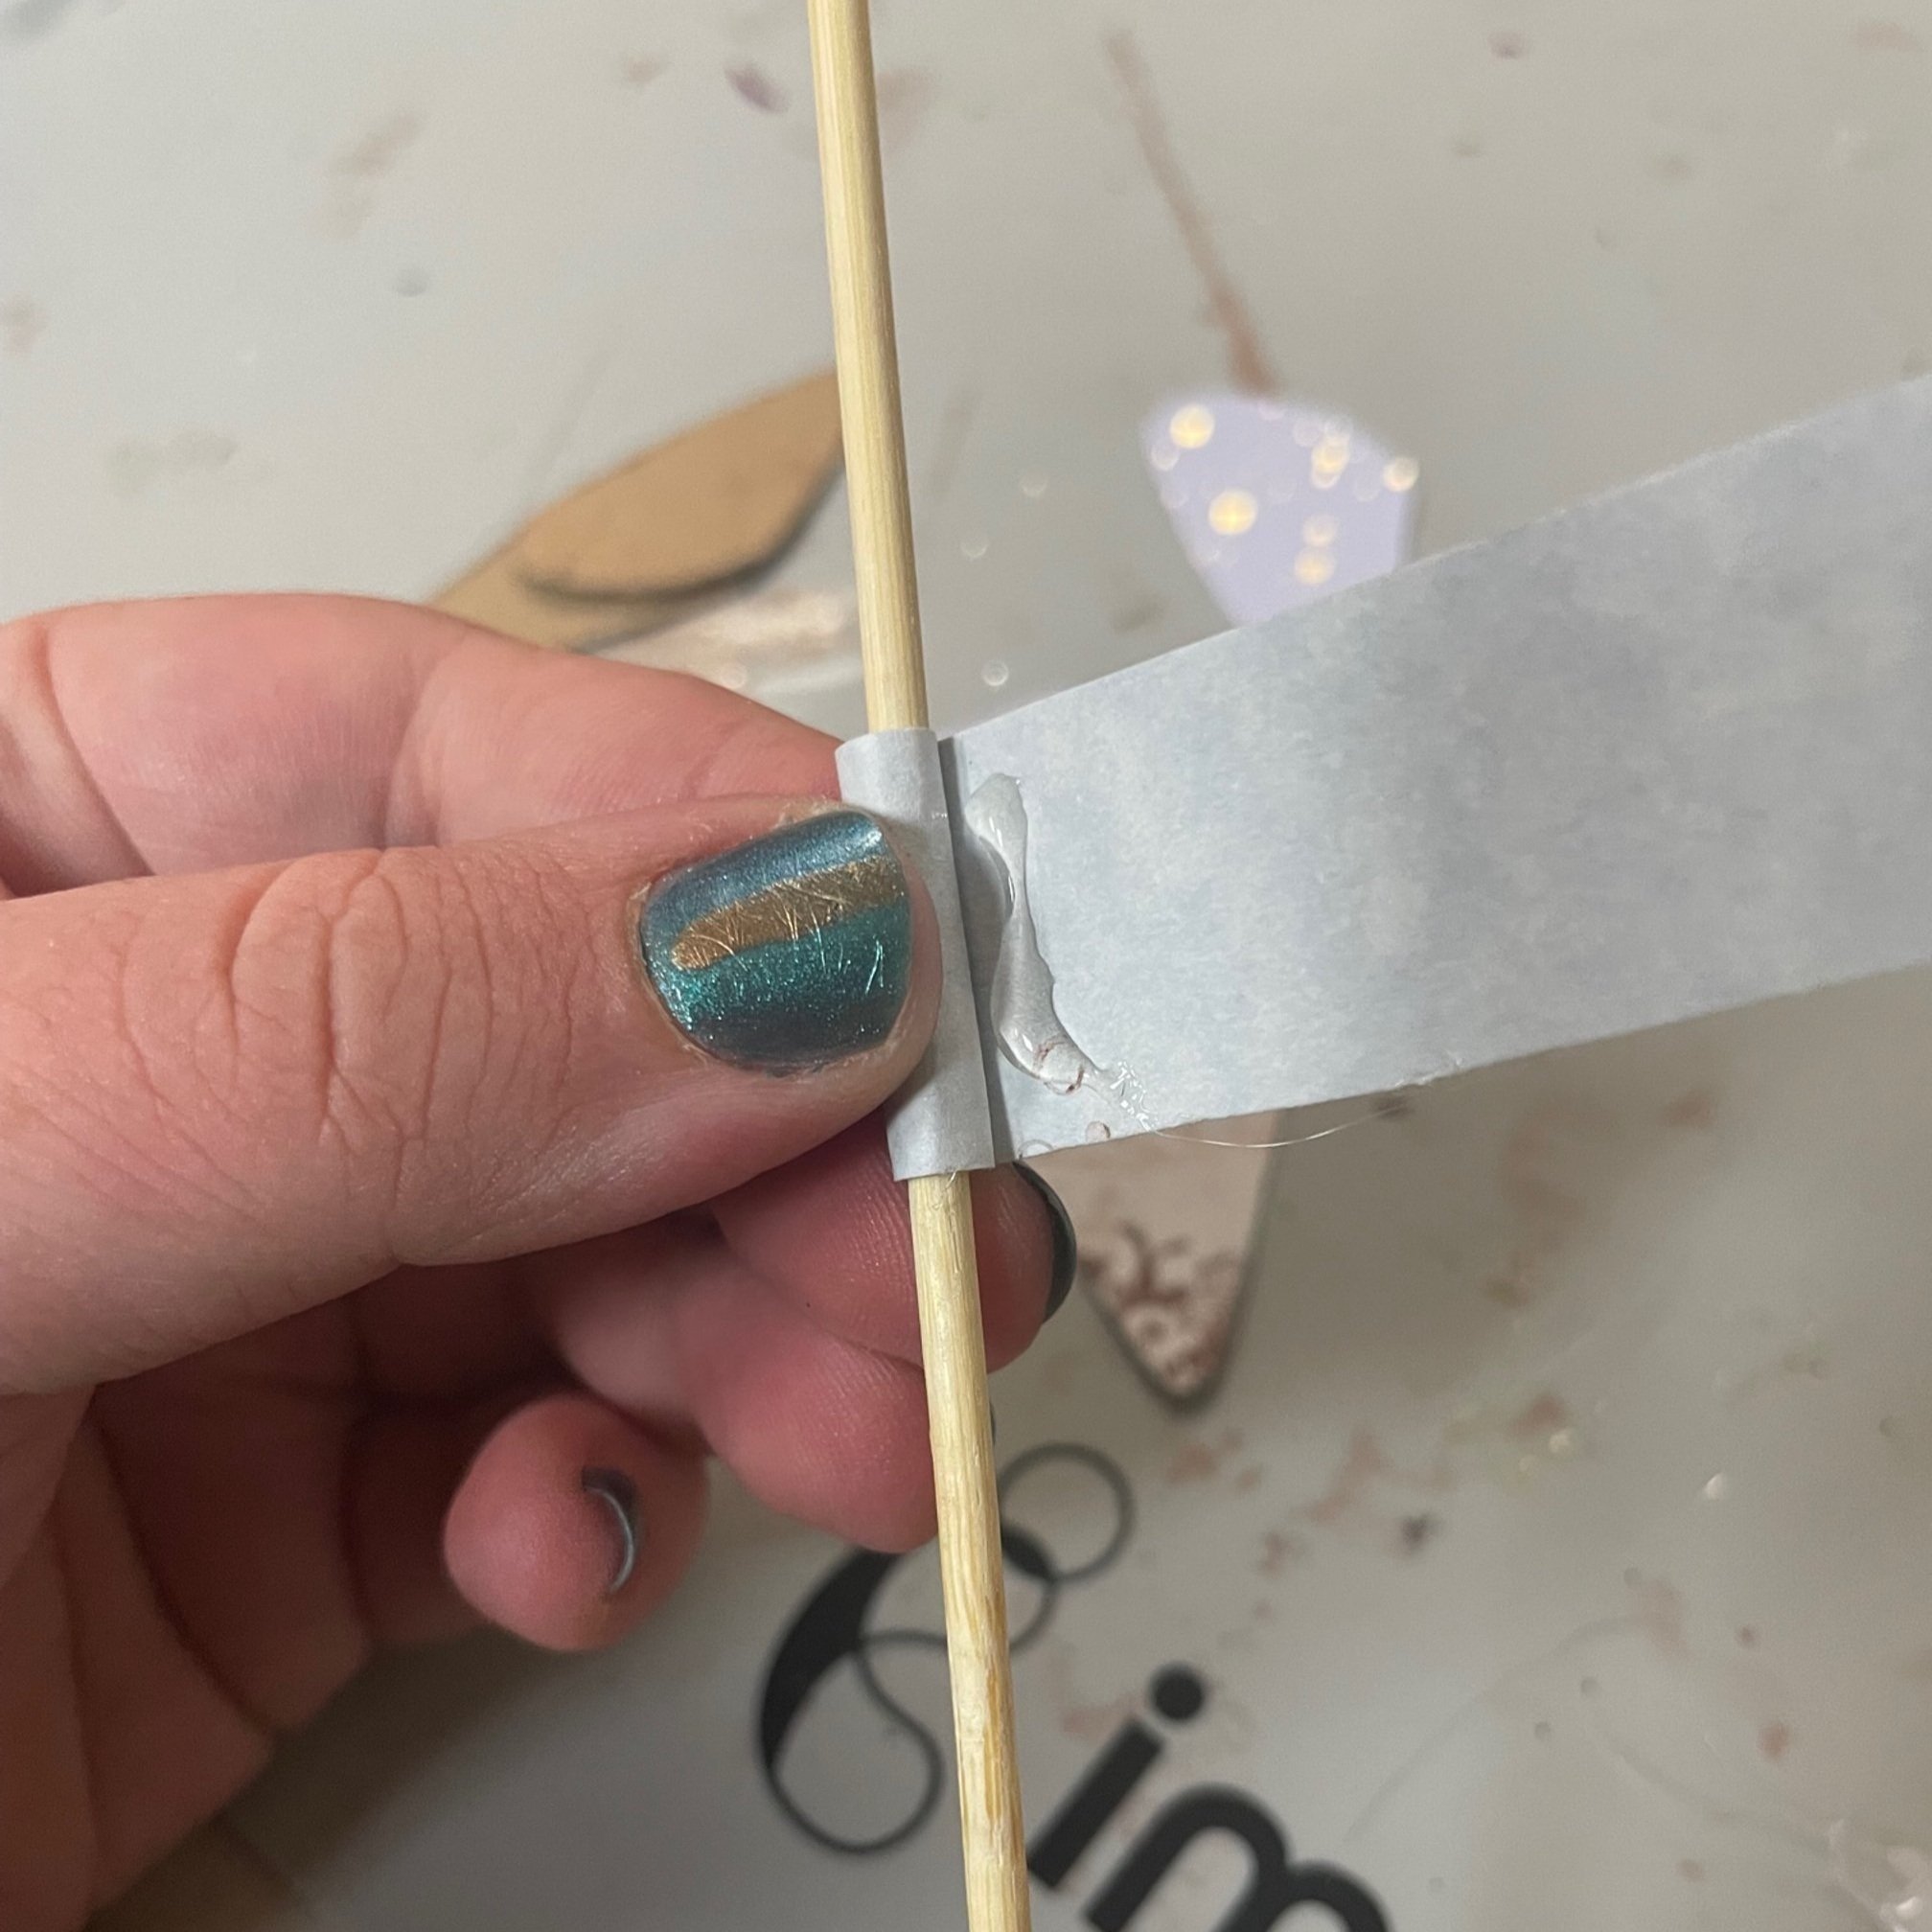
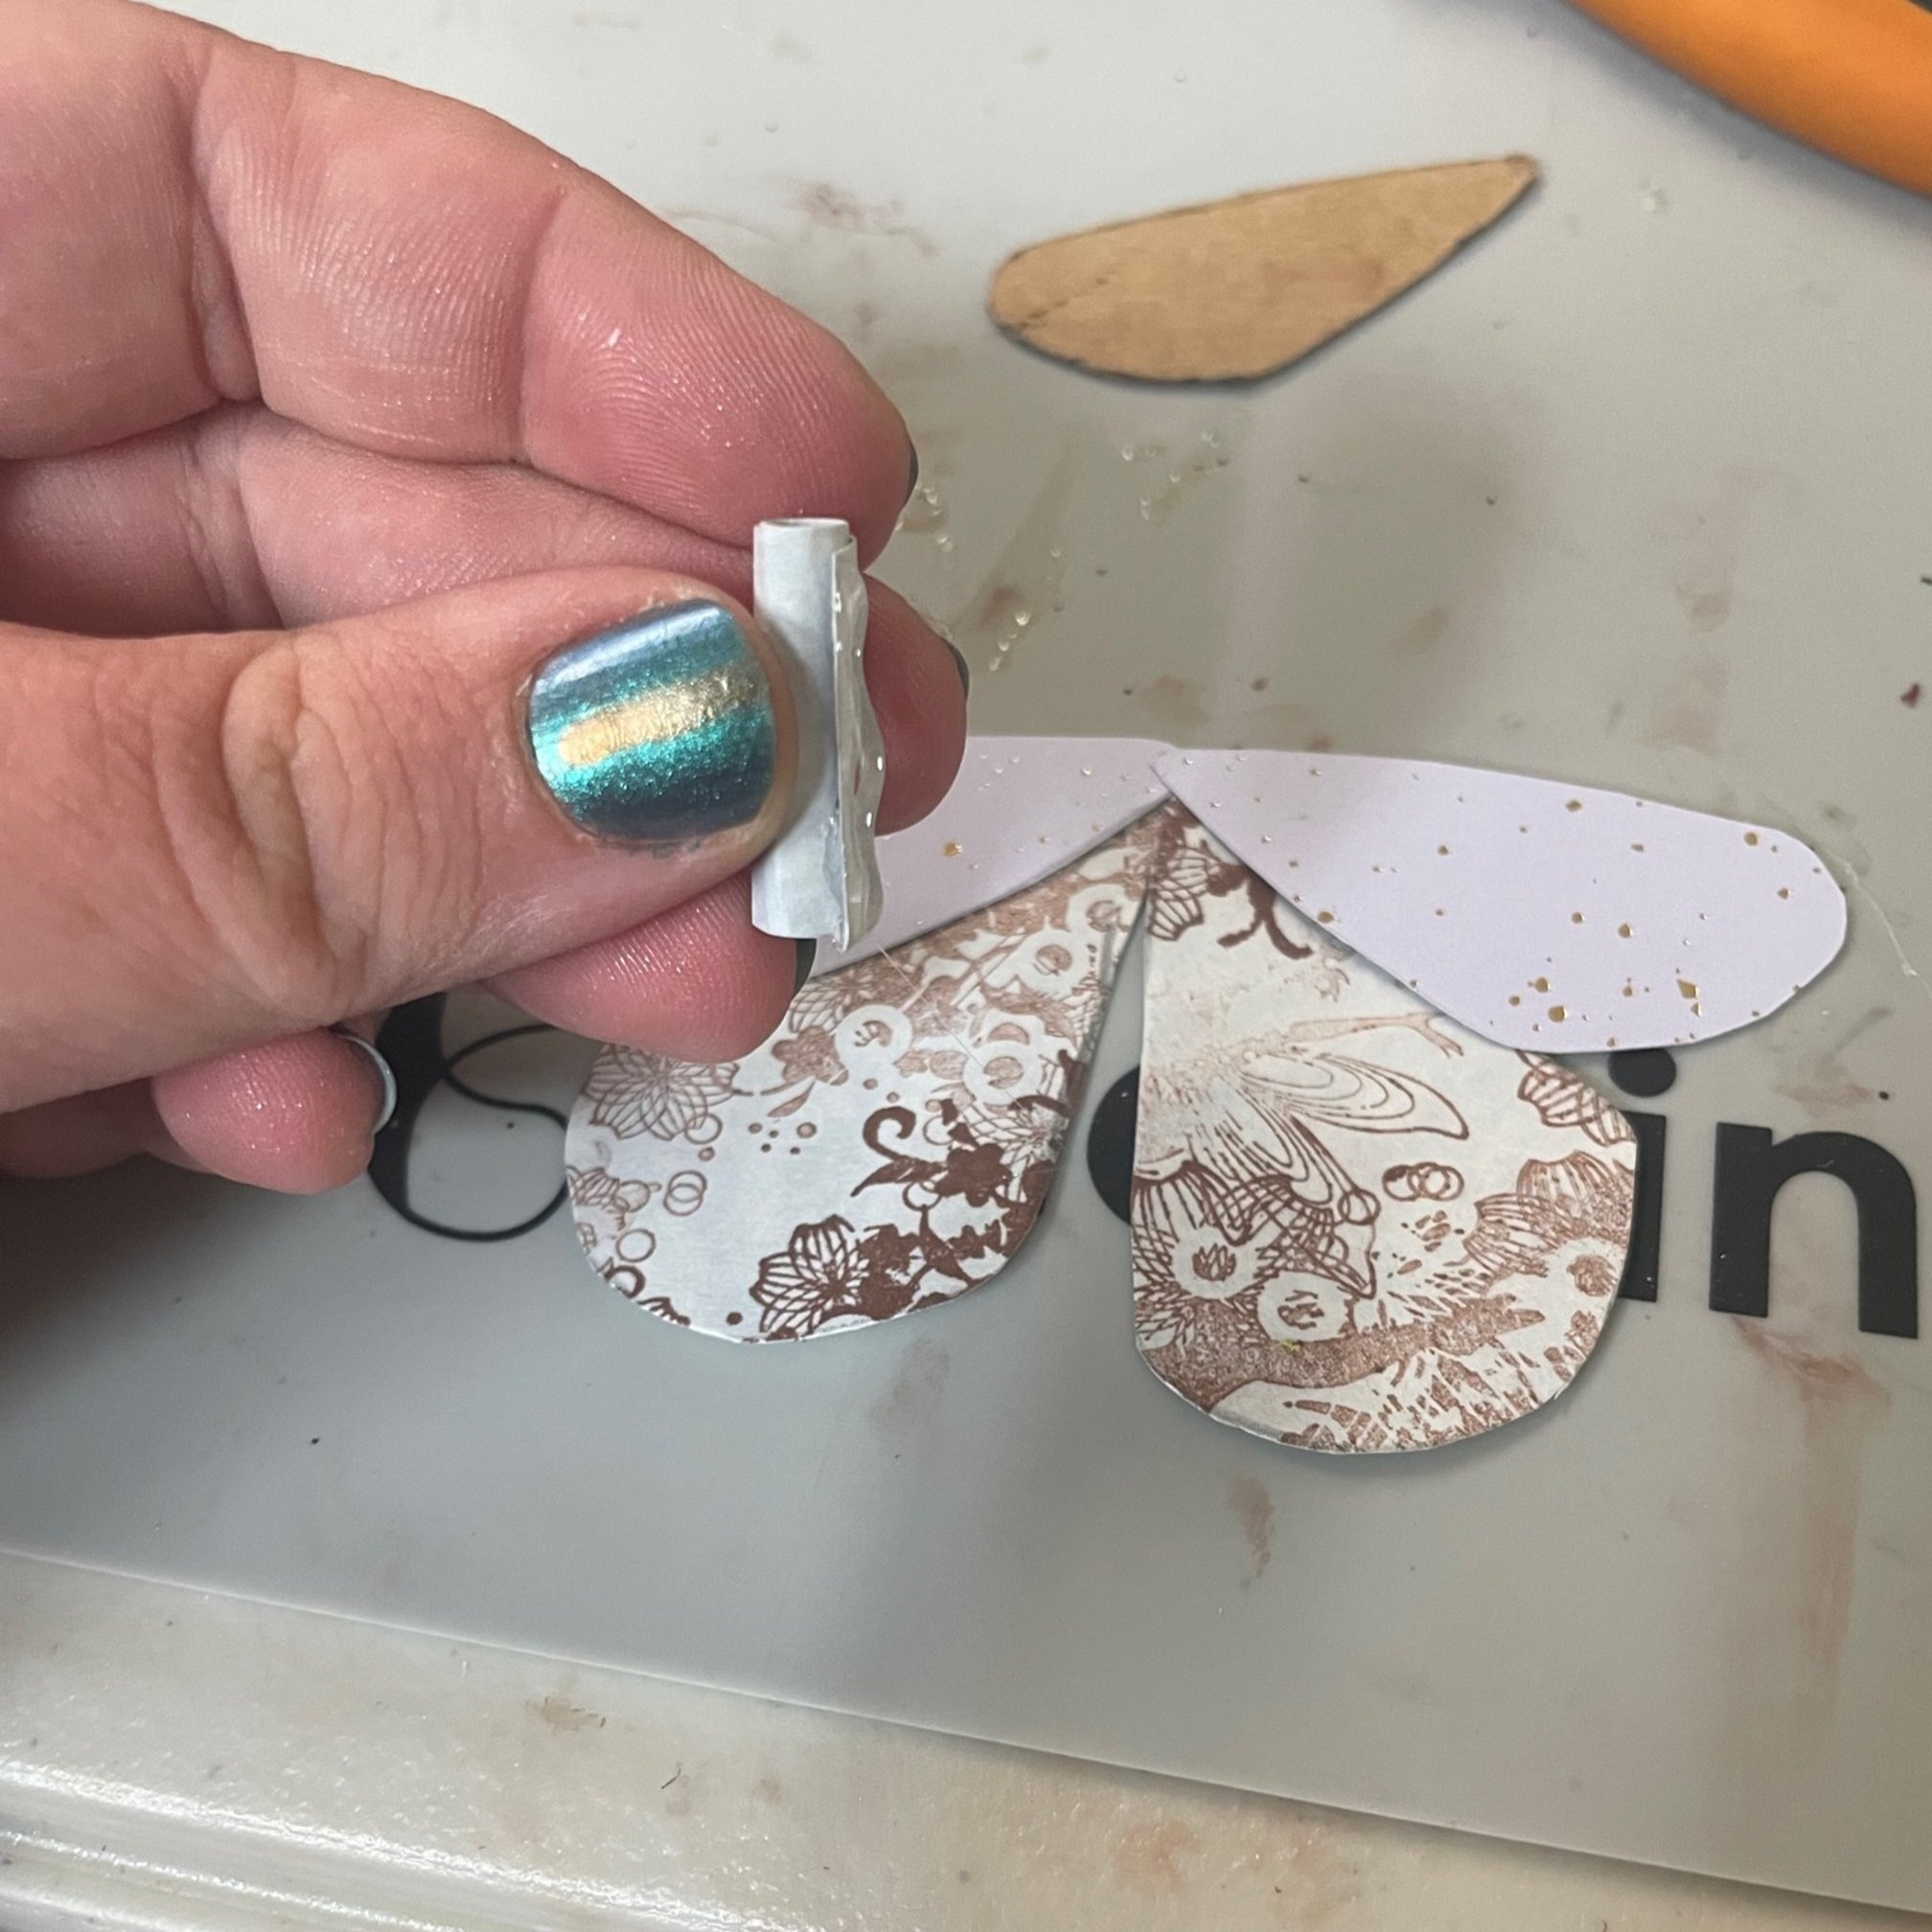
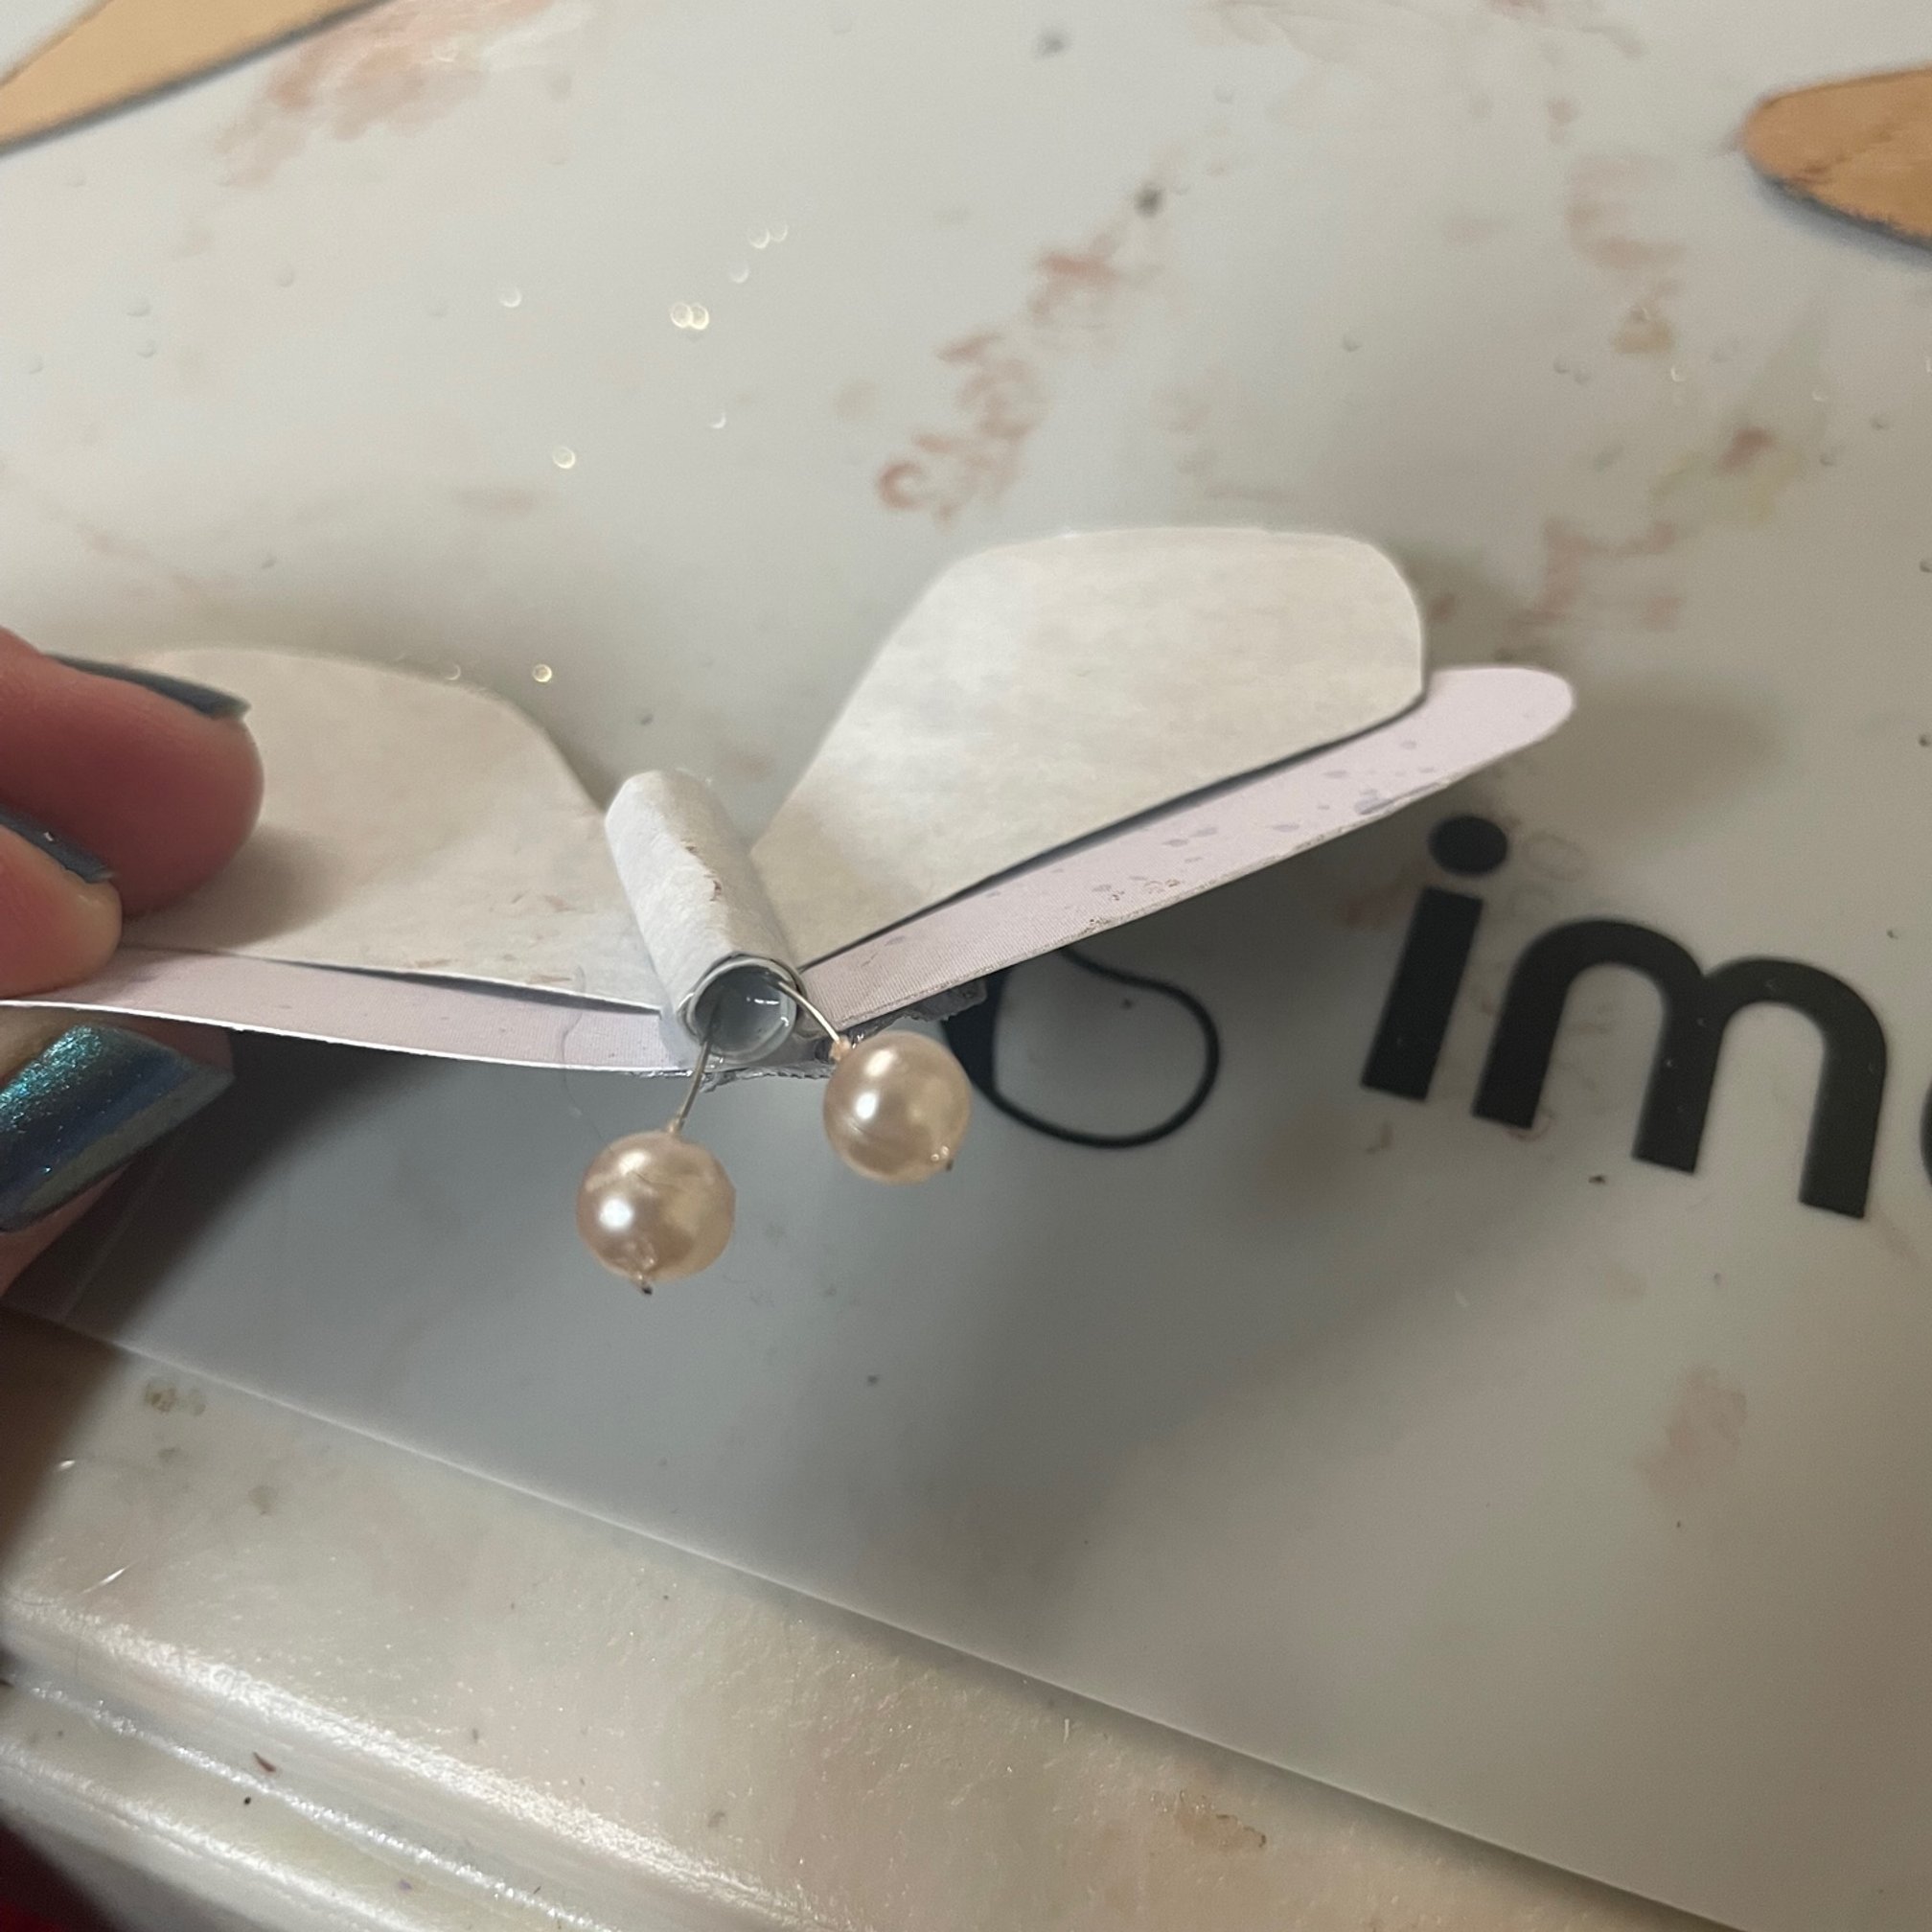
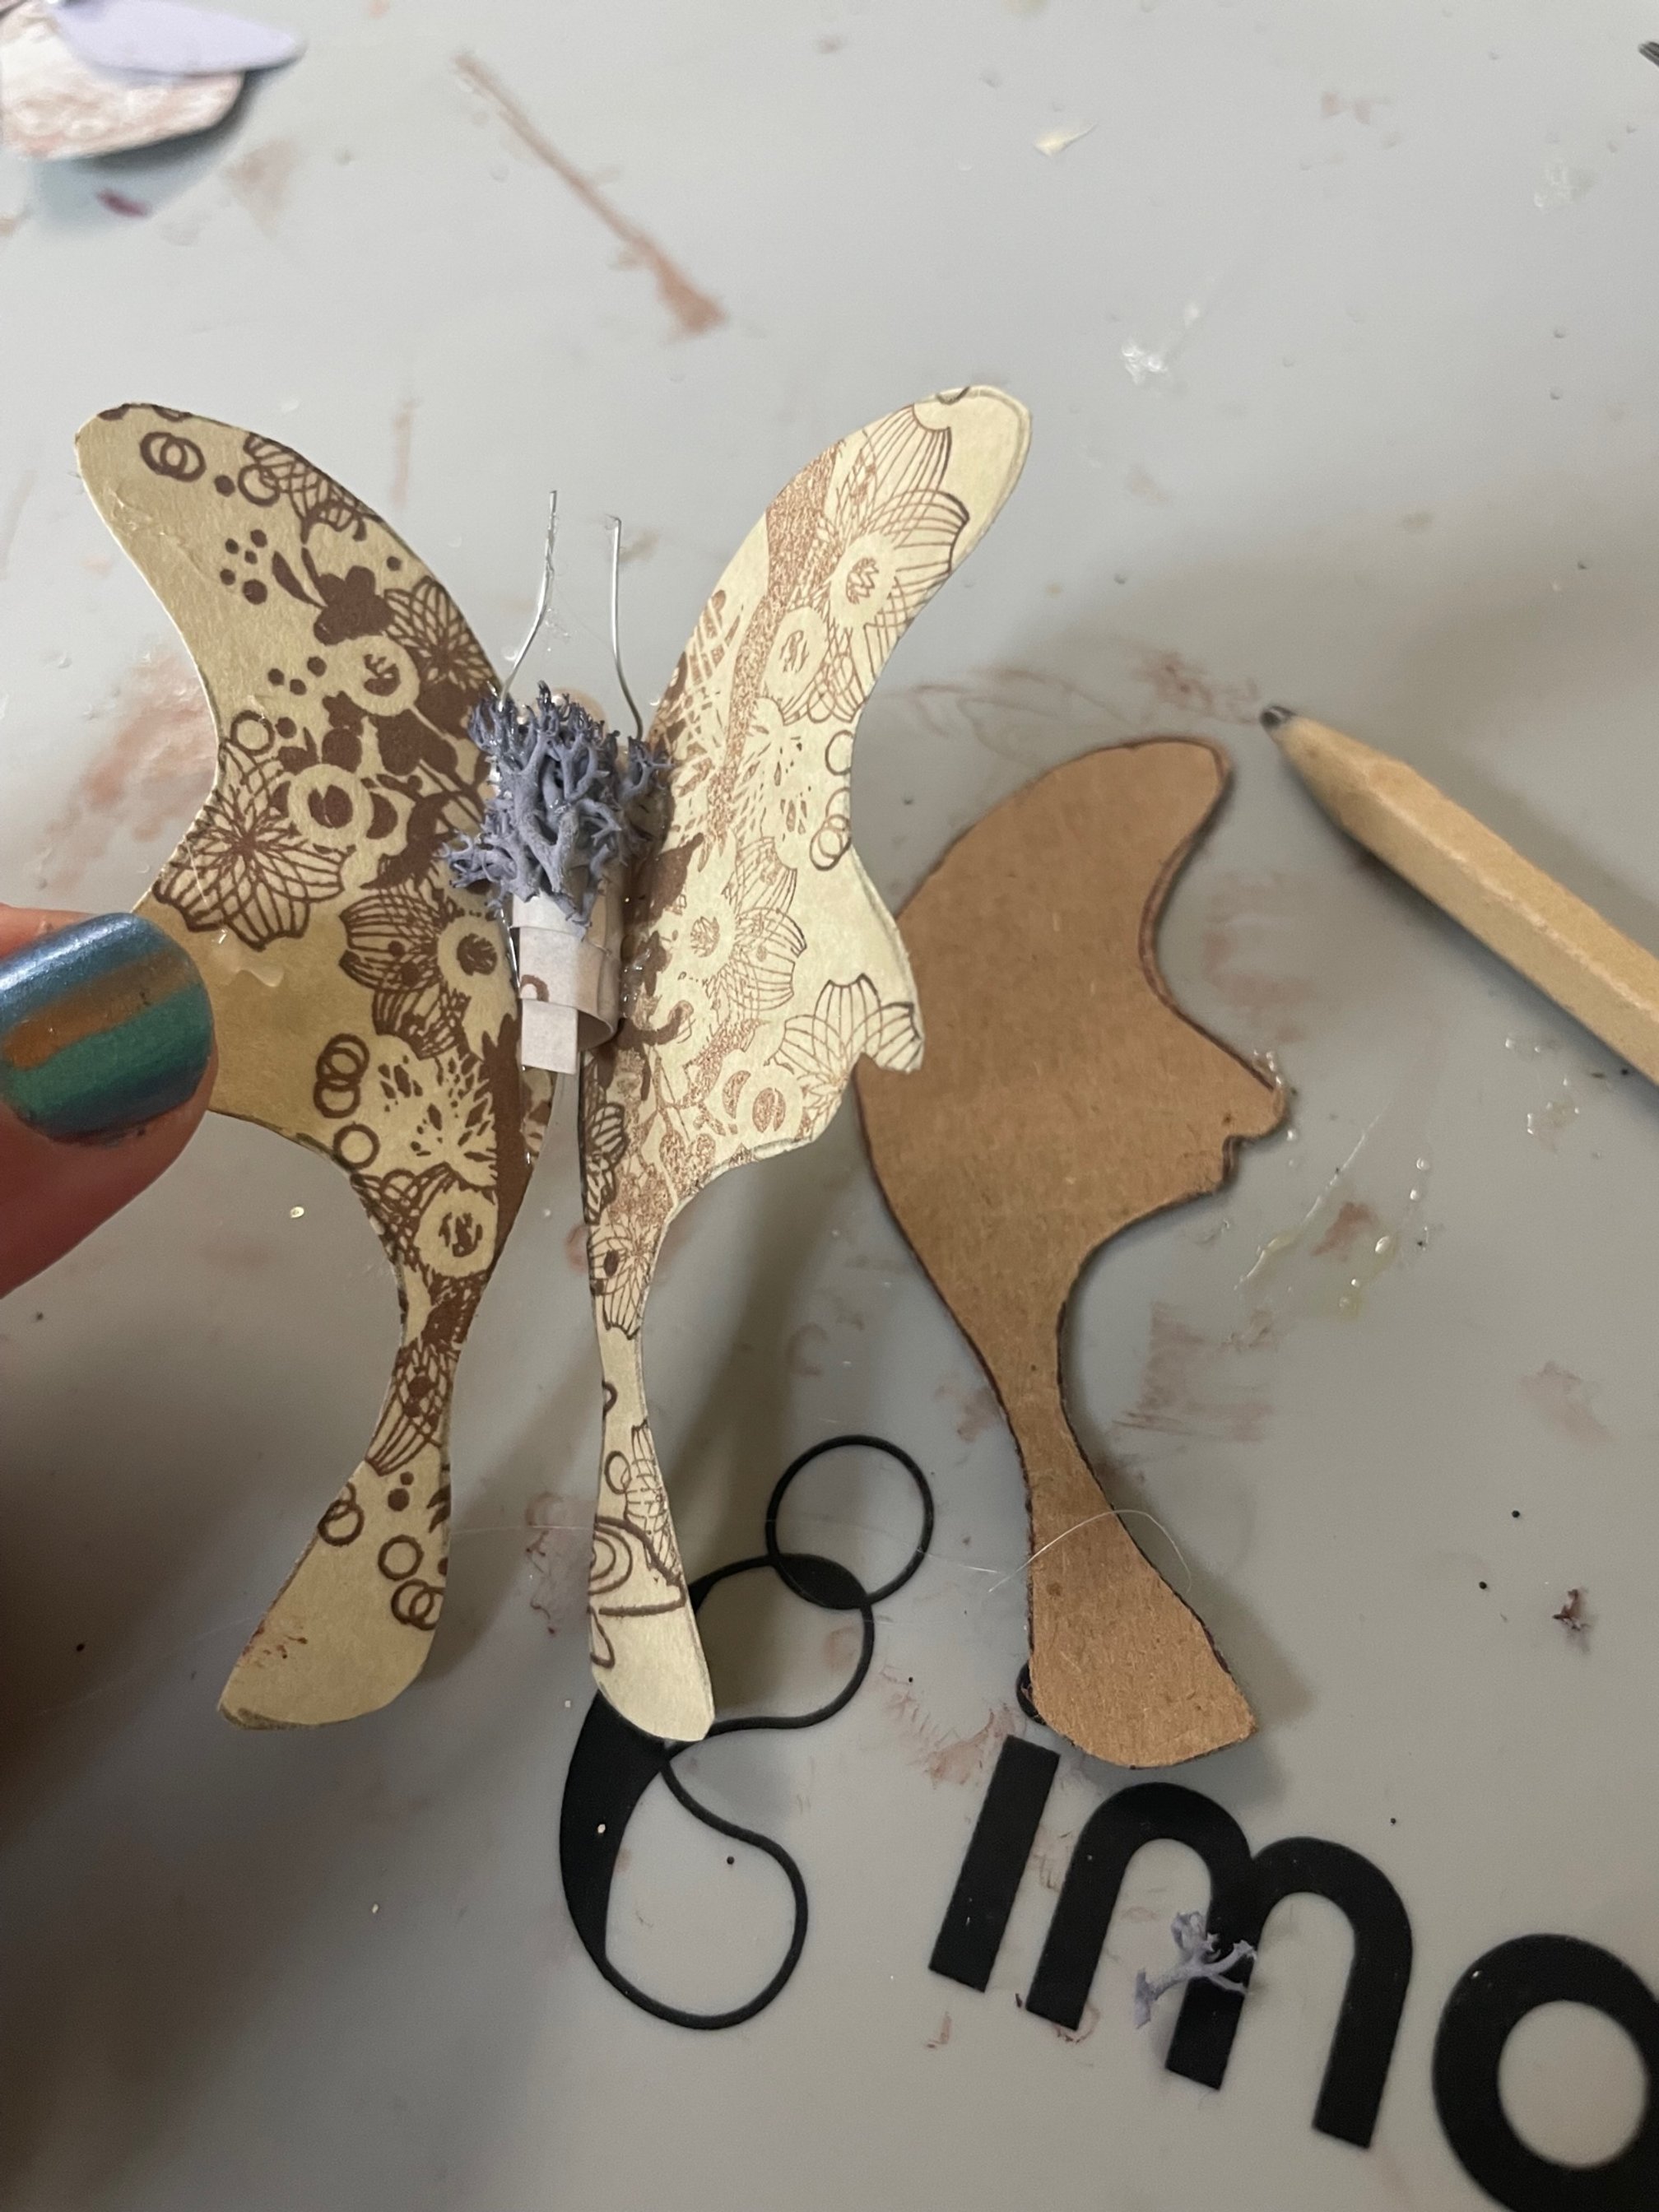
Take a bit of paper and cut a strip. Roll this around the skewer to create a ‘paper bead’ and glue the last edge of it to secure the roll!
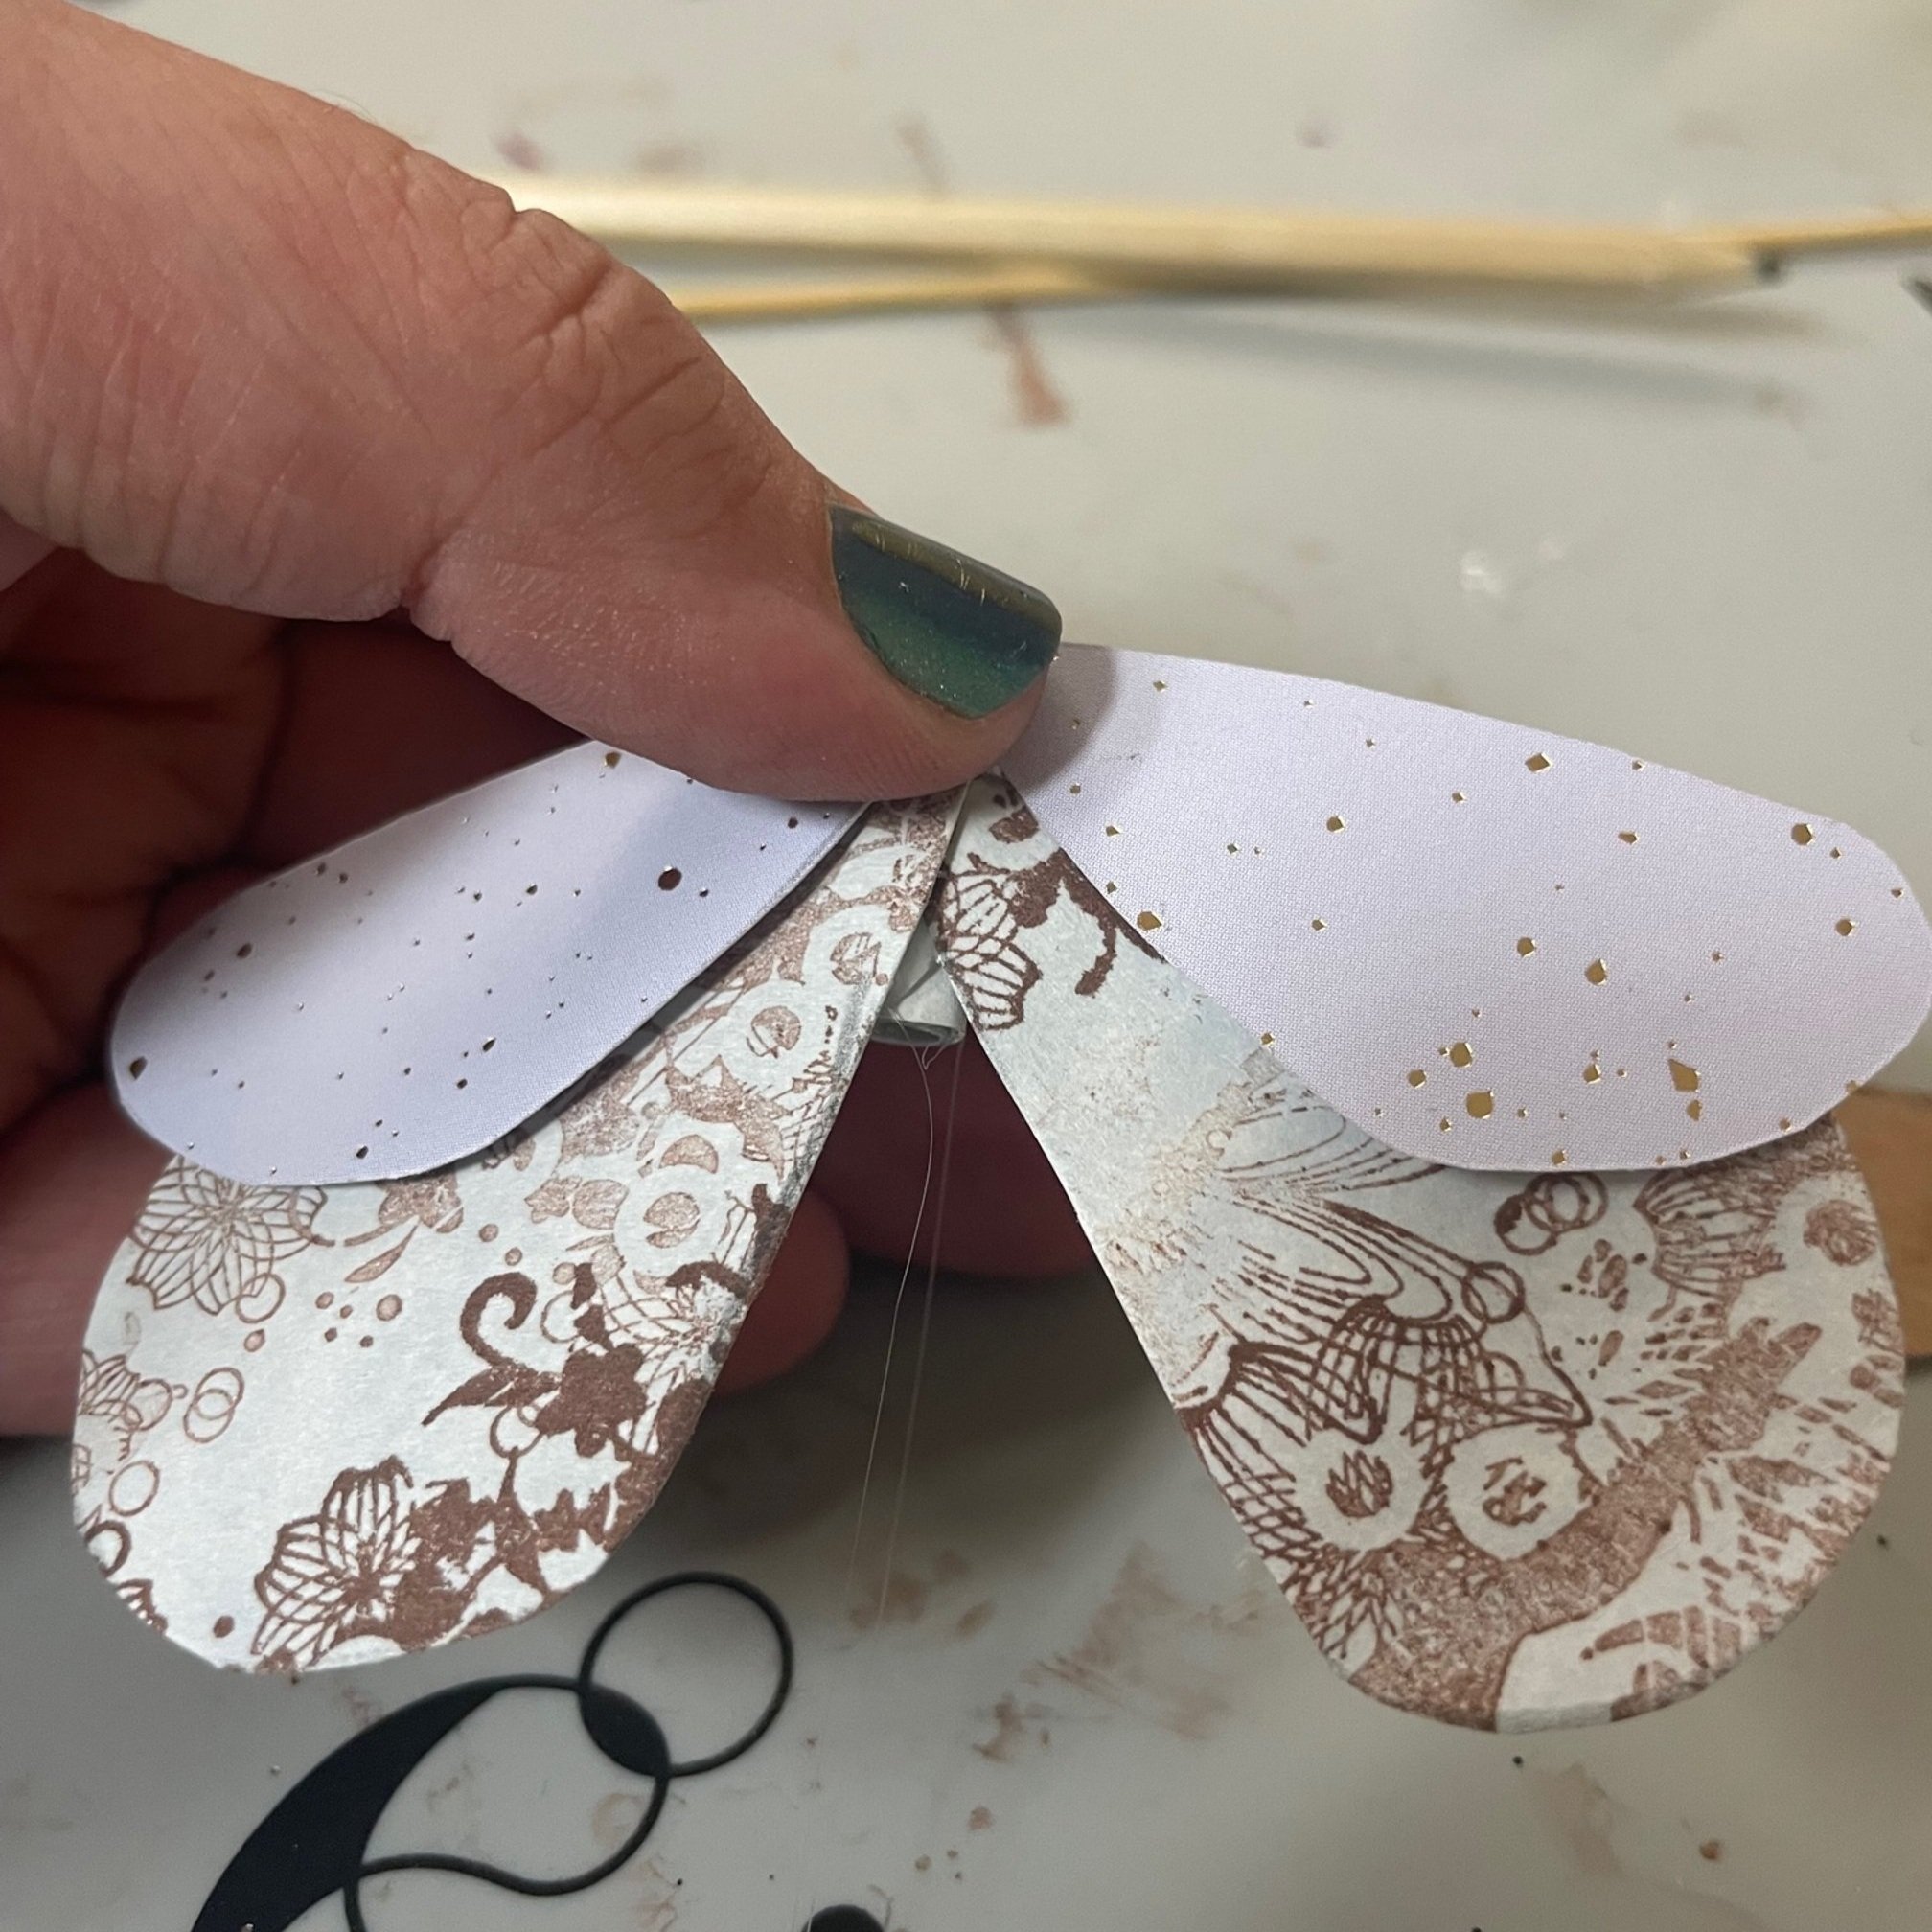
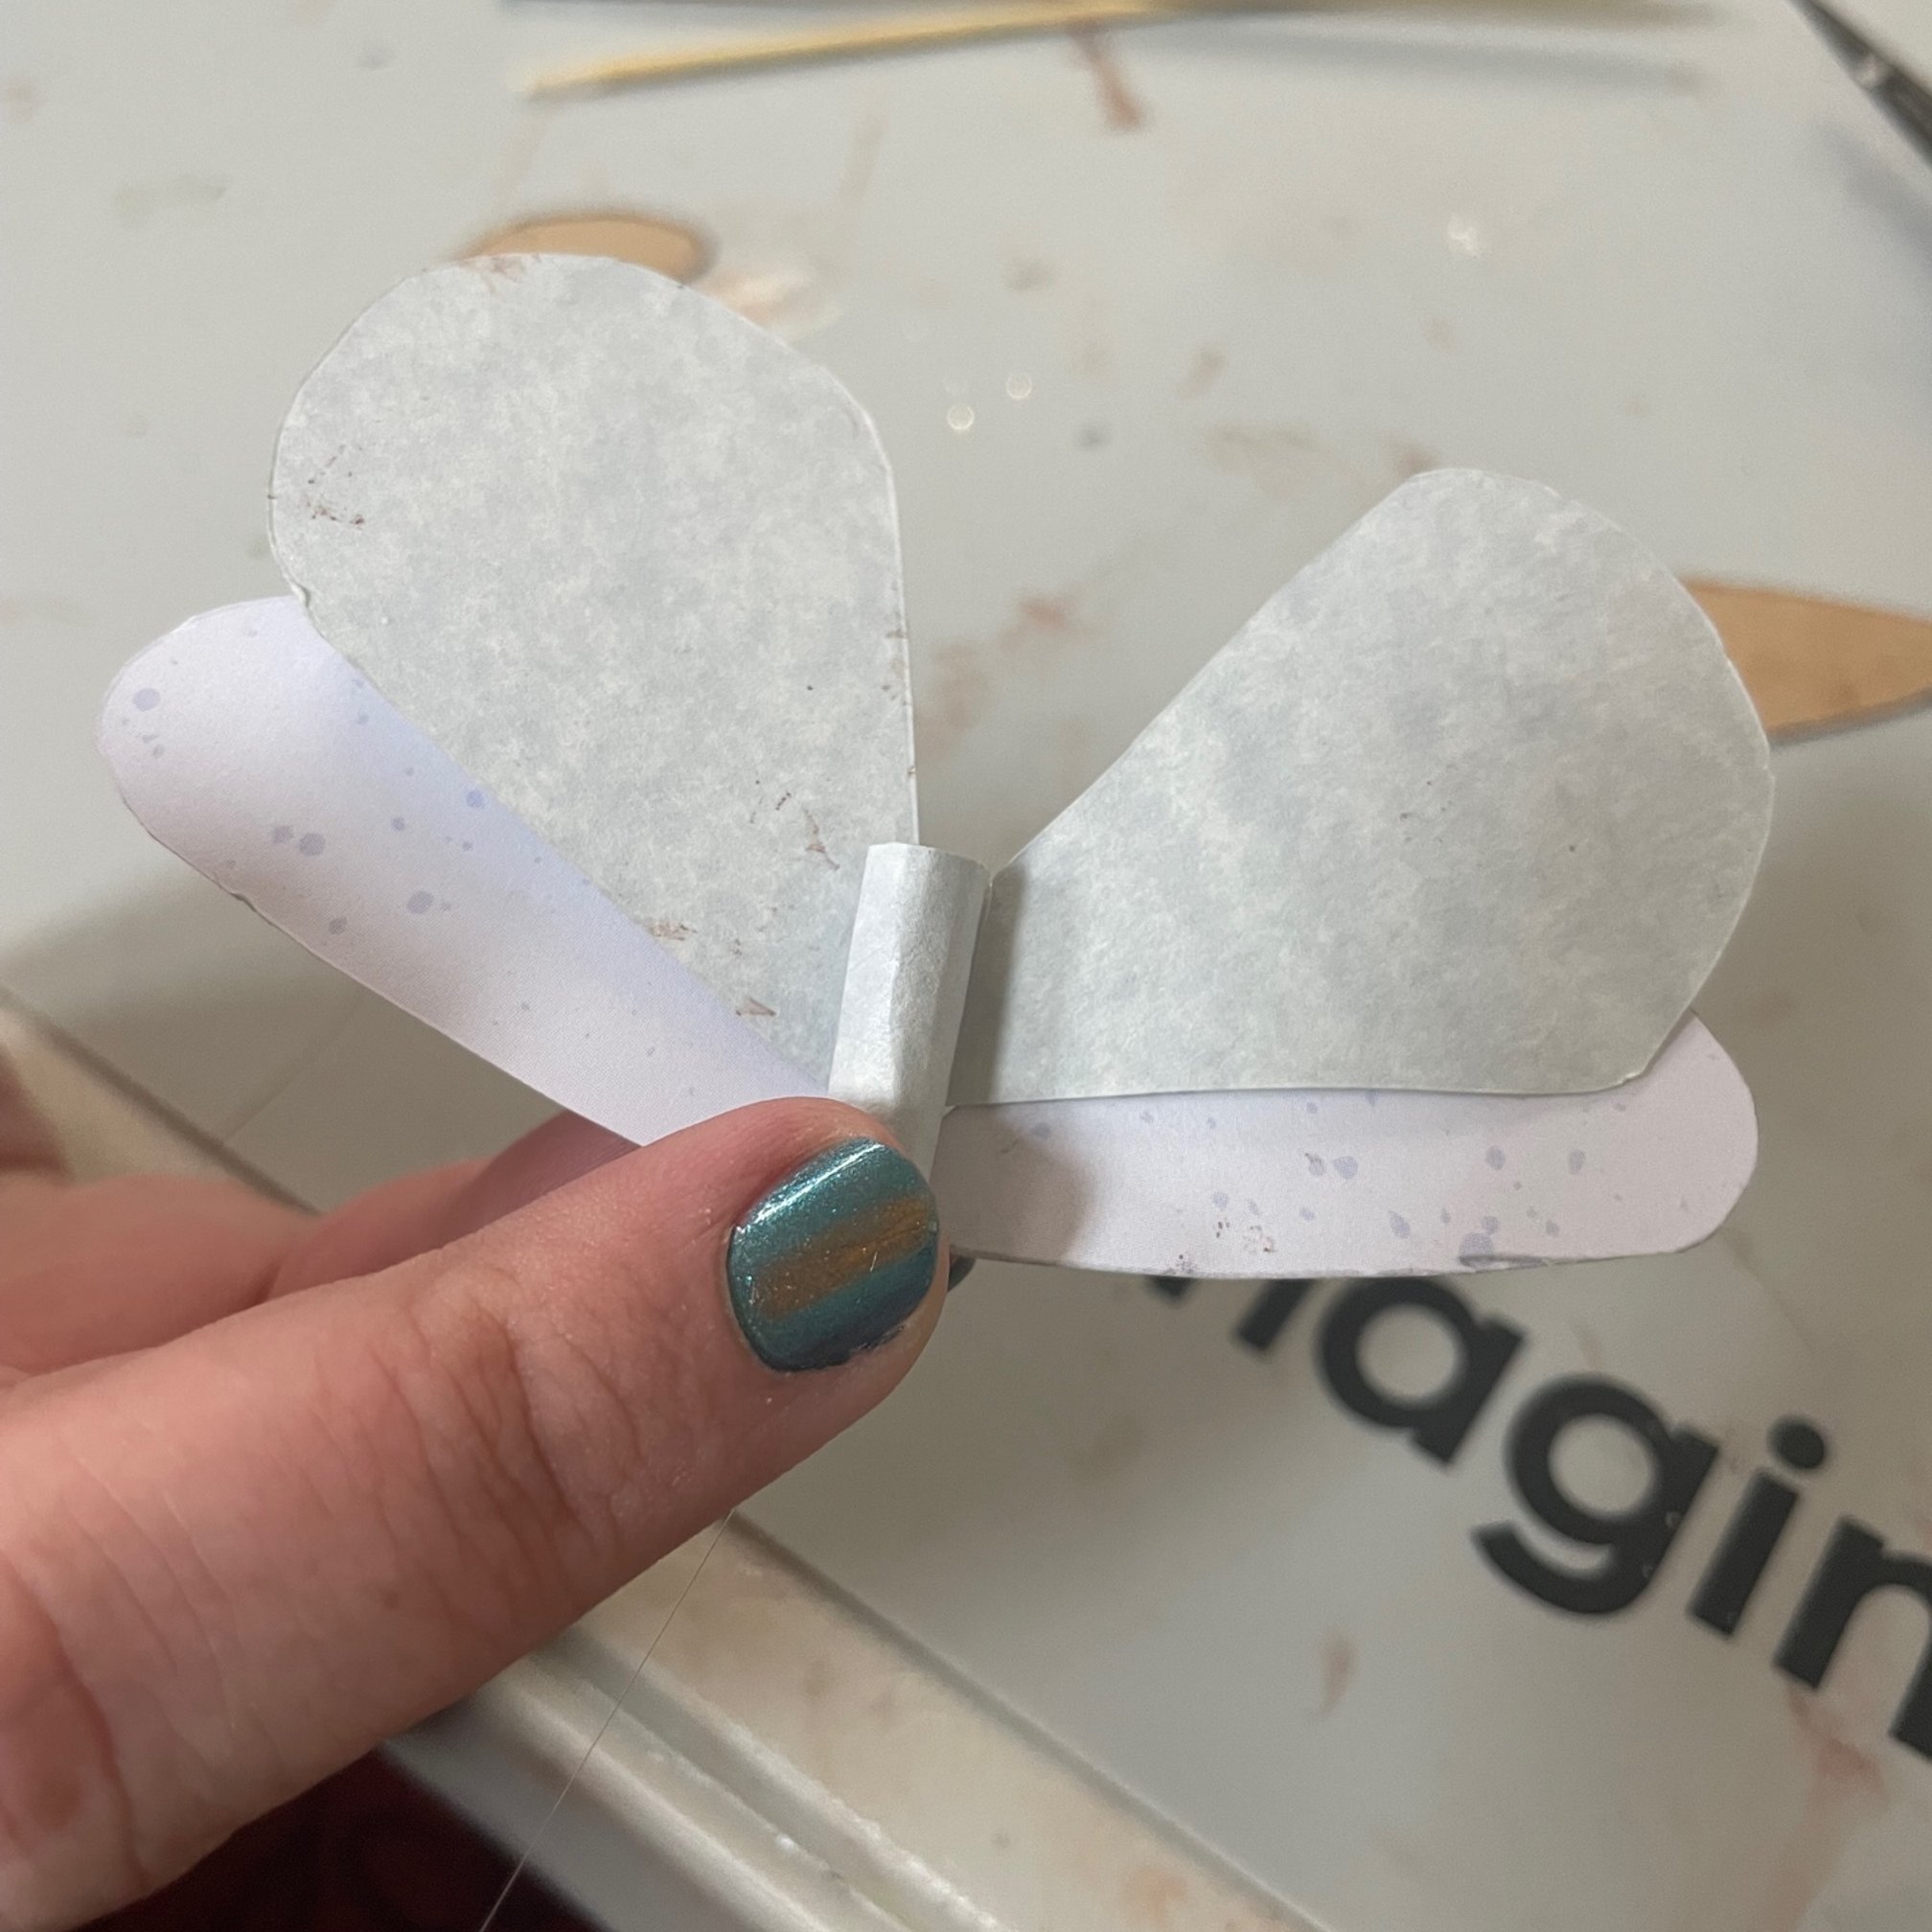
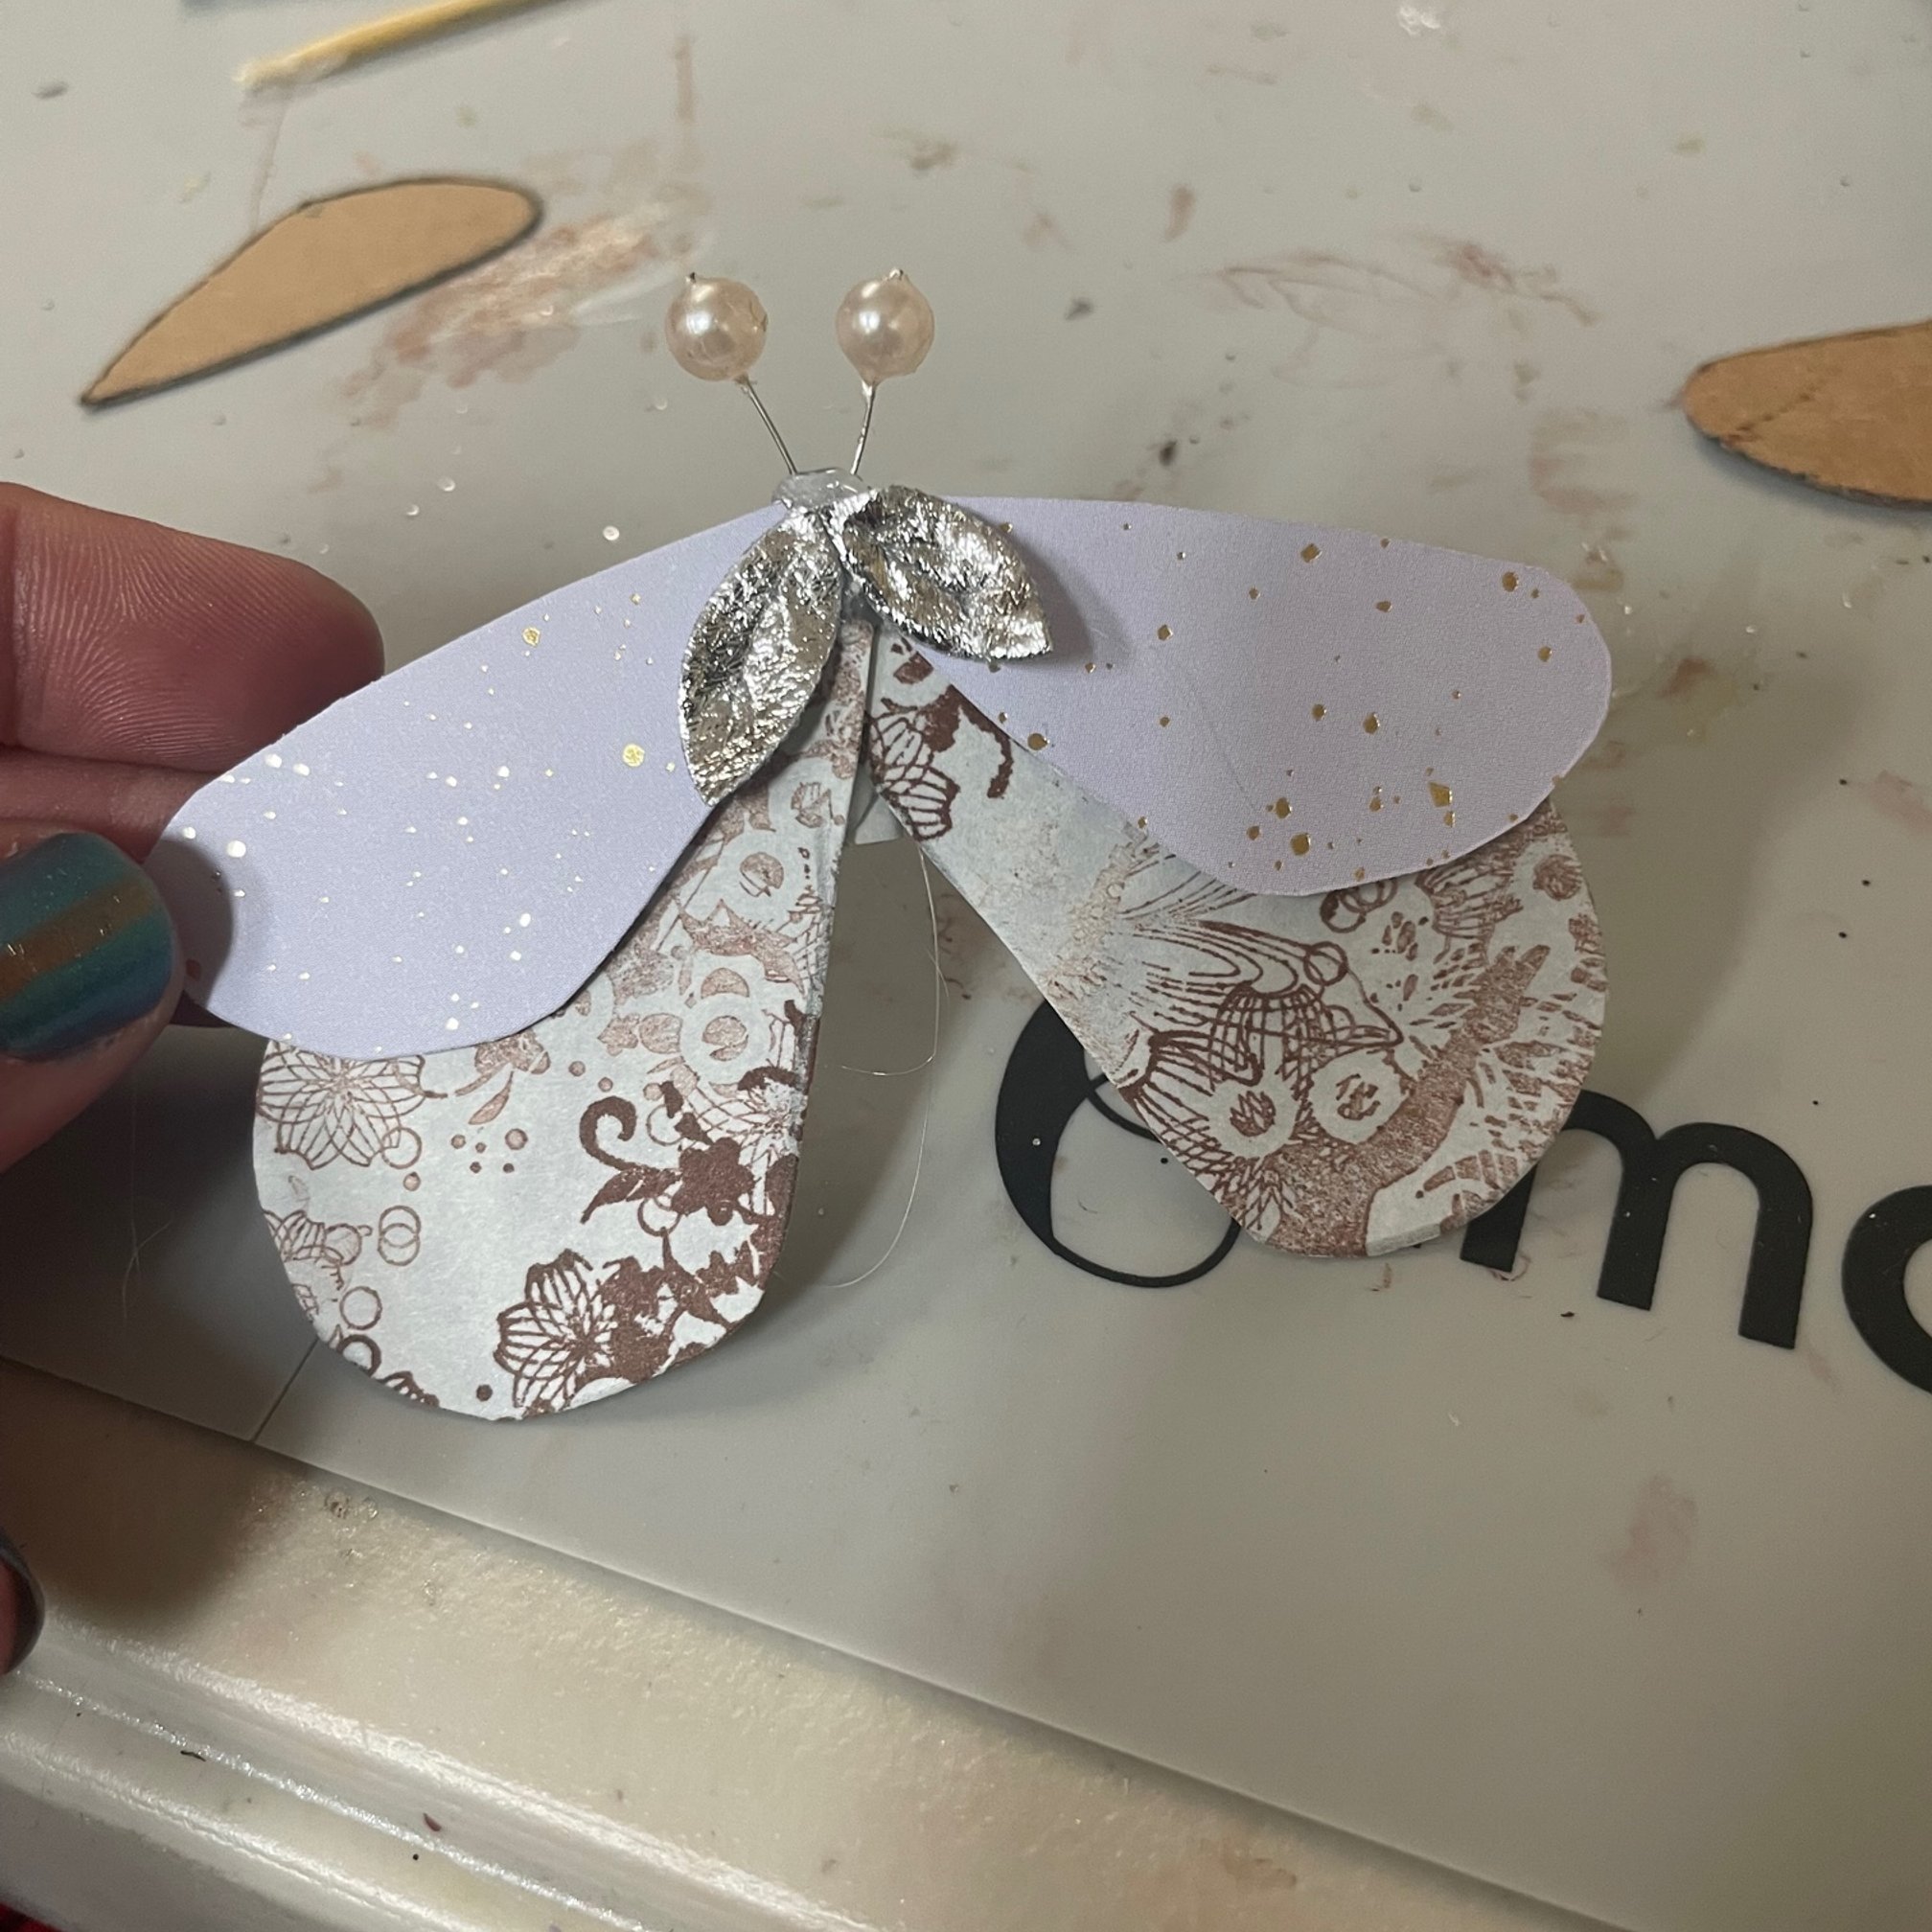
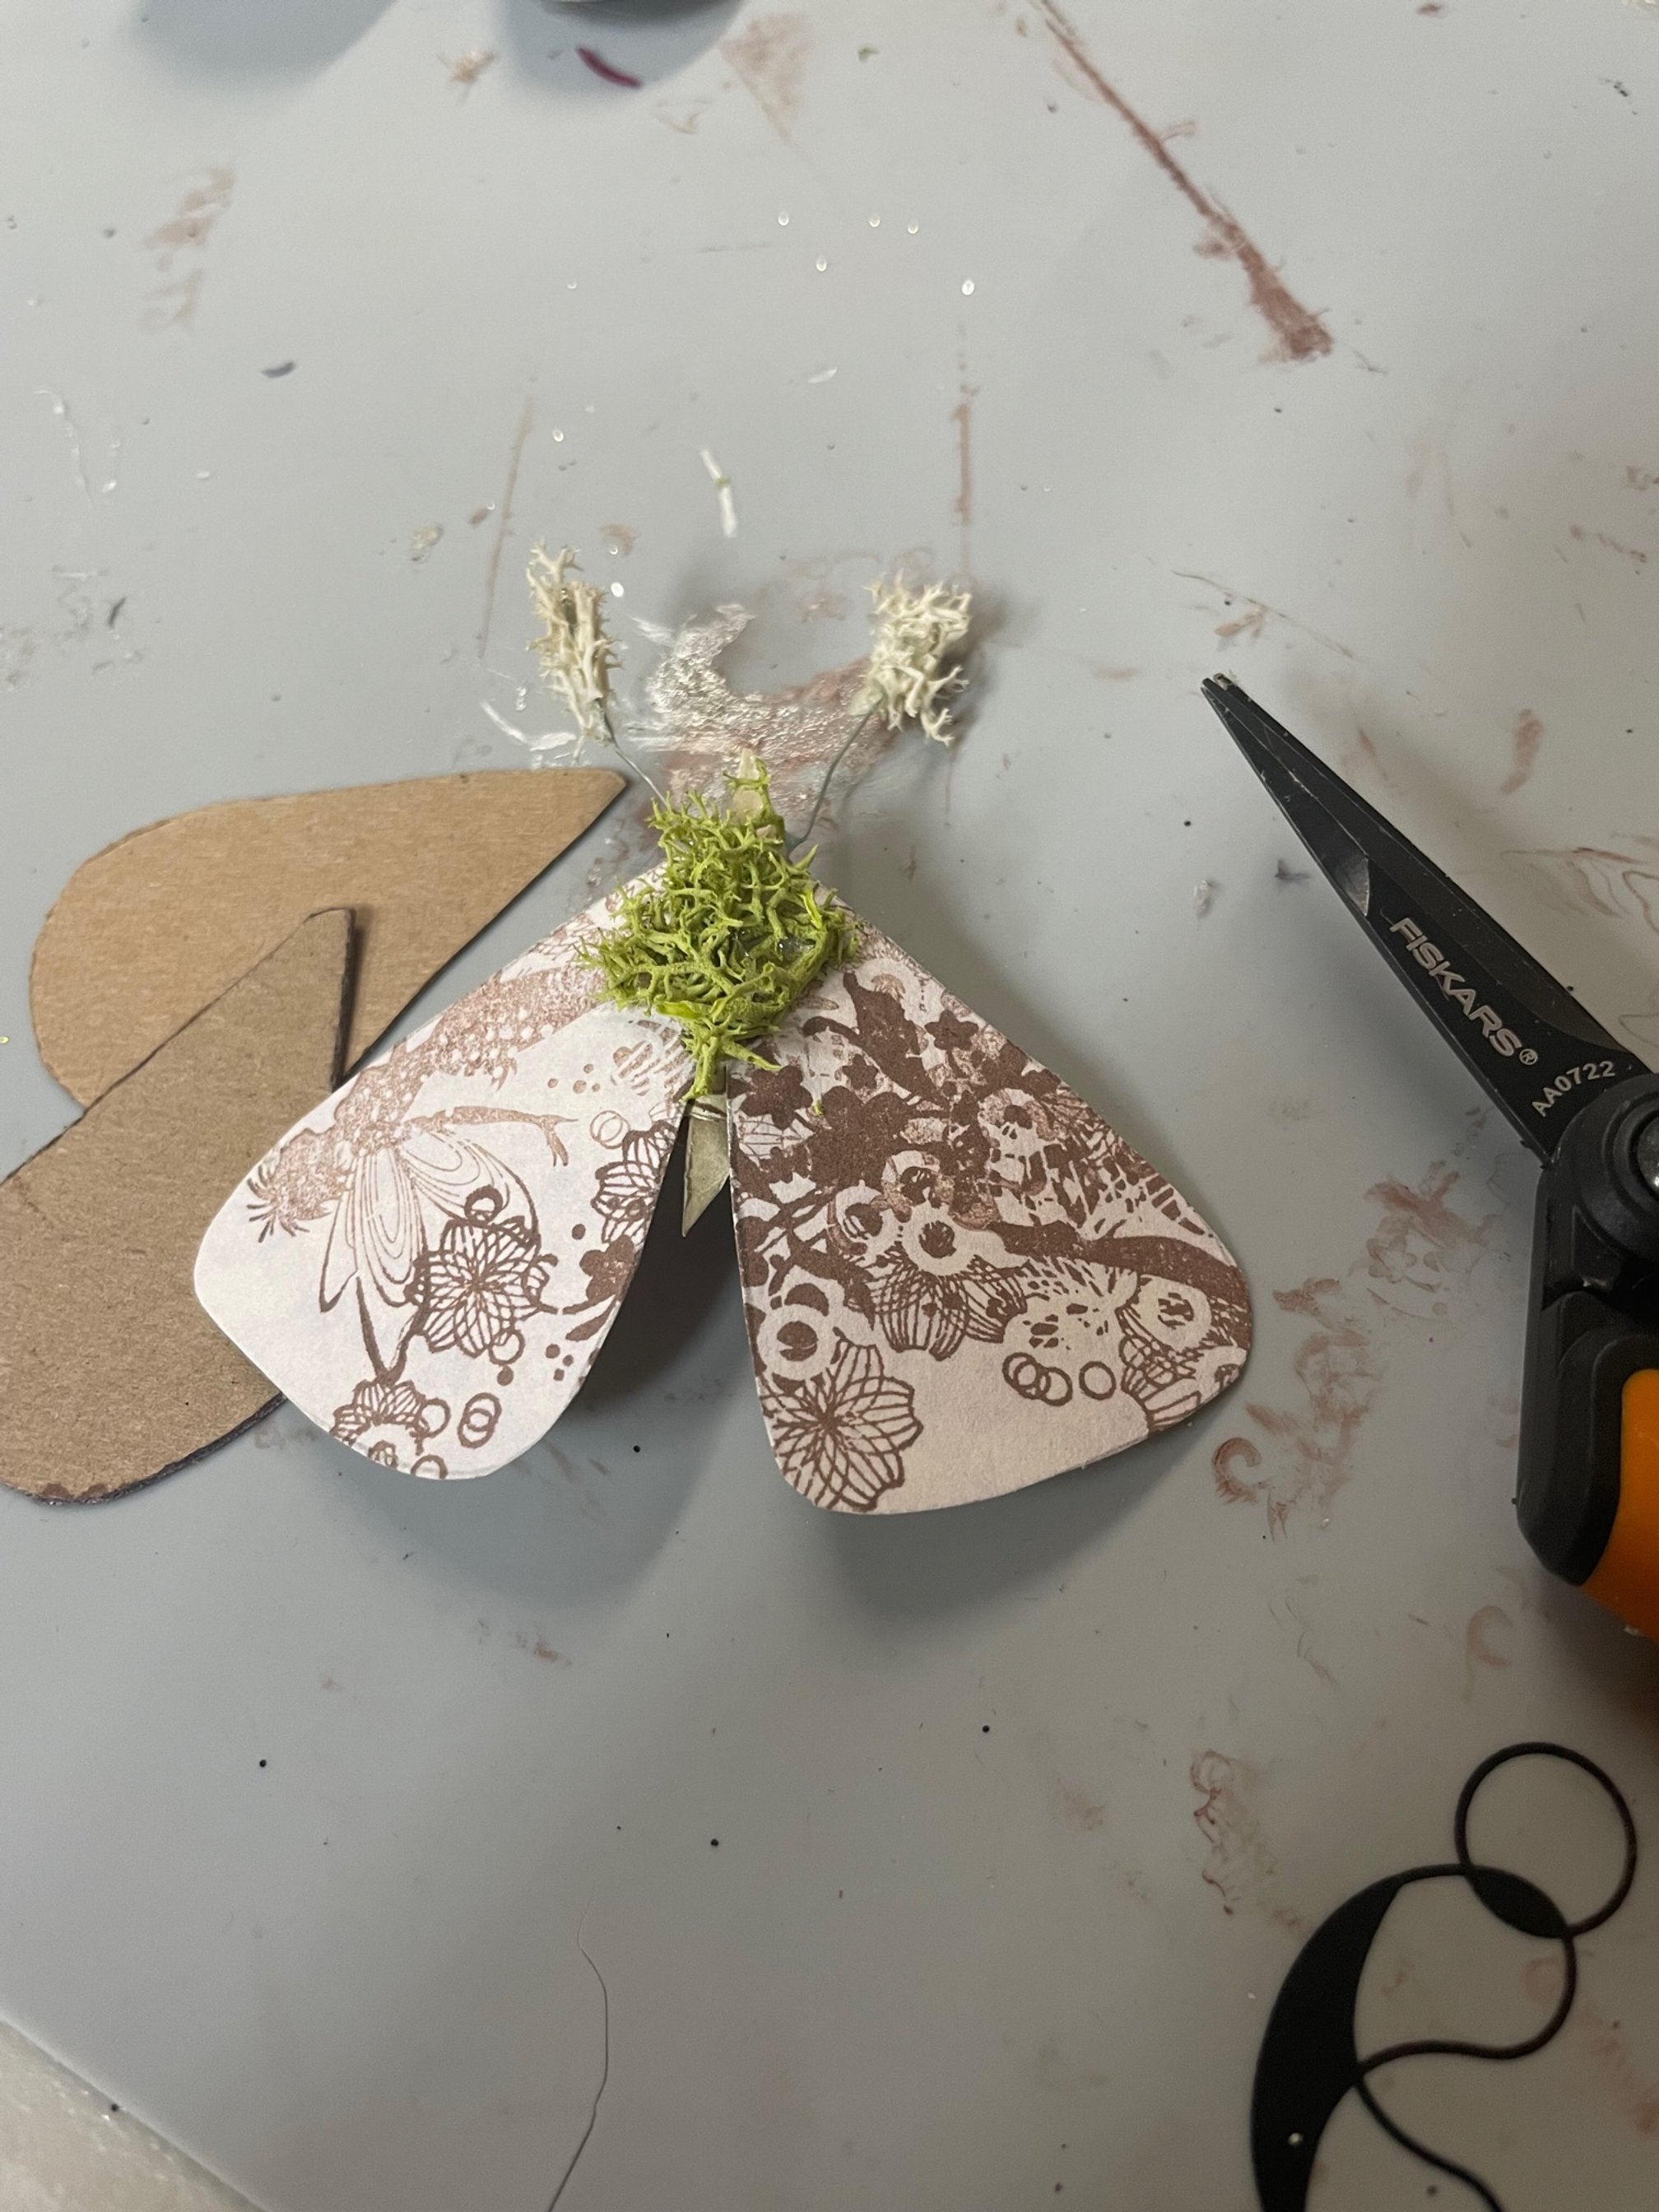
Attach the wings by gluing them to the body. Hot glue works best here as it dries quickly!
Time for embellishments!
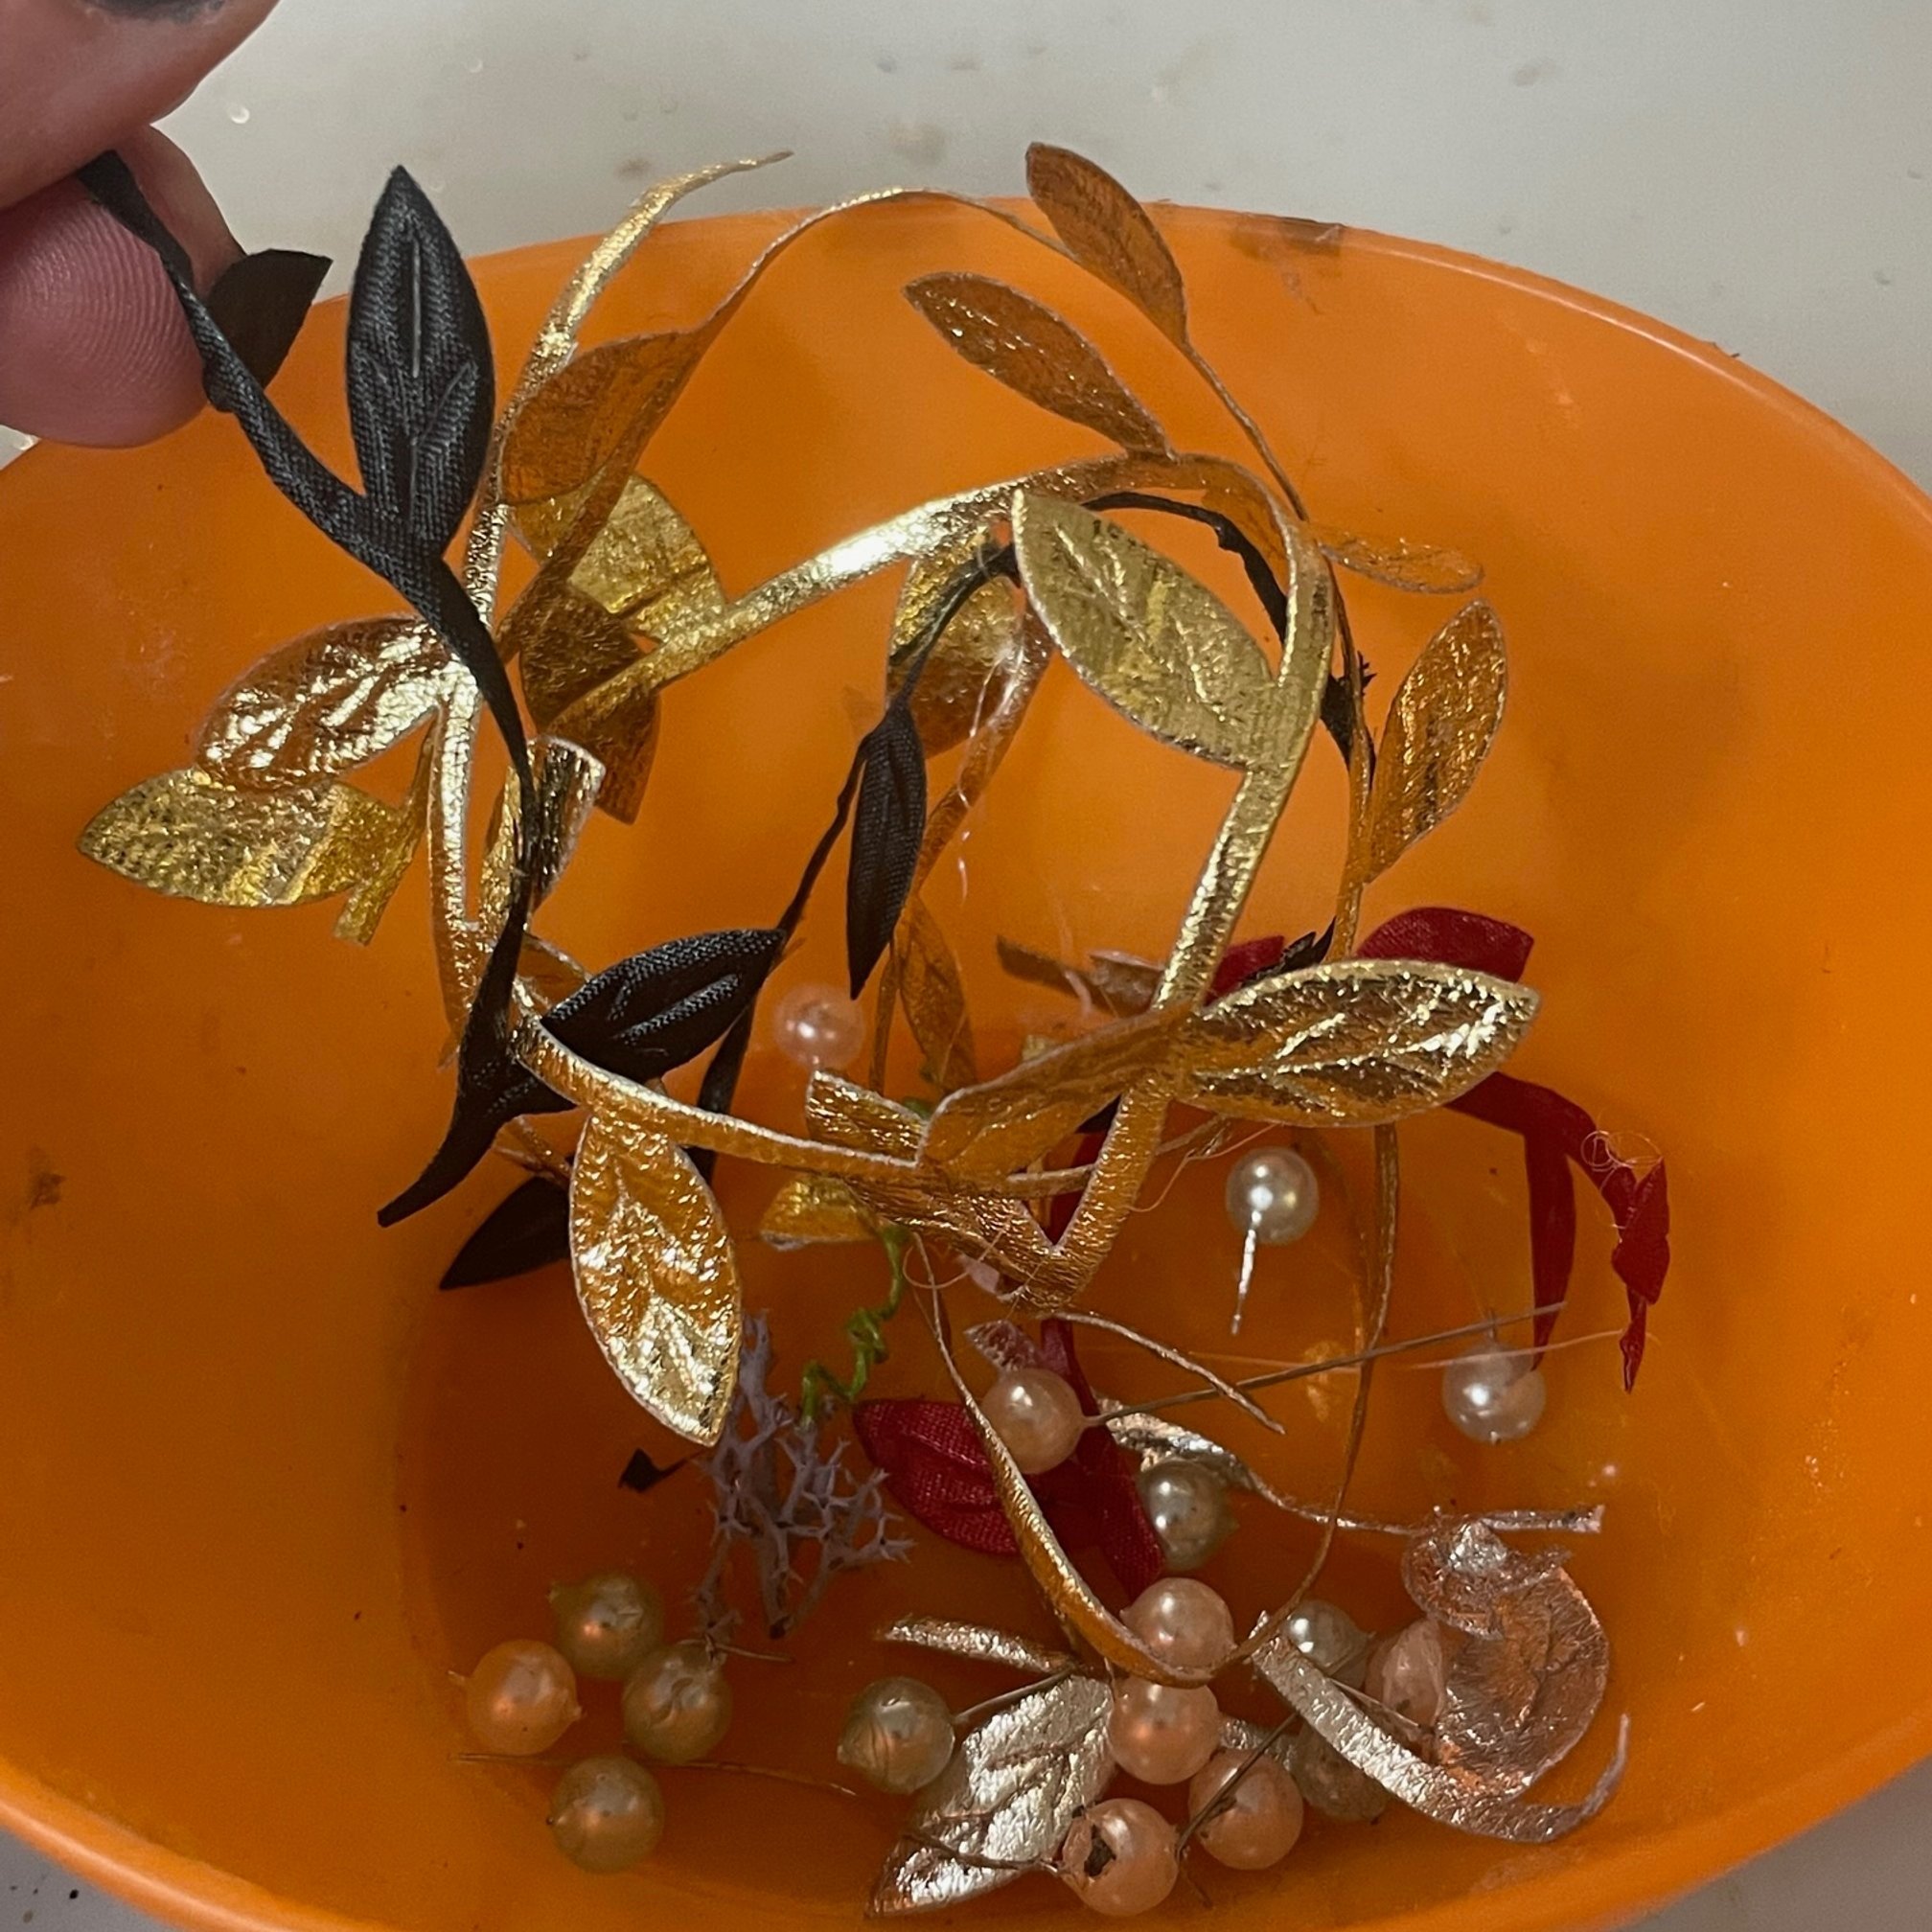
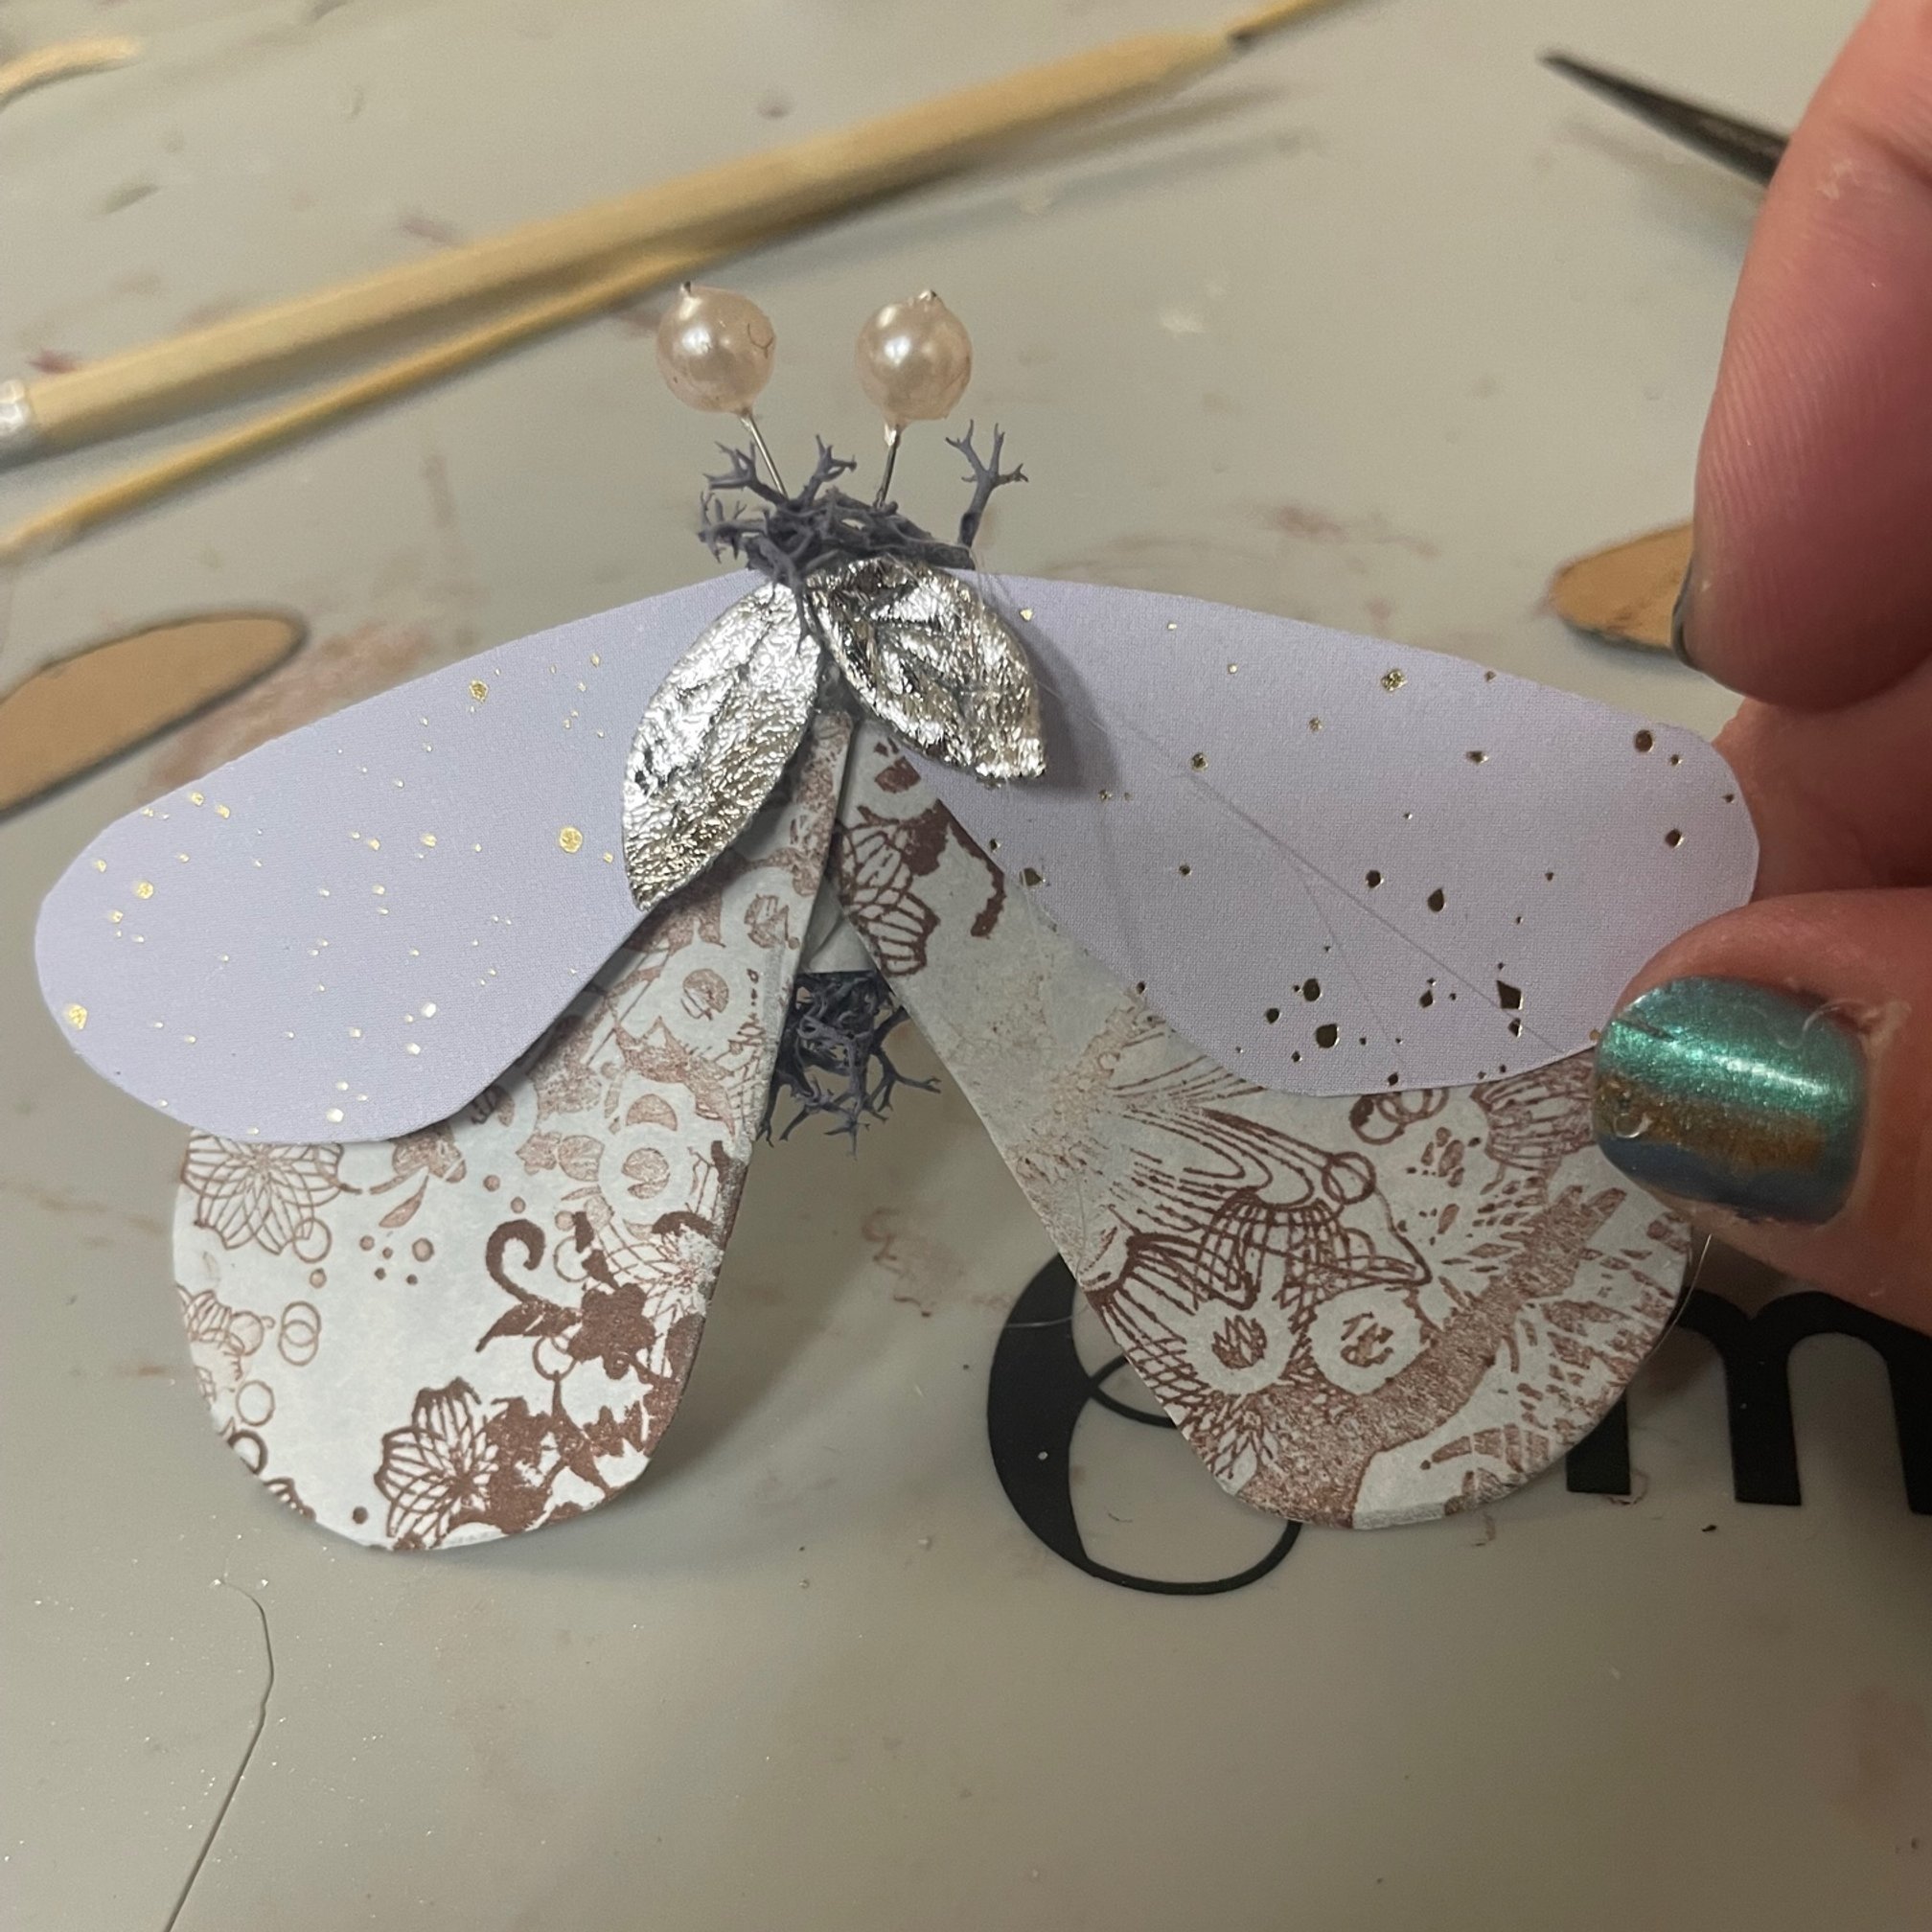
Leaf ribbon is a lovely way to add some extra ‘wings’ to the front of your moth!
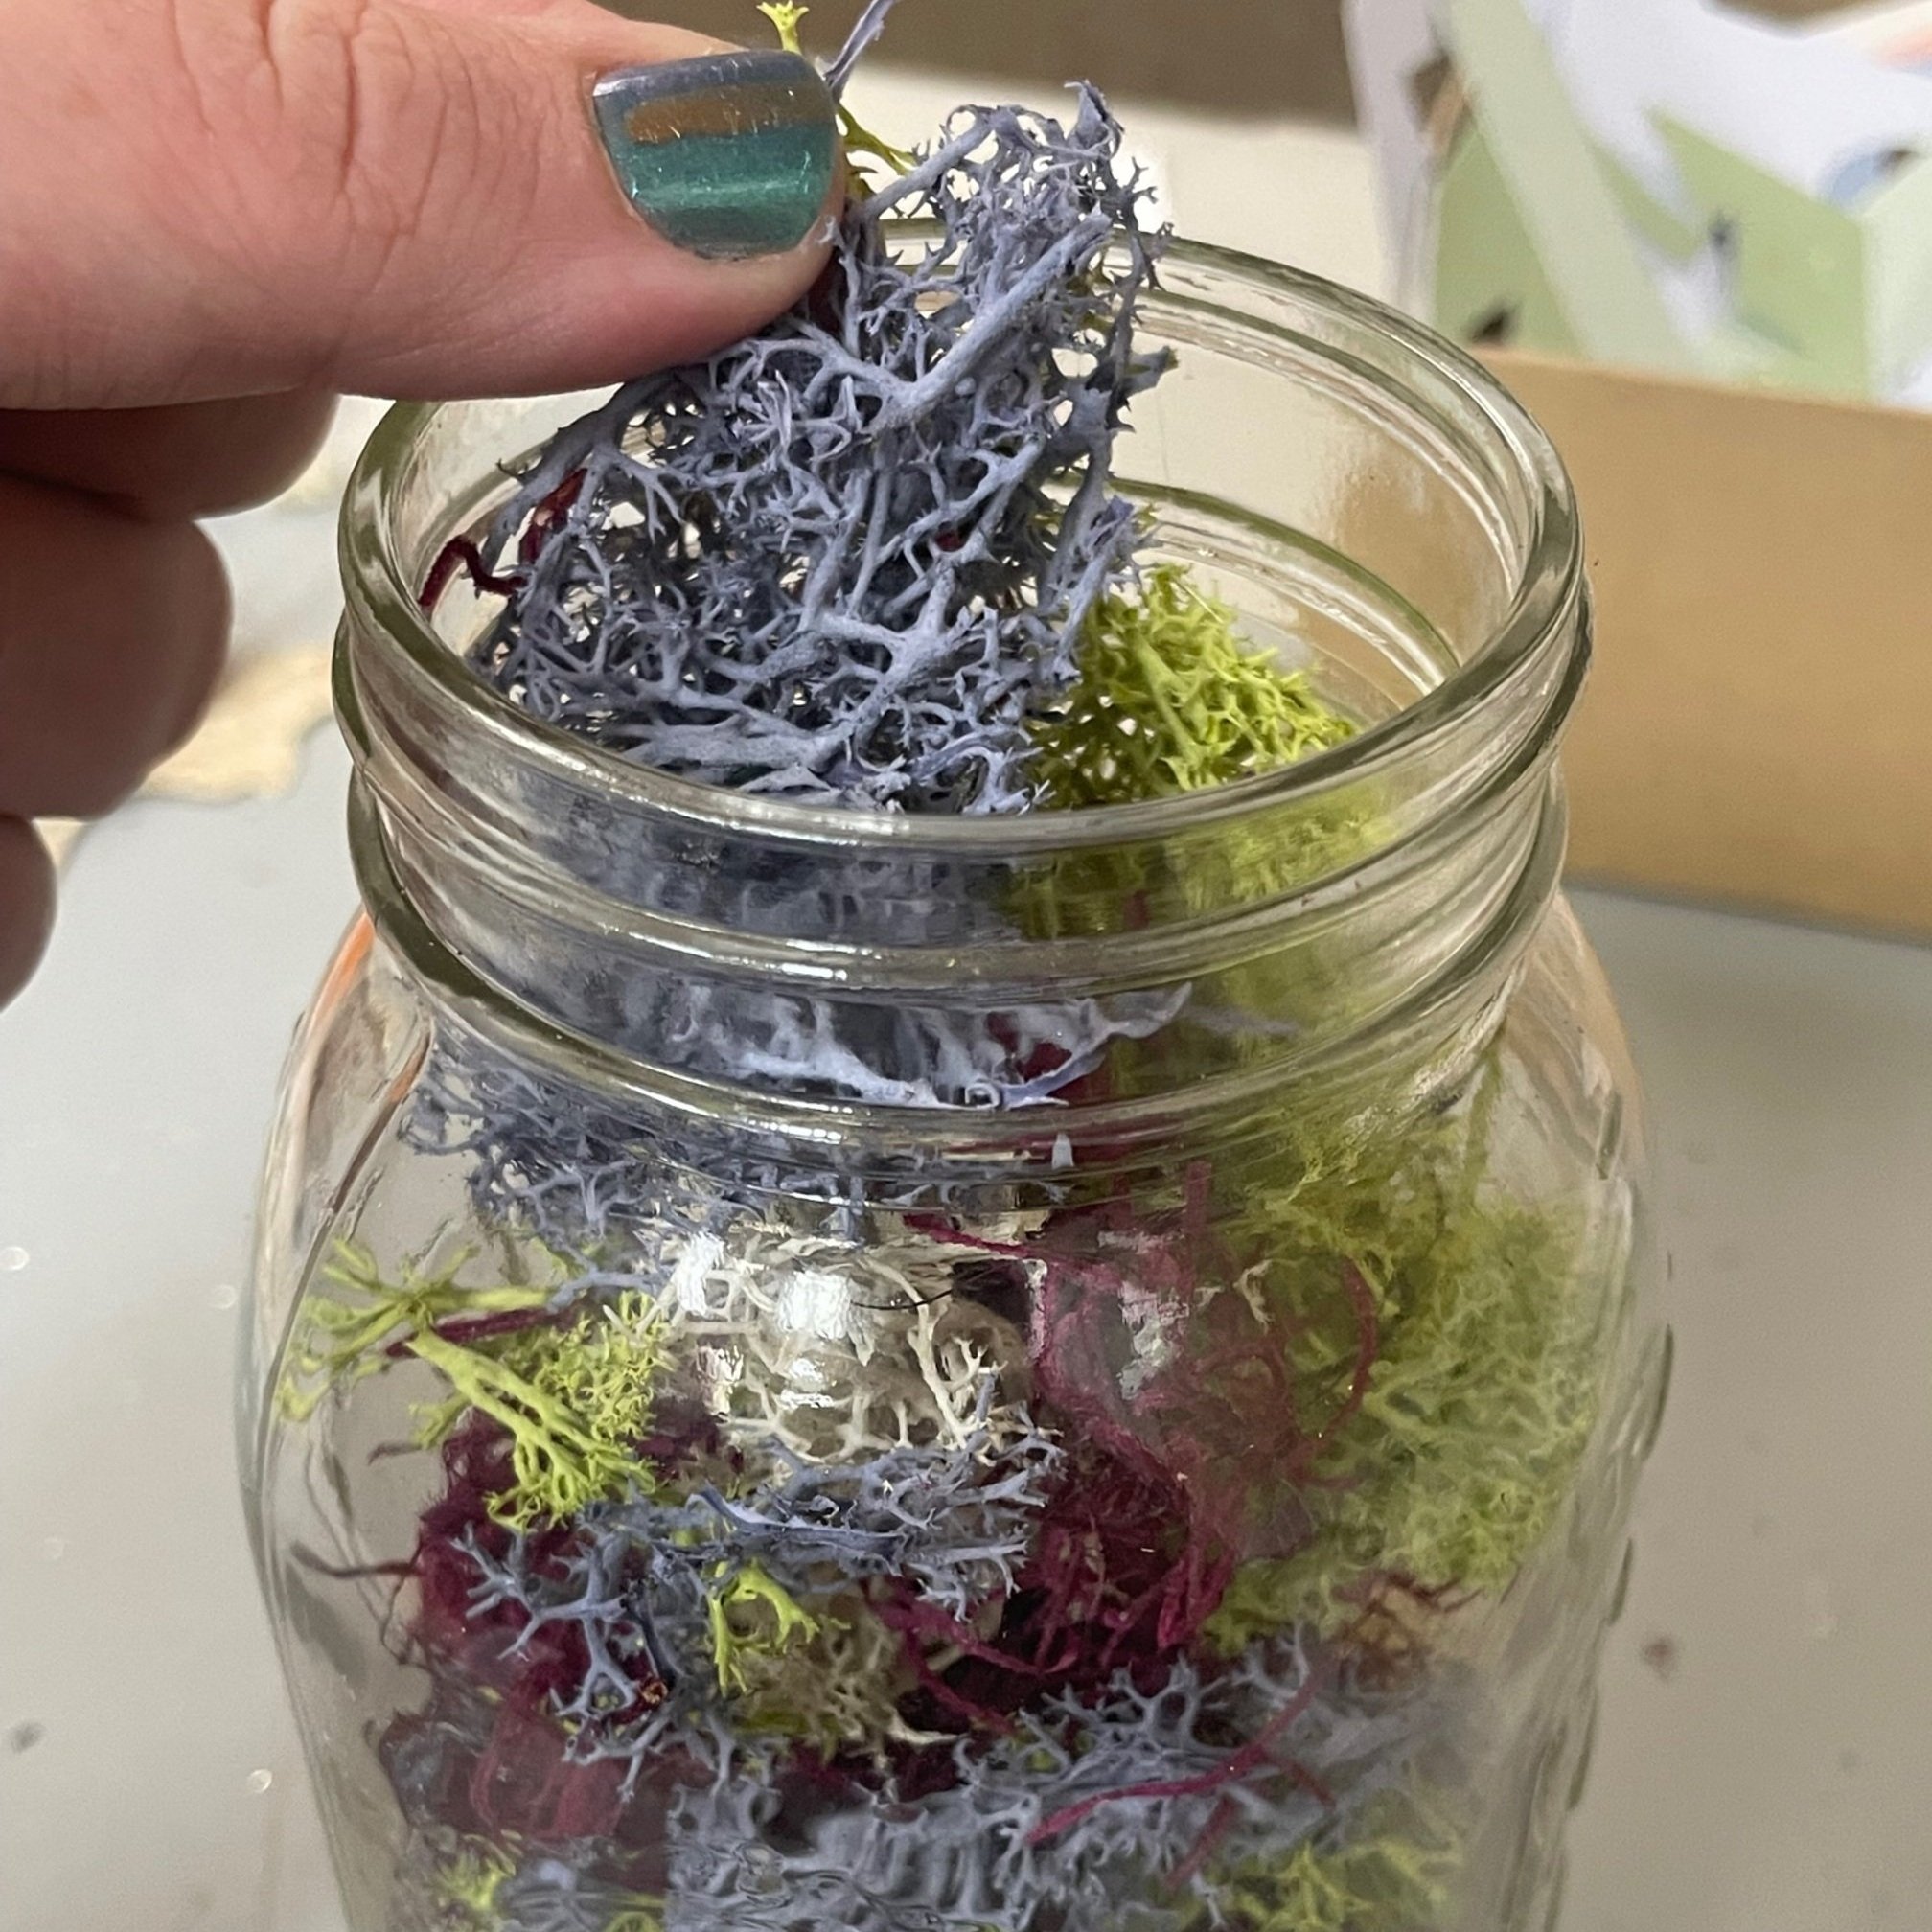
Moss is a fun addition to add some ‘fuzziness’ too!
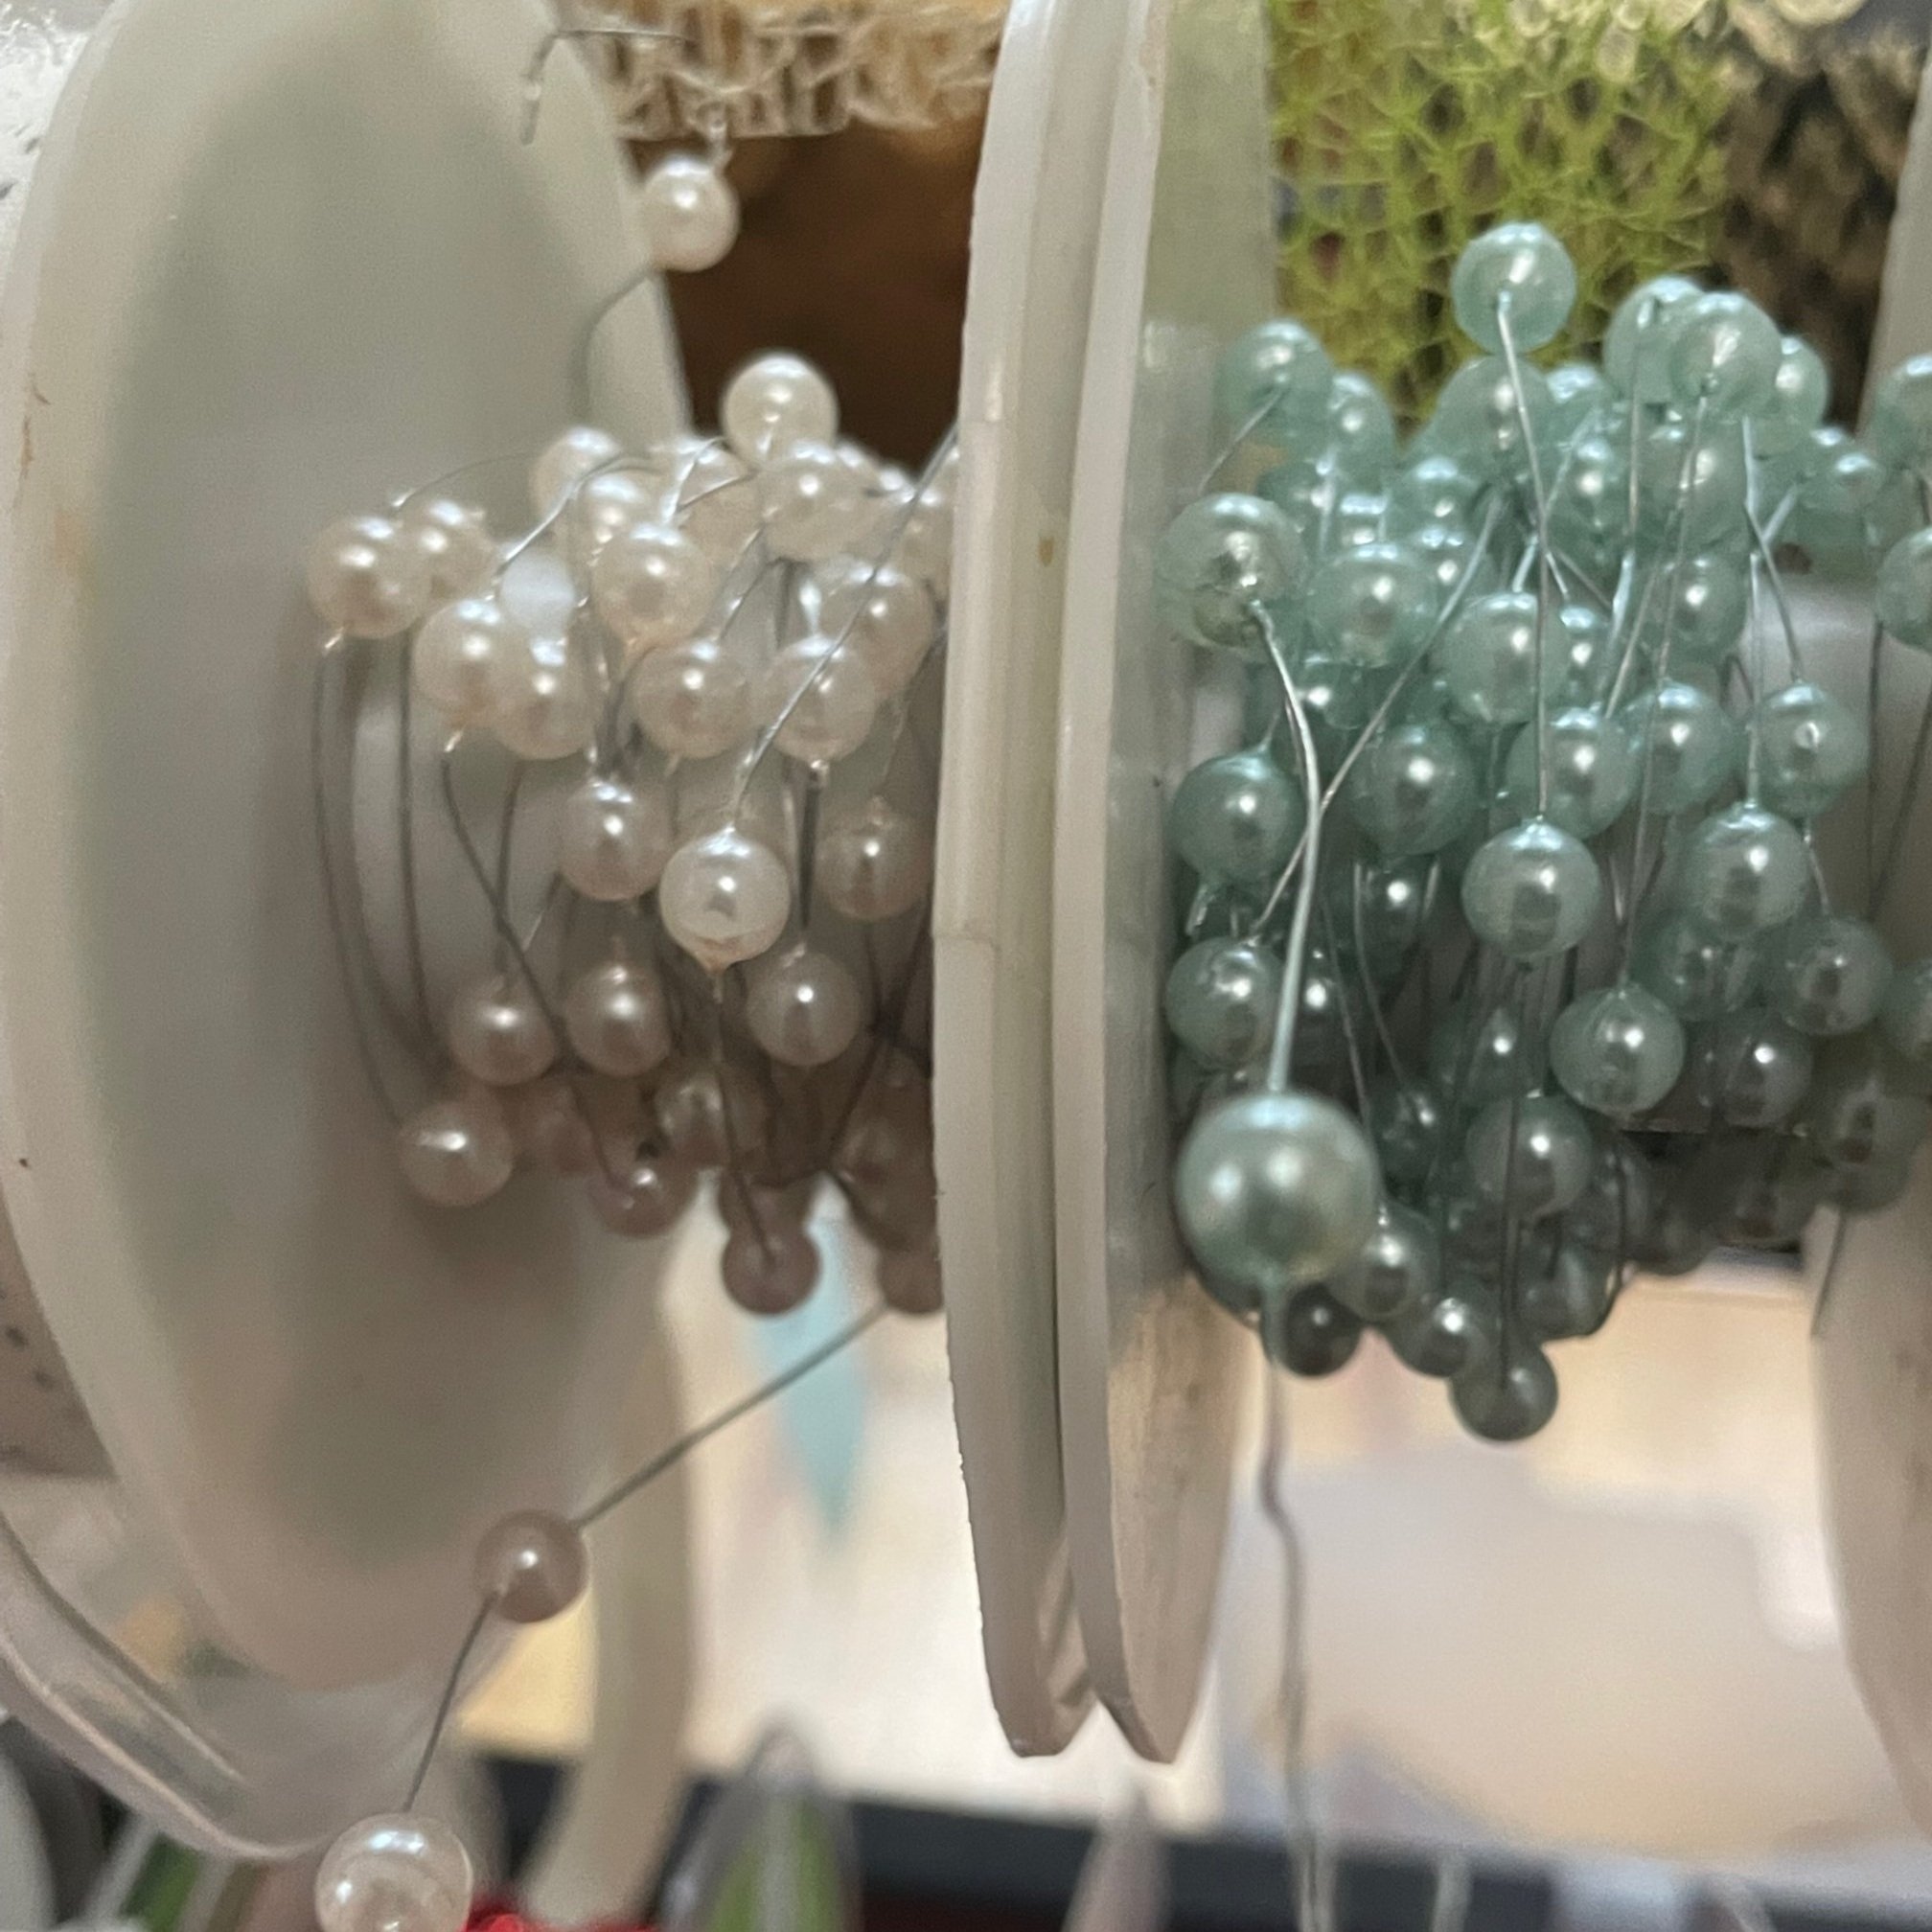
We carry this super fun pearl ribbon that can be some really cute antennas!
Now you’ve created one bug, it’s time to make even more!!
Try to mix and match colors, mosses, and bits! What’s your favorite style of moth?
Do you have any real life moths you love? Make them out of paper!
Thanks for crafting with us today!!
See you next time!!
Art and Happiness
2004 James St
Bellingham WA 98225
Mon-Sat 10am-6pm
Sunday
Noon-5pm
(360)206-0389
