
Rainbow Ink Pad Backgrounds and More!!
Today I want to share with you the amazing world of creating Rainbow backgrounds using a dye-based ink pad. Dye based inks dry immediately on regular paper and card stock (if your ink stays wet for a little bit on regular paper or card stock, you are likely using a pigment or hybrid ink).
For these ideas today, I am using the Kaleidacolor Calypso Rainbow ink pad as well as the Large Picket Fence Blending Brushes.


Check out all these fun ideas!!!

This first idea was created using the White Uniball gel pen, the Rainbow Kaleidacolor Ink Pad as well as one of the Large Picket Fence Blending Brushes.

Pick up several colors of ink at once onto a Rainbow ink pad SWIPING HORIZONTALLY several times with your brush (this will pick up several colors at once)
Lightly apply the ink onto the white card stock by laying down the brush and swirling lightly in very small circles while moving the brush horizontally across the page
Then apply a little more ink from the ink pad and apply ink onto the top of the page with the top tip of the brush and the bottom of the page with the back end of the brush (closest to your hand).
When you tilt the brush back and forth you are applying just the top most color of the brush for the top of the page and the bottom-most color of the brush for the bottom of the page.
Now, take a white gel pen and write a word. I just wrote out “Happy Birthday” and then went back over the letters taking my time to add nice, bright definition to each letter. This creates high contrast in the letters and allows the reader to easily see the lettering on the vibrant background
I also love that because the white gel pen is a sitting on the surface of the rainbow ink, there is a little bit of a texture!!
You can also create this background with 3 or more colors of solid colors of dye-based ink pads. If you have yellow, orange, and red dye based ink pads you can use a large blending brush and moving from yellow ink to orange ink to red ink to create a rainbow background and try this for yourself!!


You can also use the White Uniball Gel pen on your rainbow background in a different way.. I love this idea using the Simple Life clear stamp set from Impression Obsession.


I stamped the image with clear Versamark ink on top of the rainbow background. Because you can just barely see the image on top of the ink, you can trace the image with the white gel pen… which is great because you can make the image the ACTUAL color of ink you need!!


I love the contrast between the image and the background! Also, I love the hand-drawn look (even though both images are stamps!!)
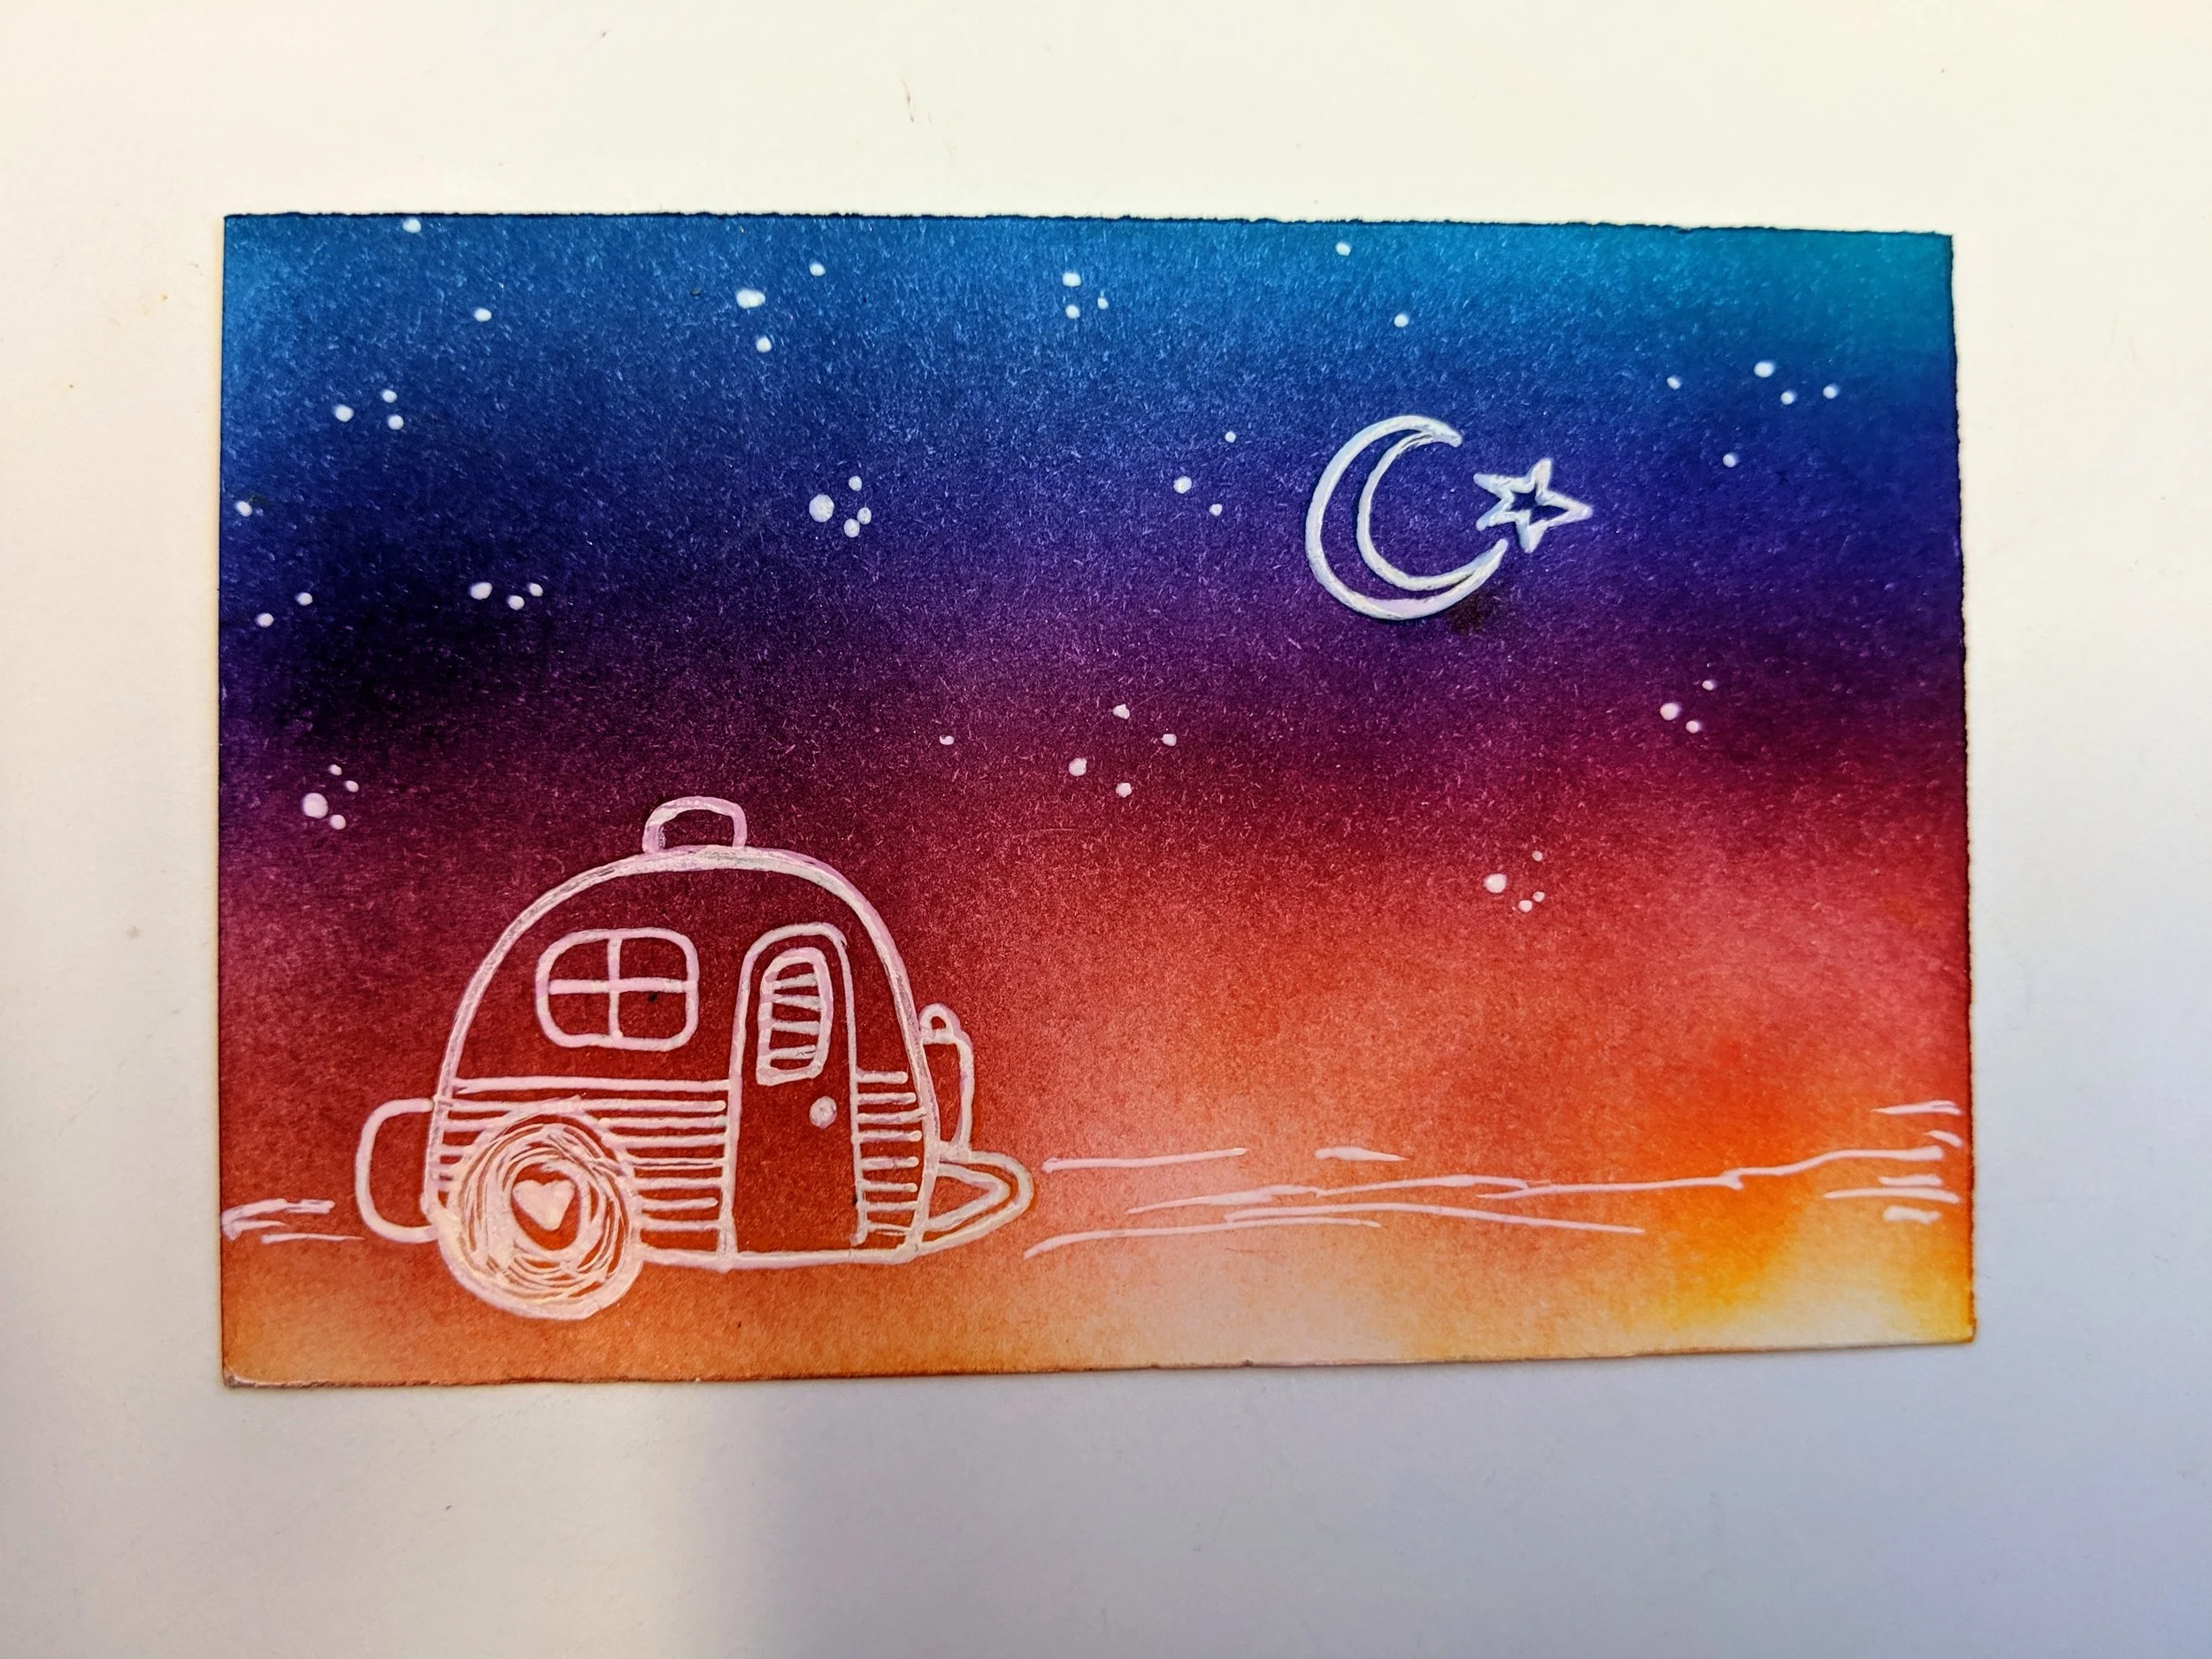
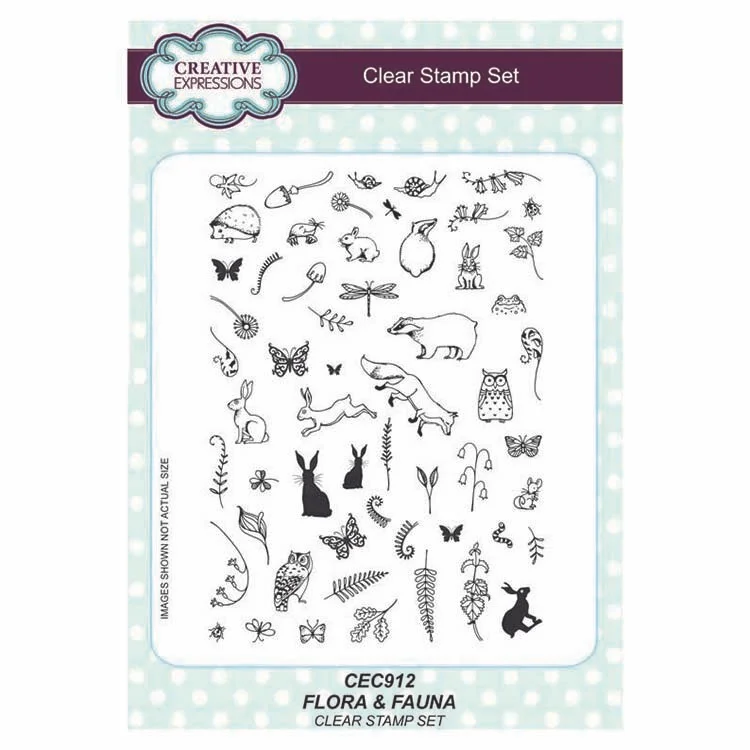
This next idea is using the same idea with creating the rainbow background EXCEPT in this case I first cut out a circle using the Hero Arts Nesting Circle die-cuts. I used a Removable Glue Dot to hold the circle in place (you can also use a tiny piece of double-sided tape!). I also used a couple images from this STUNNING stamp set from Creative Expressions, Flora and Fauna

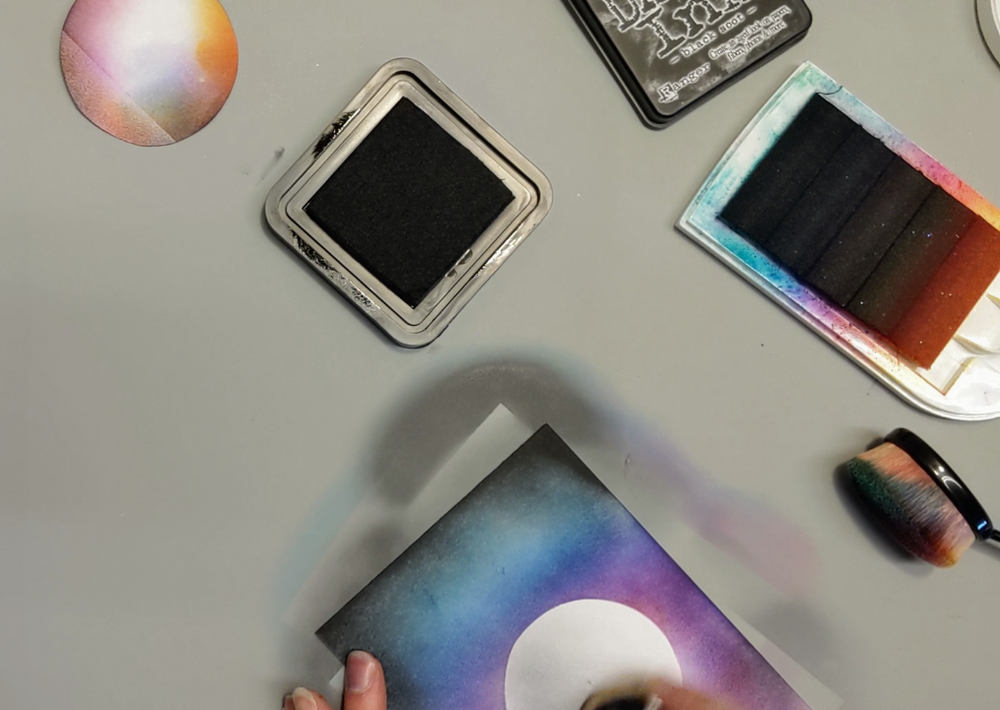
Start out by laying down the circle in the middle of the white card stock sheet. I again used my Rainbow Ink Pad (the purple and blue part) but you can also use a dye-based purple ink pad and dark blue ink pad to create the “Night Sky” look. I place the circle down and swipe and create small circles of color with the large Picket Fence Blending Brush until I have created a beautiful ombre night sky.
Then I took a Distress Ink Pad, Black Soot, and added in bit of black around the corners of my page.
Then I removed the circle-mask and added in bit of color (that is left on the large blending brush) to add a textured-look onto the moon.
Then I took a Versafine Clair, Nocture ink pad and an owl and bluebell image from the Flora and Fauna stamp set


Then I took the white Uniball gel pen again and applied dots on the moon and then SMOOSHED the ink from the gel pen with my finger. When I did this it created an AMAZING texture for the moon!! Which I LOVE SO MUCH!!!


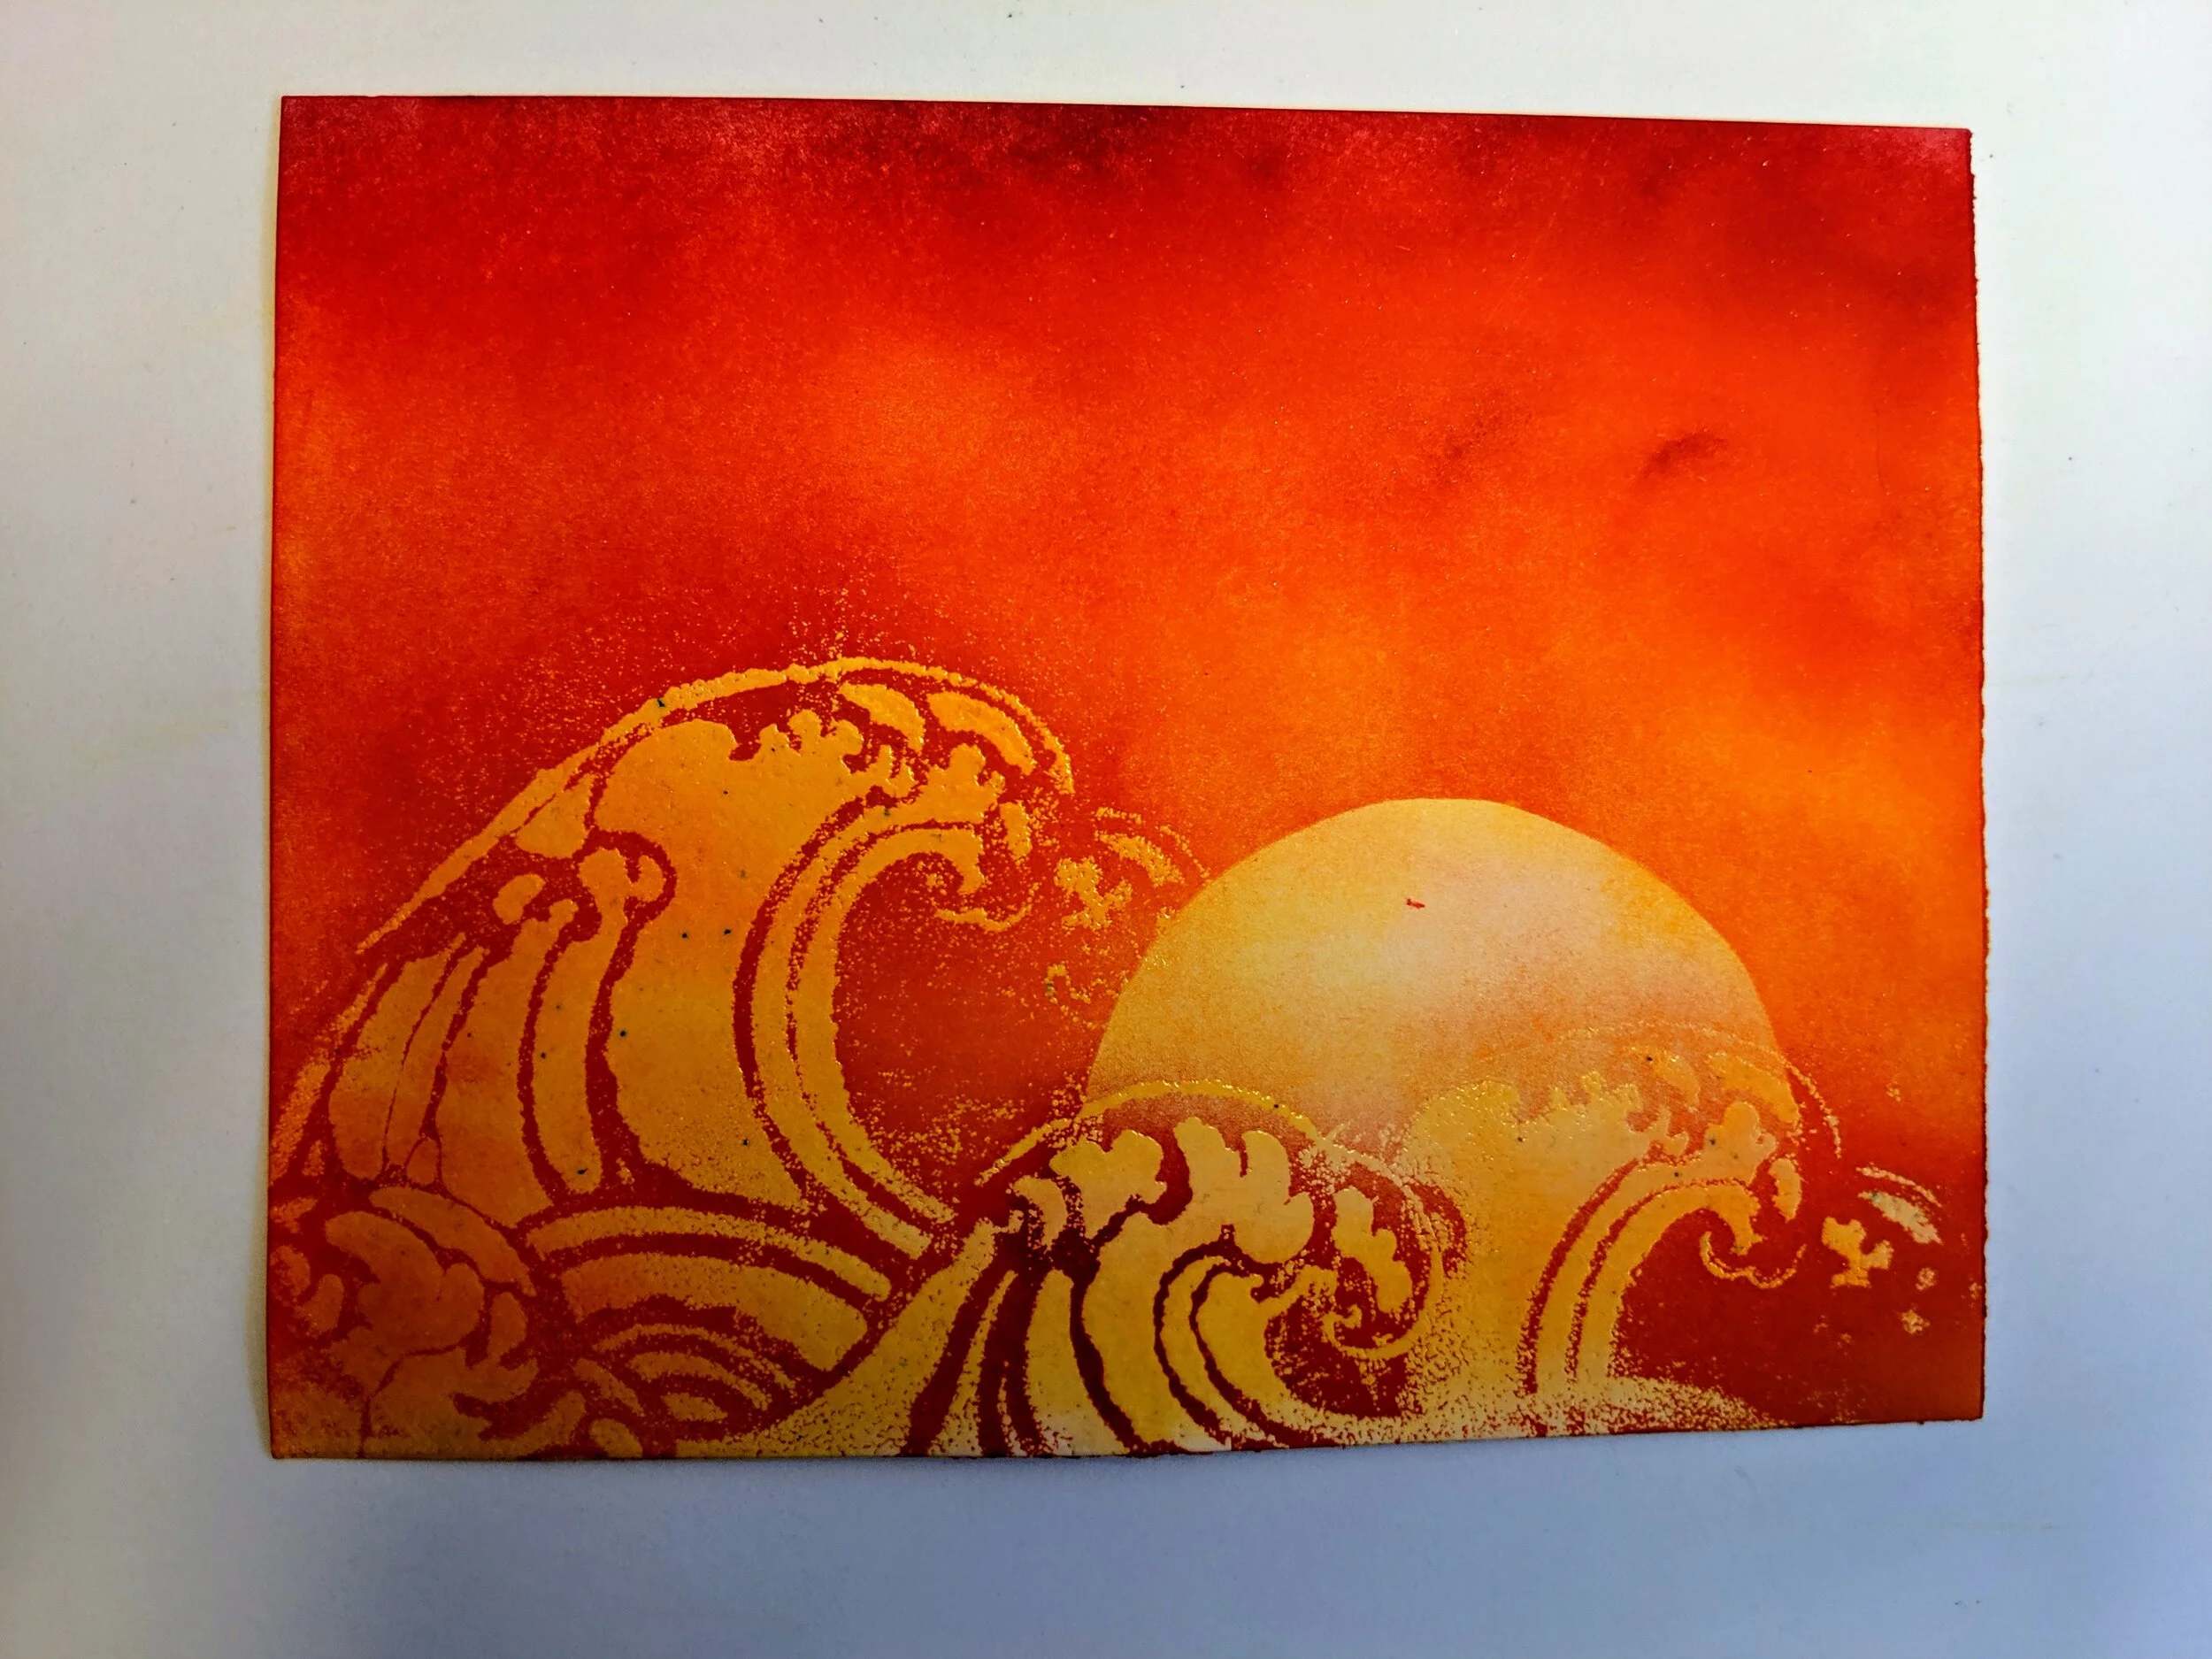
This next idea also uses the Rainbow ink pad/Blending Brush concept as well as using this FANTASTIC stencil from The Crafter’s Workshop, The Wave, the Versamark Ink Pad, and Detail Clear Embossing Powder


Ok I started out by laying down a LIGHT rainbow background with the Large Picket Fence Blending Brush.
I laid down the Wave stencil and then took the Versamark ink pad and PRESSED it onto the surface of the stencil so that the ink pressed across the entire wave image.
I moved the wave image over to another section of the page so that there was a large wave on the left of the page and a small wave on the right of the page.
Then I removed the stencil image and applied Detail Clear Embossing Powder to the entire surface (shake off the excess and put back in container) and heat-set with a heat-gun.


Remember that circle from earlier? Lay it down (with a removable glue dot) in the area of where a sunset might be
NOW apply another, DARKER layer of the Rainbow ink pad around the image and watch as the WAVE COMES TO LIFE!!! The wave image looks like it magically appears and when you remove the circle you will see the sun appear where a sunset would be.
To finish off the design, blend the bottom of the ocean with the large blending brush to cover up the stark lines of the bottom of the sunset.

Isn’t this idea SO COOL?!?! I love this so much!!! The contrast from the clear embossing powder leads to a wonderful effect.

What’s great about this concept is you can use ANY stencil with this idea!! What mediums have you used with your stencils? I’d love to hear!!!
Check out some of the Older Blogs!

