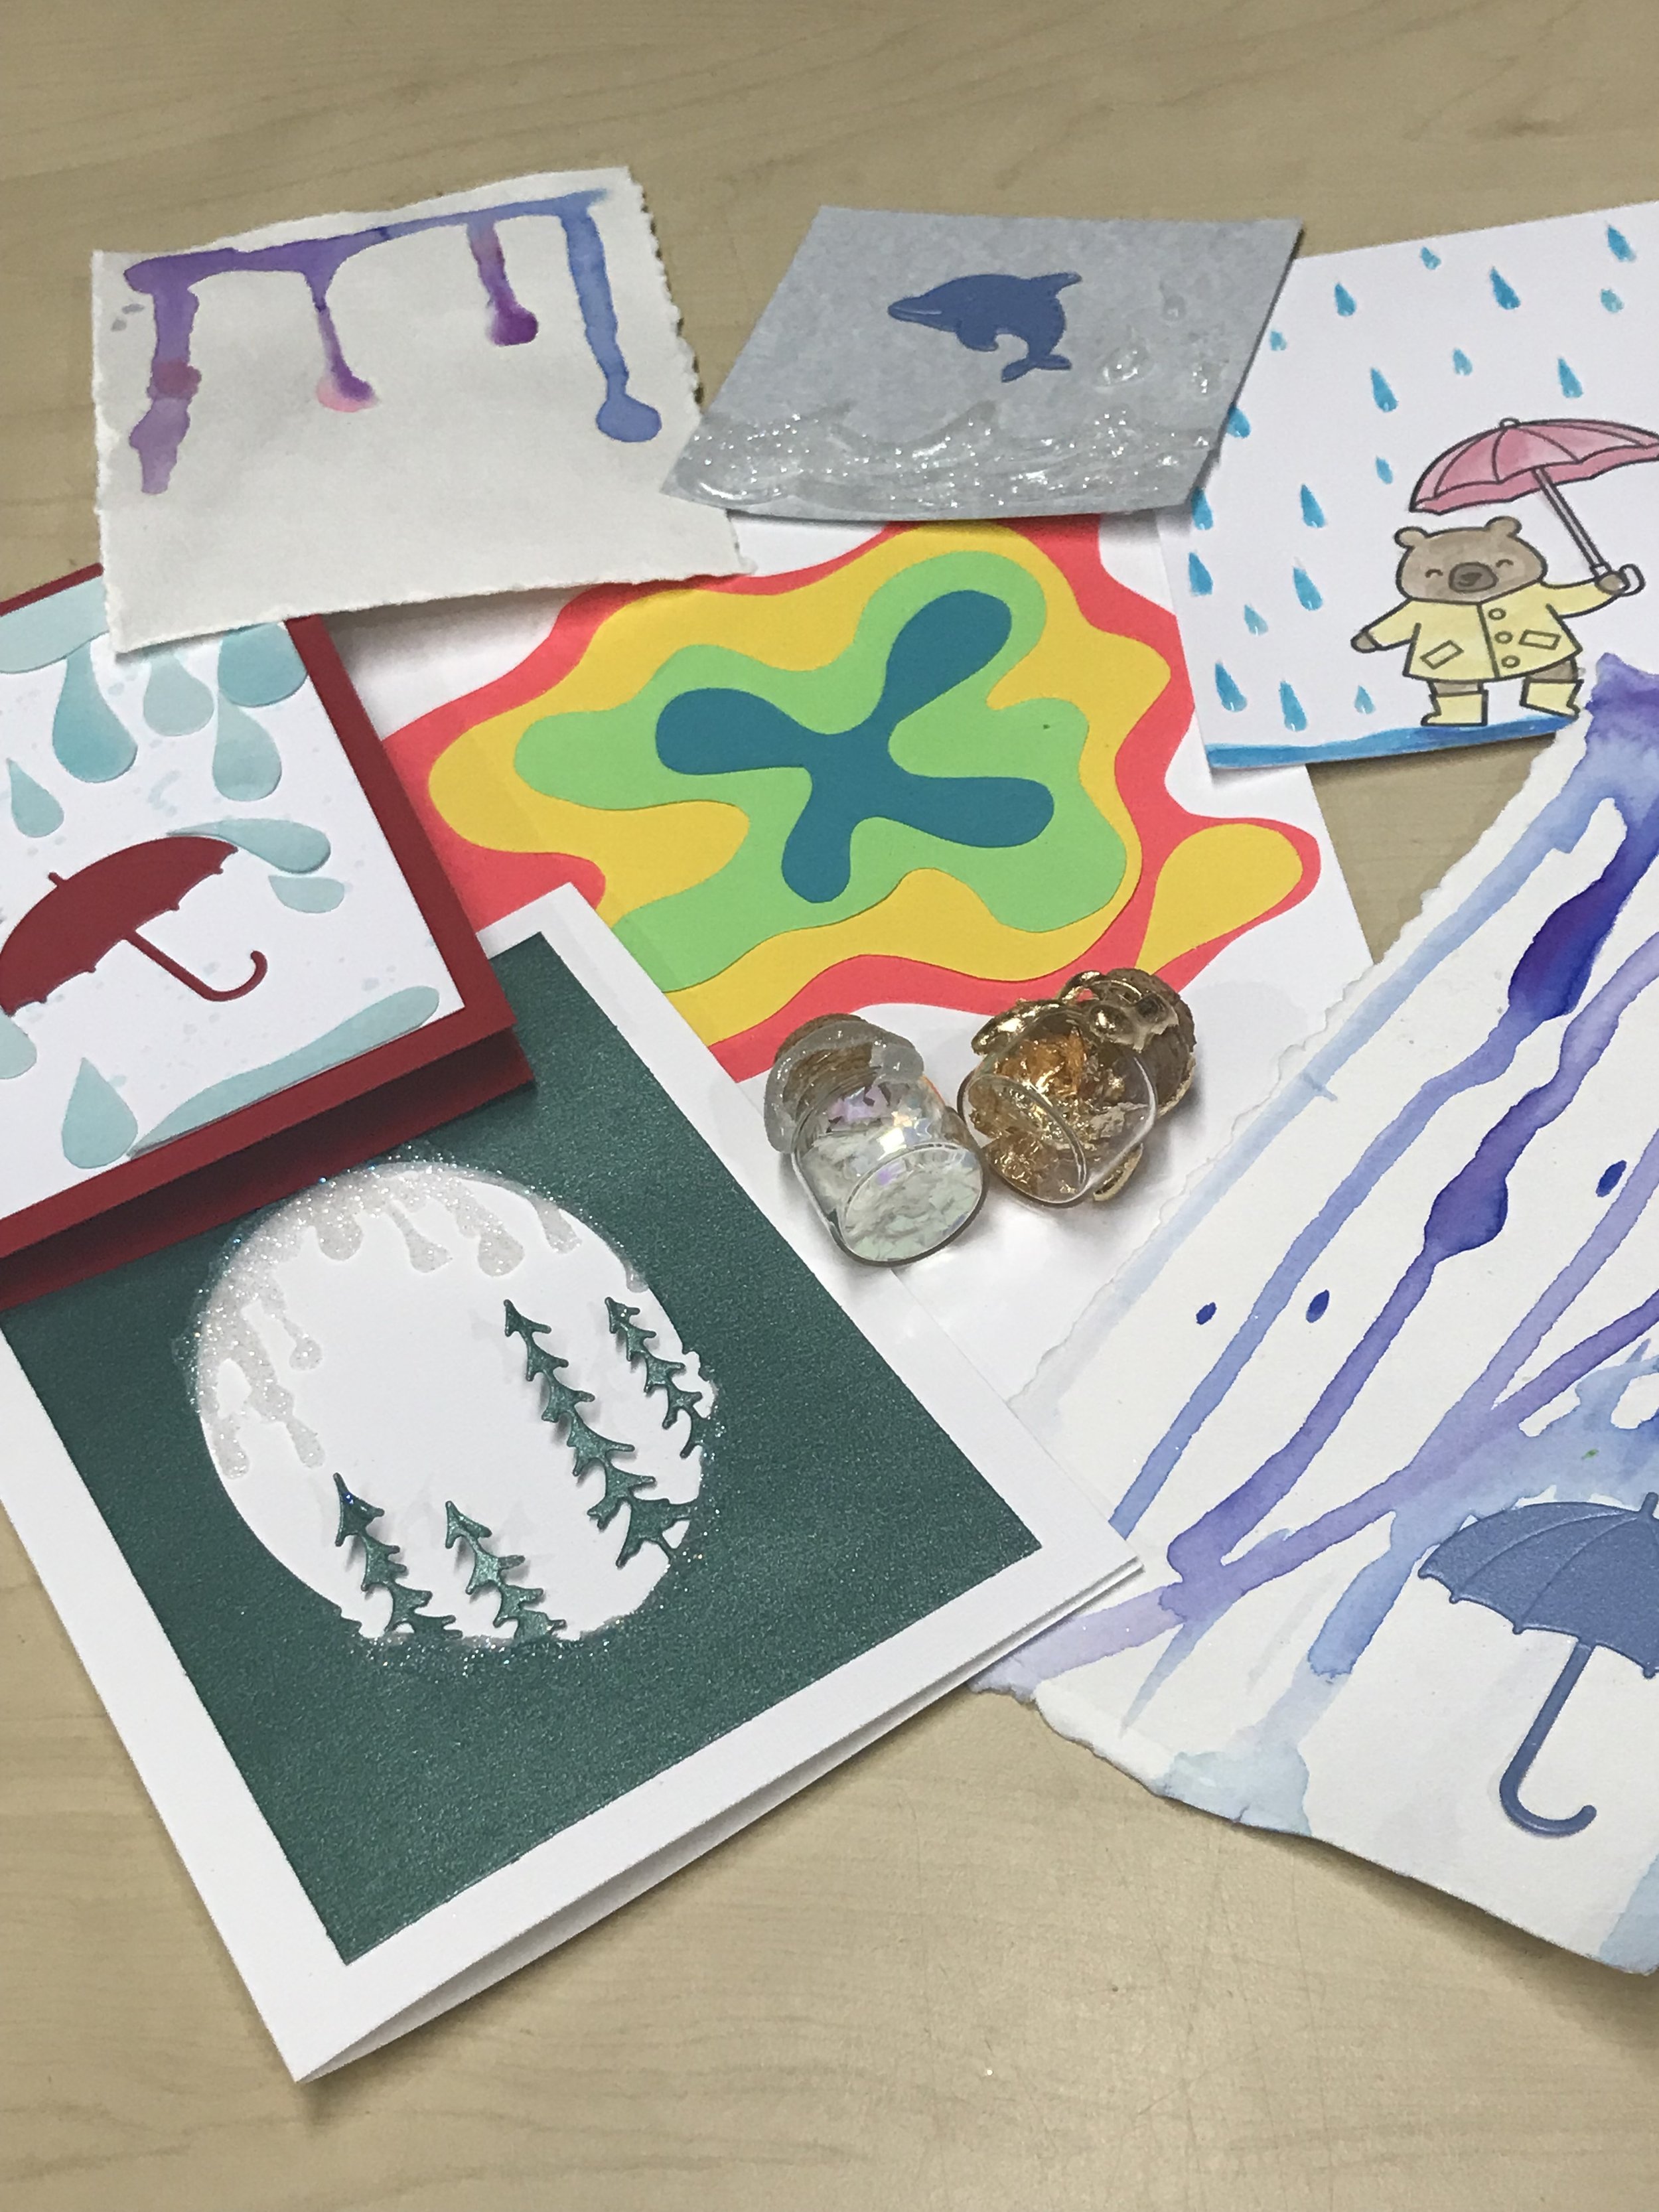
Drippy Effects!!
Do you love Drippy, droopy, gooey goodness? This week we are finding ways to play with all sorts of mediums to make fun, drippy, effects!
Check out the video below:
The first technique we are going to play with today is Actual Drippy Water!!
Using a waterbrush, lay water where you’d like your drips to be! Squeeze extra water and let it freely flow into big drops! Pick up your favorite watercolors and saturate the brush in paint!
Simply touch the paint to the water drops and watch the magic!! The paint swirls into the water and creates such a beautiful effect!! Try this with two or more colors!!
I love this umbrella die cut So Much!! It inspired a drippy, rainy scene!
Using the same water drop method as above, create a layer of water to drip down and touch the Karin Brushmarkers to its surface. When you first put your water onto the page, leave a little circle untouched! The water will move around the spot you left dry and leave a perfect place for the Umbrella die-cut!
These pens WON’T be damaged by coloring into water because they are self-inking! This means the ink gets pushed to the tip of the pen, keeping the color fully saturated!
How cute is this Rainy Bear!? This guy is a stamp set from Lawn Fawns Beary Rainy Day collection. After coloring him in bith Tombow markers and a watercolor brush, it’s time to make the rain!!
The brushtip side of a Tombow Dual Brushpen is the perfect shape to plop raindrops down! Right after you color your rain, use Nuvo Clear CrystalDrops to add dimension and a ‘wet’ look!!
Here is a really cute winter-y card idea that takes inspiration from drippy icicles and snow!
After using the Pine Tree Collage diecut from the Emerald Stardream, a little bit of Nuvo Crystal Drops and a touch of Glitter creates drippy icicles and a layer of snow beneath the trees!
Nuvo Crystal Drops do take a few hours to fully dry- so be careful with your piece!!
Want to achieve a similar glittery-drip look without waiting so long? Try hot glue!
This sweet Dolphin diecut was embellished with hot glue drips and sprinkled glitter to create a sparkling sea!! You have to be quick with your glittering though, the hot glue dries quickly!
Here’s a really Magical way to create a drippy seal for some Potion vials!
The white potion jar was filled with Nuvo Rainbow Quartz Triangles- then using how glue to secure the cork! Letting the hot glue drip over the sides of the vial and sprinkling glitter on quickly gives such a shimmery look!
The Gold potion was filled with Nuvo Gold Gilding Flakes! Then sealed with hot glue. After you let the drippy hot glue dry until it is tacky-and still holds its shape- take a tiny paintbrush and apply the Gilding Flakes! Brush them off lightly to create a solid-gold look!! Now this jar looks like it’s been sealed with gold!!
You can even achieve Drippy Effects with paper!!
In both of these designs, curved teardrop shapes lend themselves to looking like they’re dripping across the page! Try longer tails for the teardrops, and cute them to curve around any shapes in your scene!
There are SO many ways to add dimension to a piece of art! Using watercolor, hot glue, paint, and paper can all create different flavors of the same effect!
Try combining a few of these techniques and see what you love playing with!
Thanks for making some Drippy art with us!!
See you next time, friends!
Art and Happiness
2004 James St
Bellingham WA 98225
Mon-Sat
10am-6pm
Sunday
Noon-5pm
(360)206-0389


